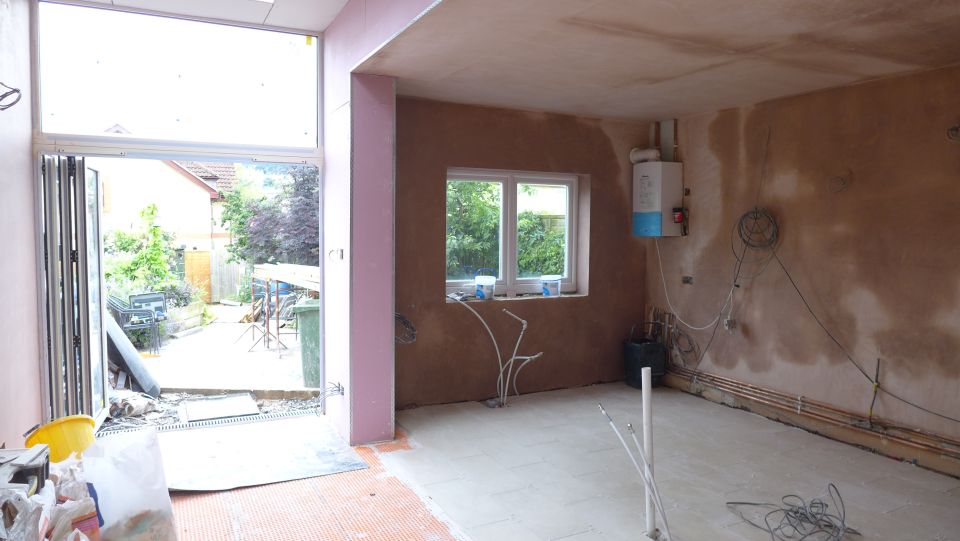
With the walls plastered, we were ready to fit the new kitchen flooring.
Porcelain floor tiles
In one property, we laid 600×300 porcelain tiles in a running half bond brick pattern from front to back.
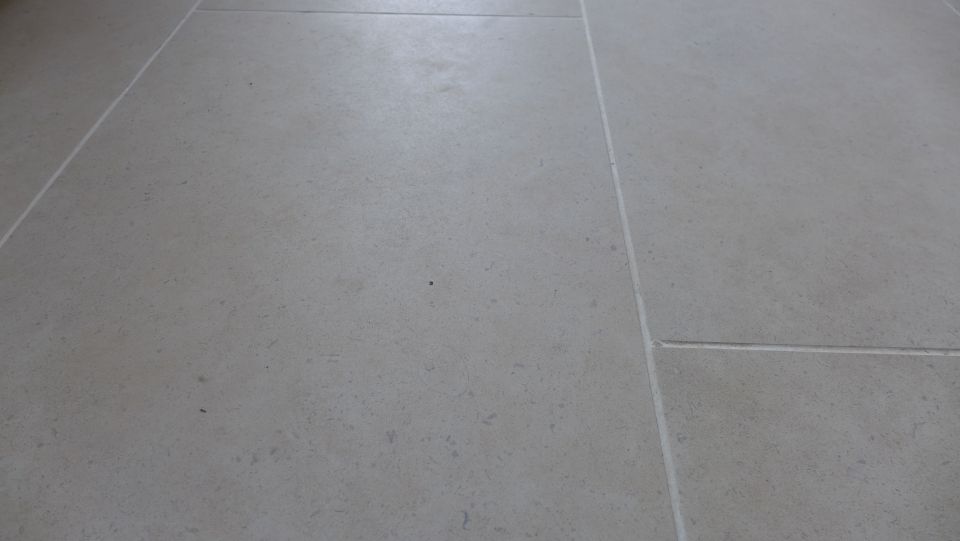
The contractor first fixed anti-fracture matting to the screeded floor. This allows some movement in the floor without cracking the grout of tiles once the tiles are laid. Tiles were then laid on the matting. The cost of matting and adhesives is not trivial; for this area of 36m2 including wastage, the tiles totalled £1500, matting was £350, all adhesives were £290 and grout £50. Labour was around £1500, all plus VAT.
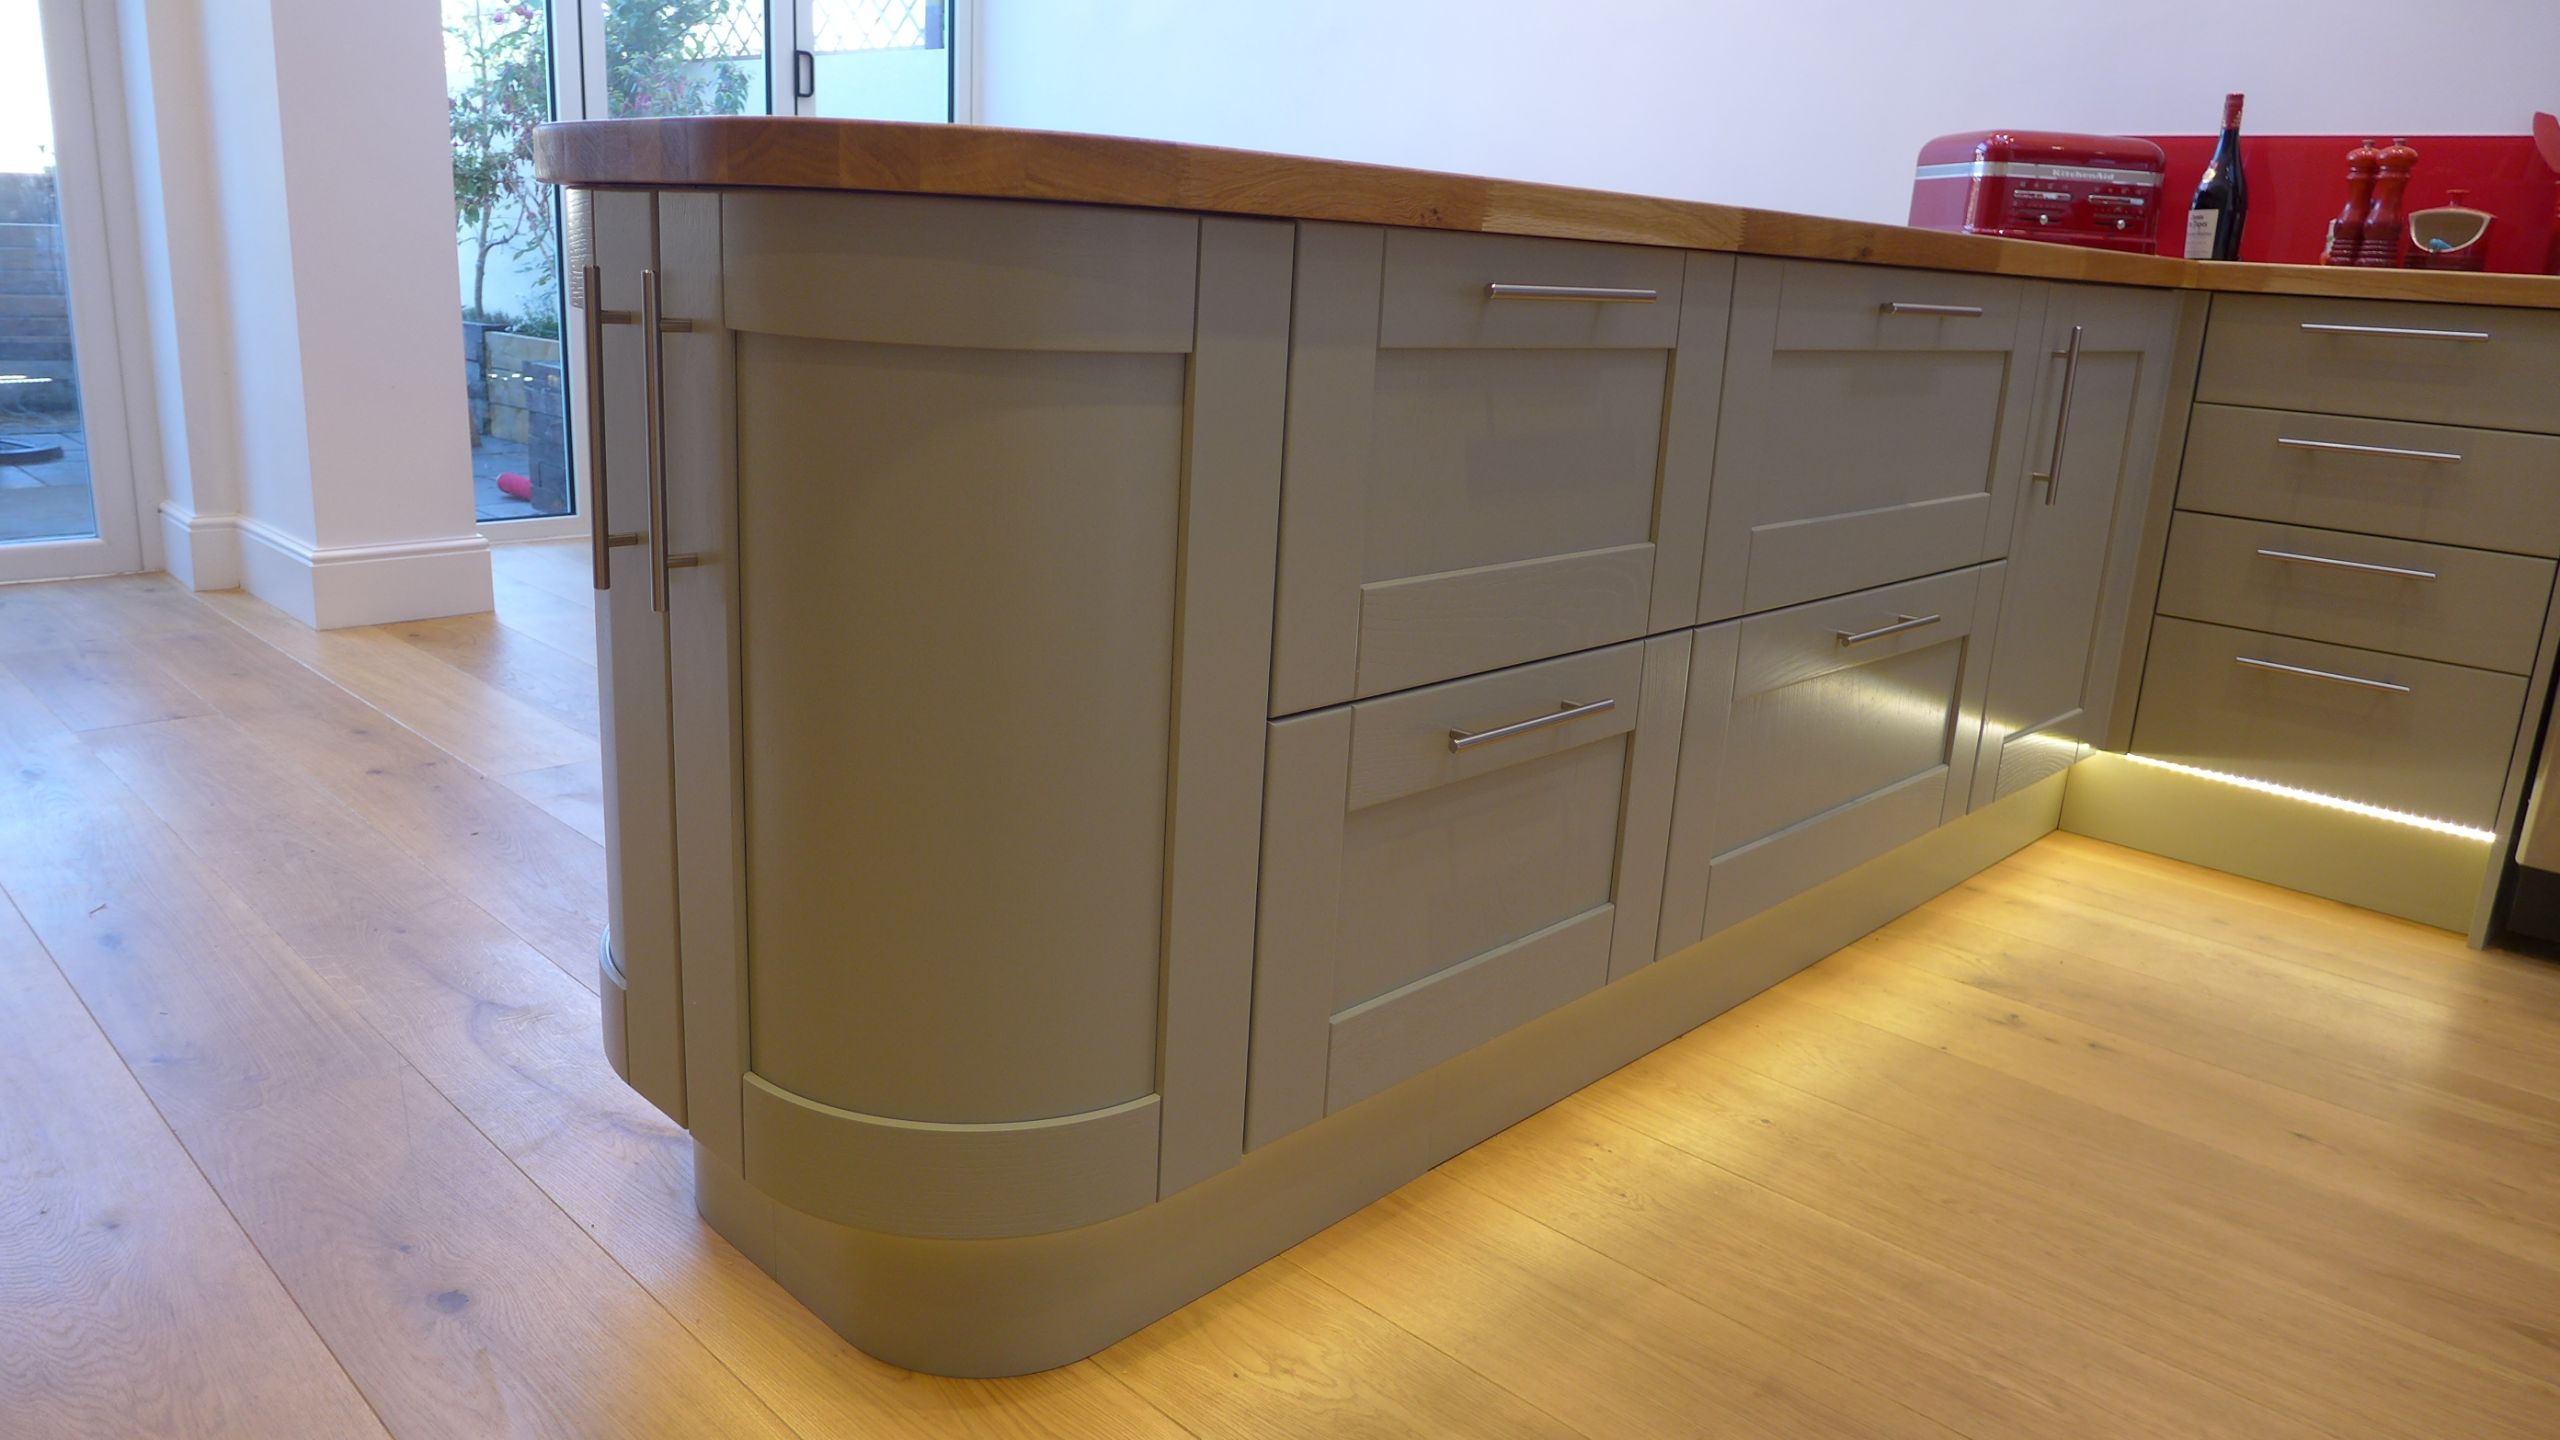
Below is a sneak preview of the new kitchen flooring when finished, showing how well the pale buff porcelain complements the dark grey gloss units.

Engineered oak floor
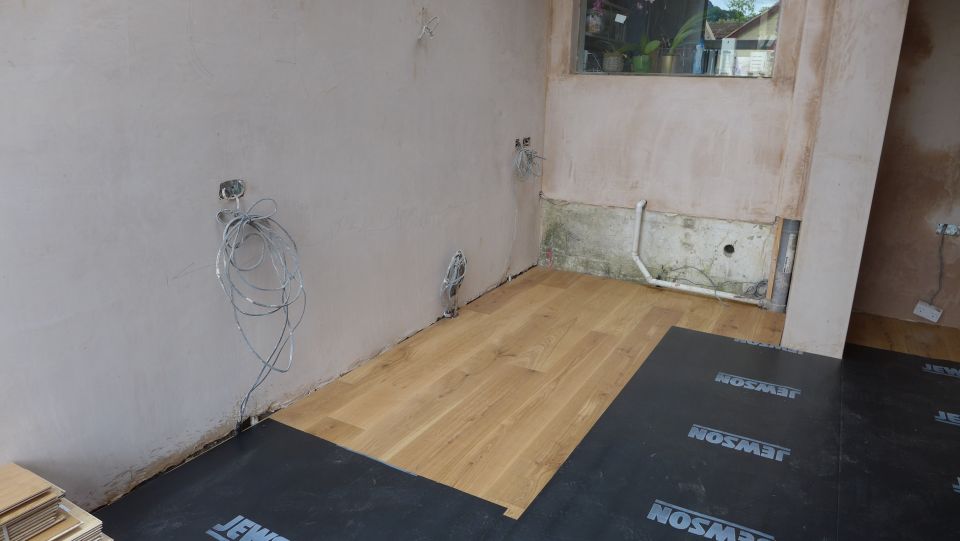
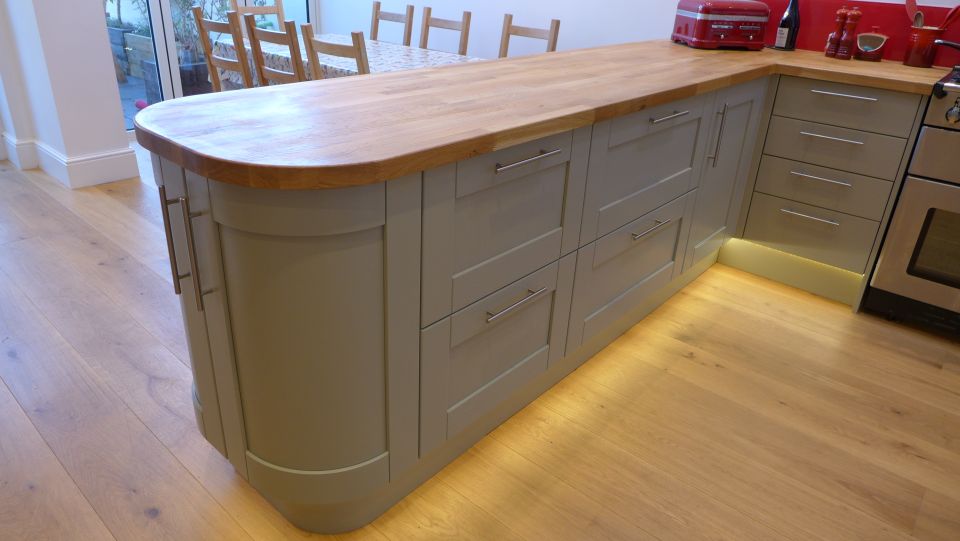
In the other property, we installed 14mm engineered oak floorboards. We chose extra wide 200mm tongue and groove boards for a contemporary look.

We always source long boards – random lengths up to 2.4m; cheaper products tend to come in shorter lengths and so look less elegant. Our contractors allowed the plaster to dry for 2 weeks in this space as we were fitting a timber floor. We decided to take this extra precaution because we had the time, even though our floor supplier was confident that engineered boards could be fitted even if the plaster wasn’t fully dry. Traditional boards would have required more careful treatment in addition to a period of acclimatisation in the new space.
New kitchen flooring
Here is a sneak preview of the new kitchen flooring in the finished kitchen:
We needed to have laid the floors at this stage in order to install the kitchens. We protected the floors with correx (see the black sheets above) which is a great product and easy to fit. The next blog will report our progress on fitting the new kitchens.
If you are interested in a new kitchen of your own, we invite you to read our page on kitchen design.
