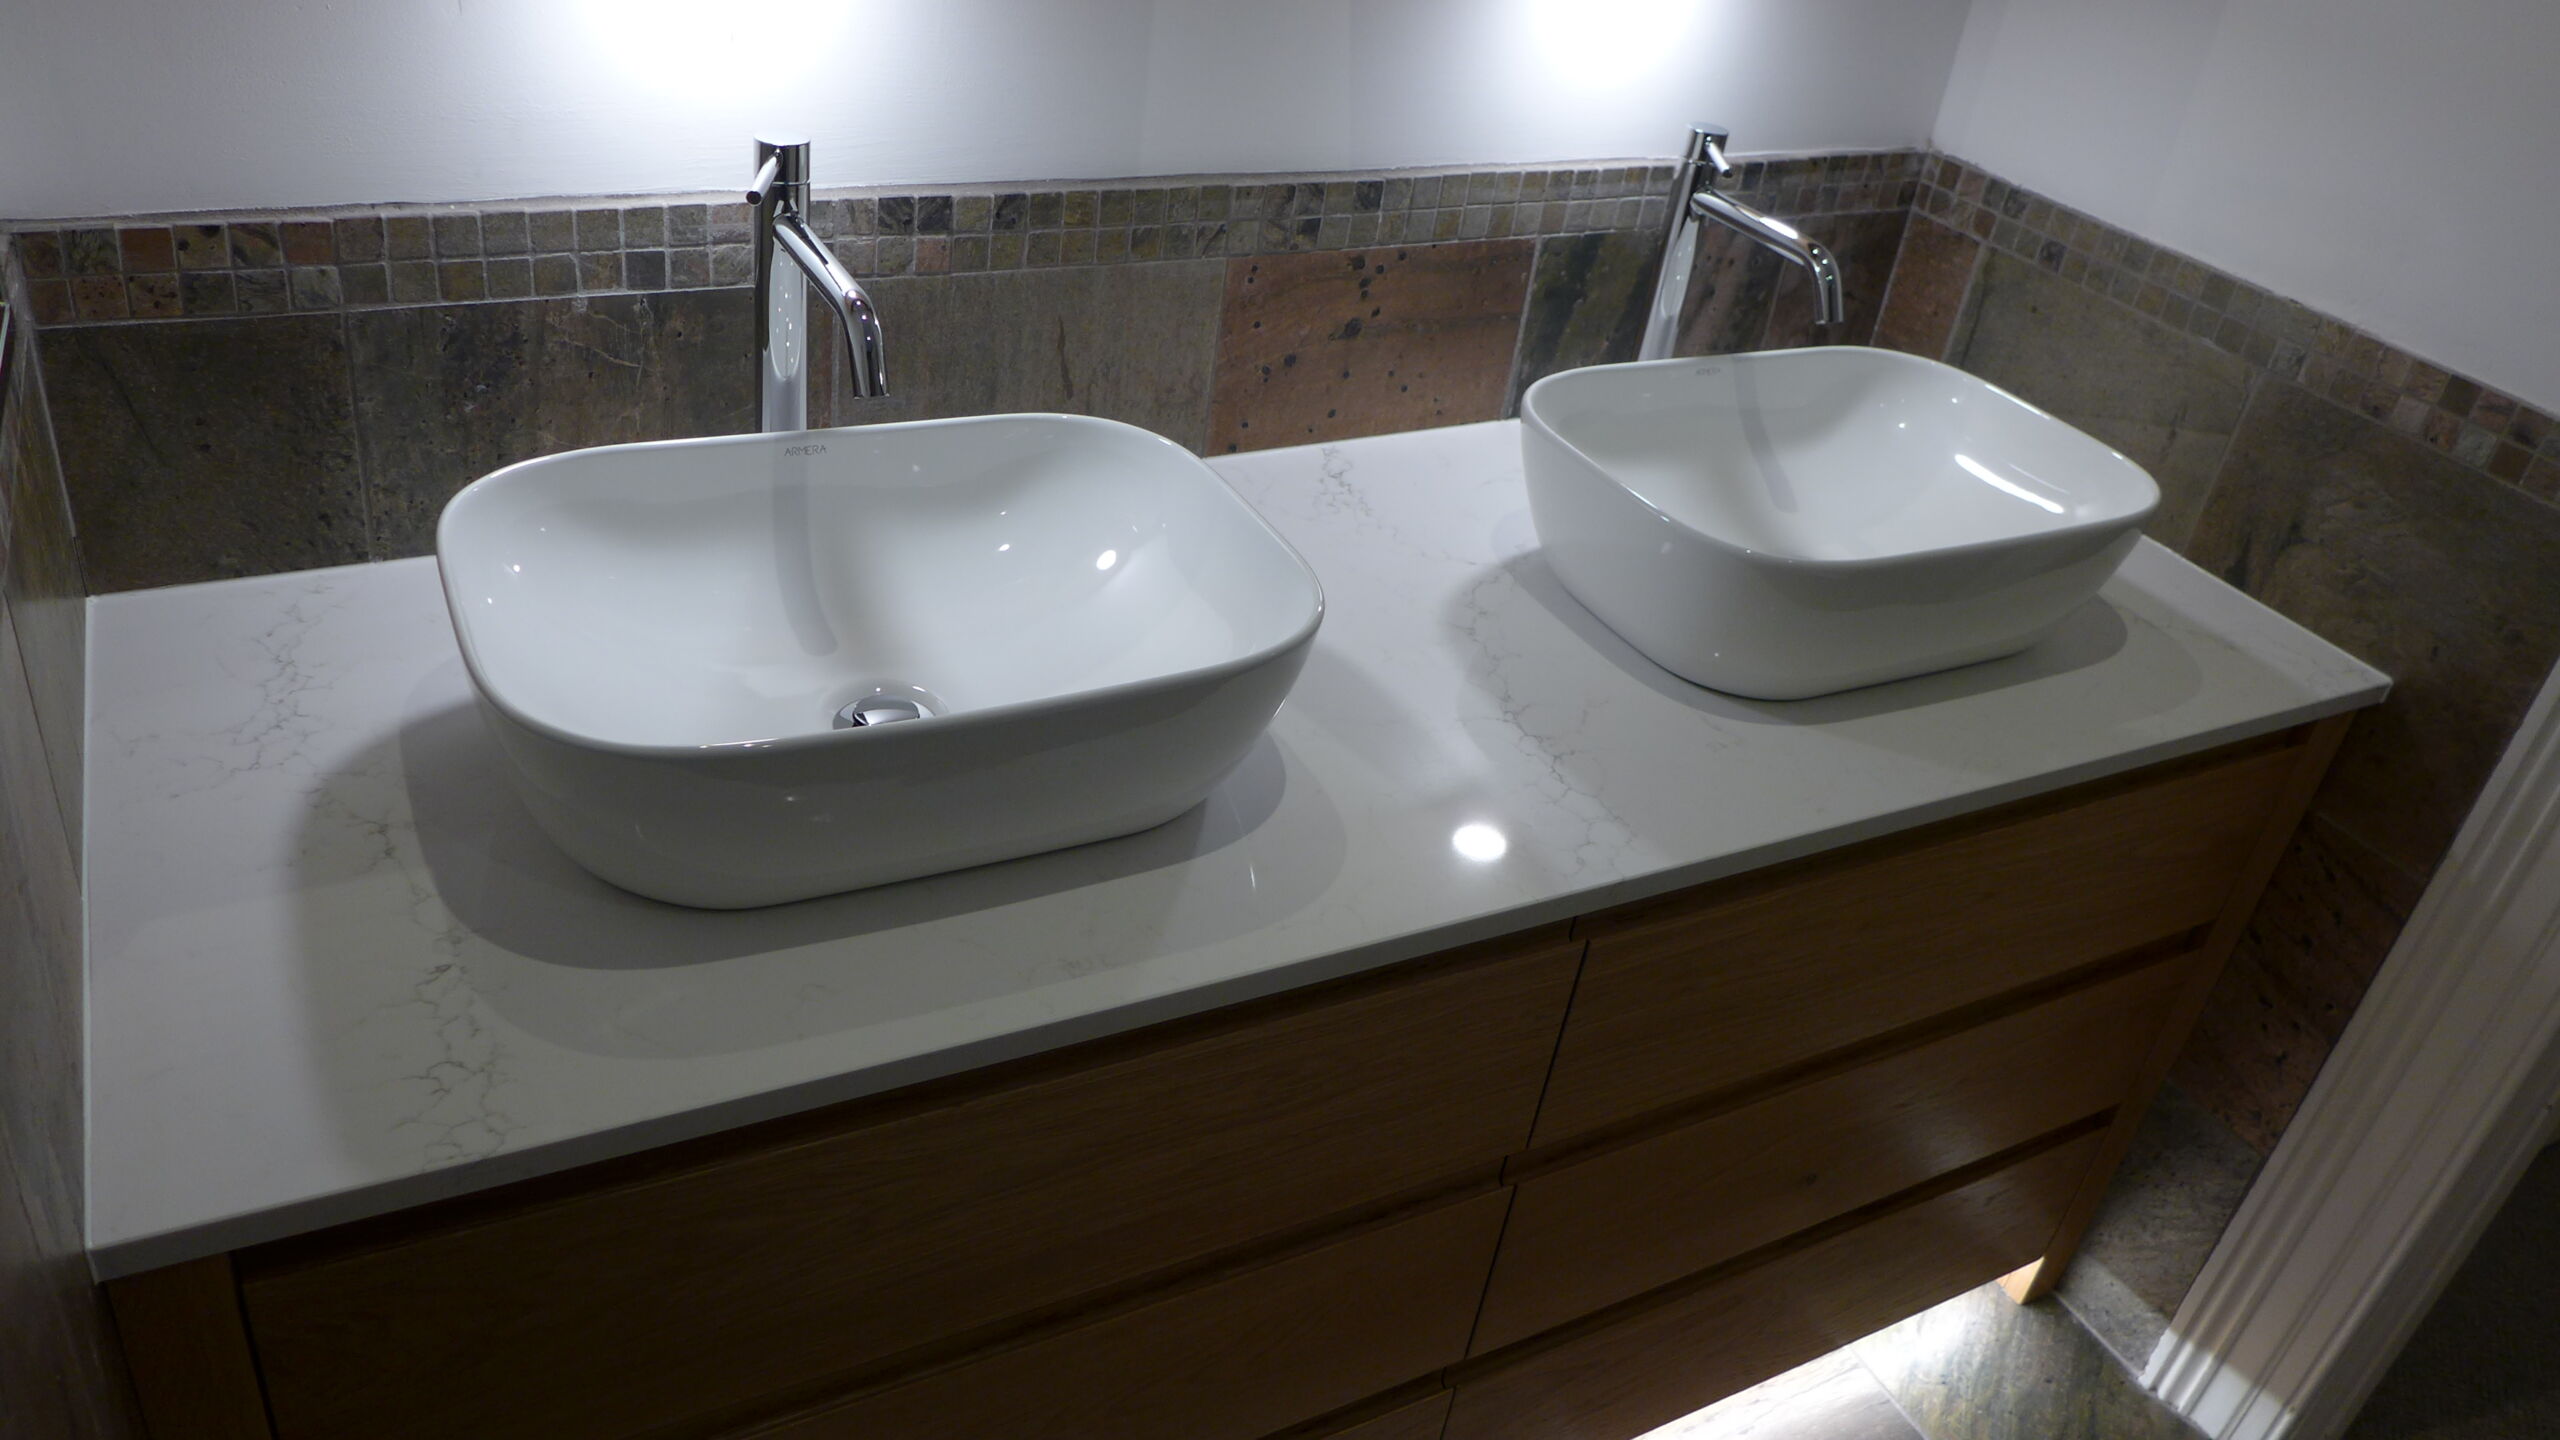
Whilst this blog describes bathroom lighting in particular, at some point you should also read our introduction to bathroom design. to set your bathroom lighting in context.
Proper lighting transforms your bathroom
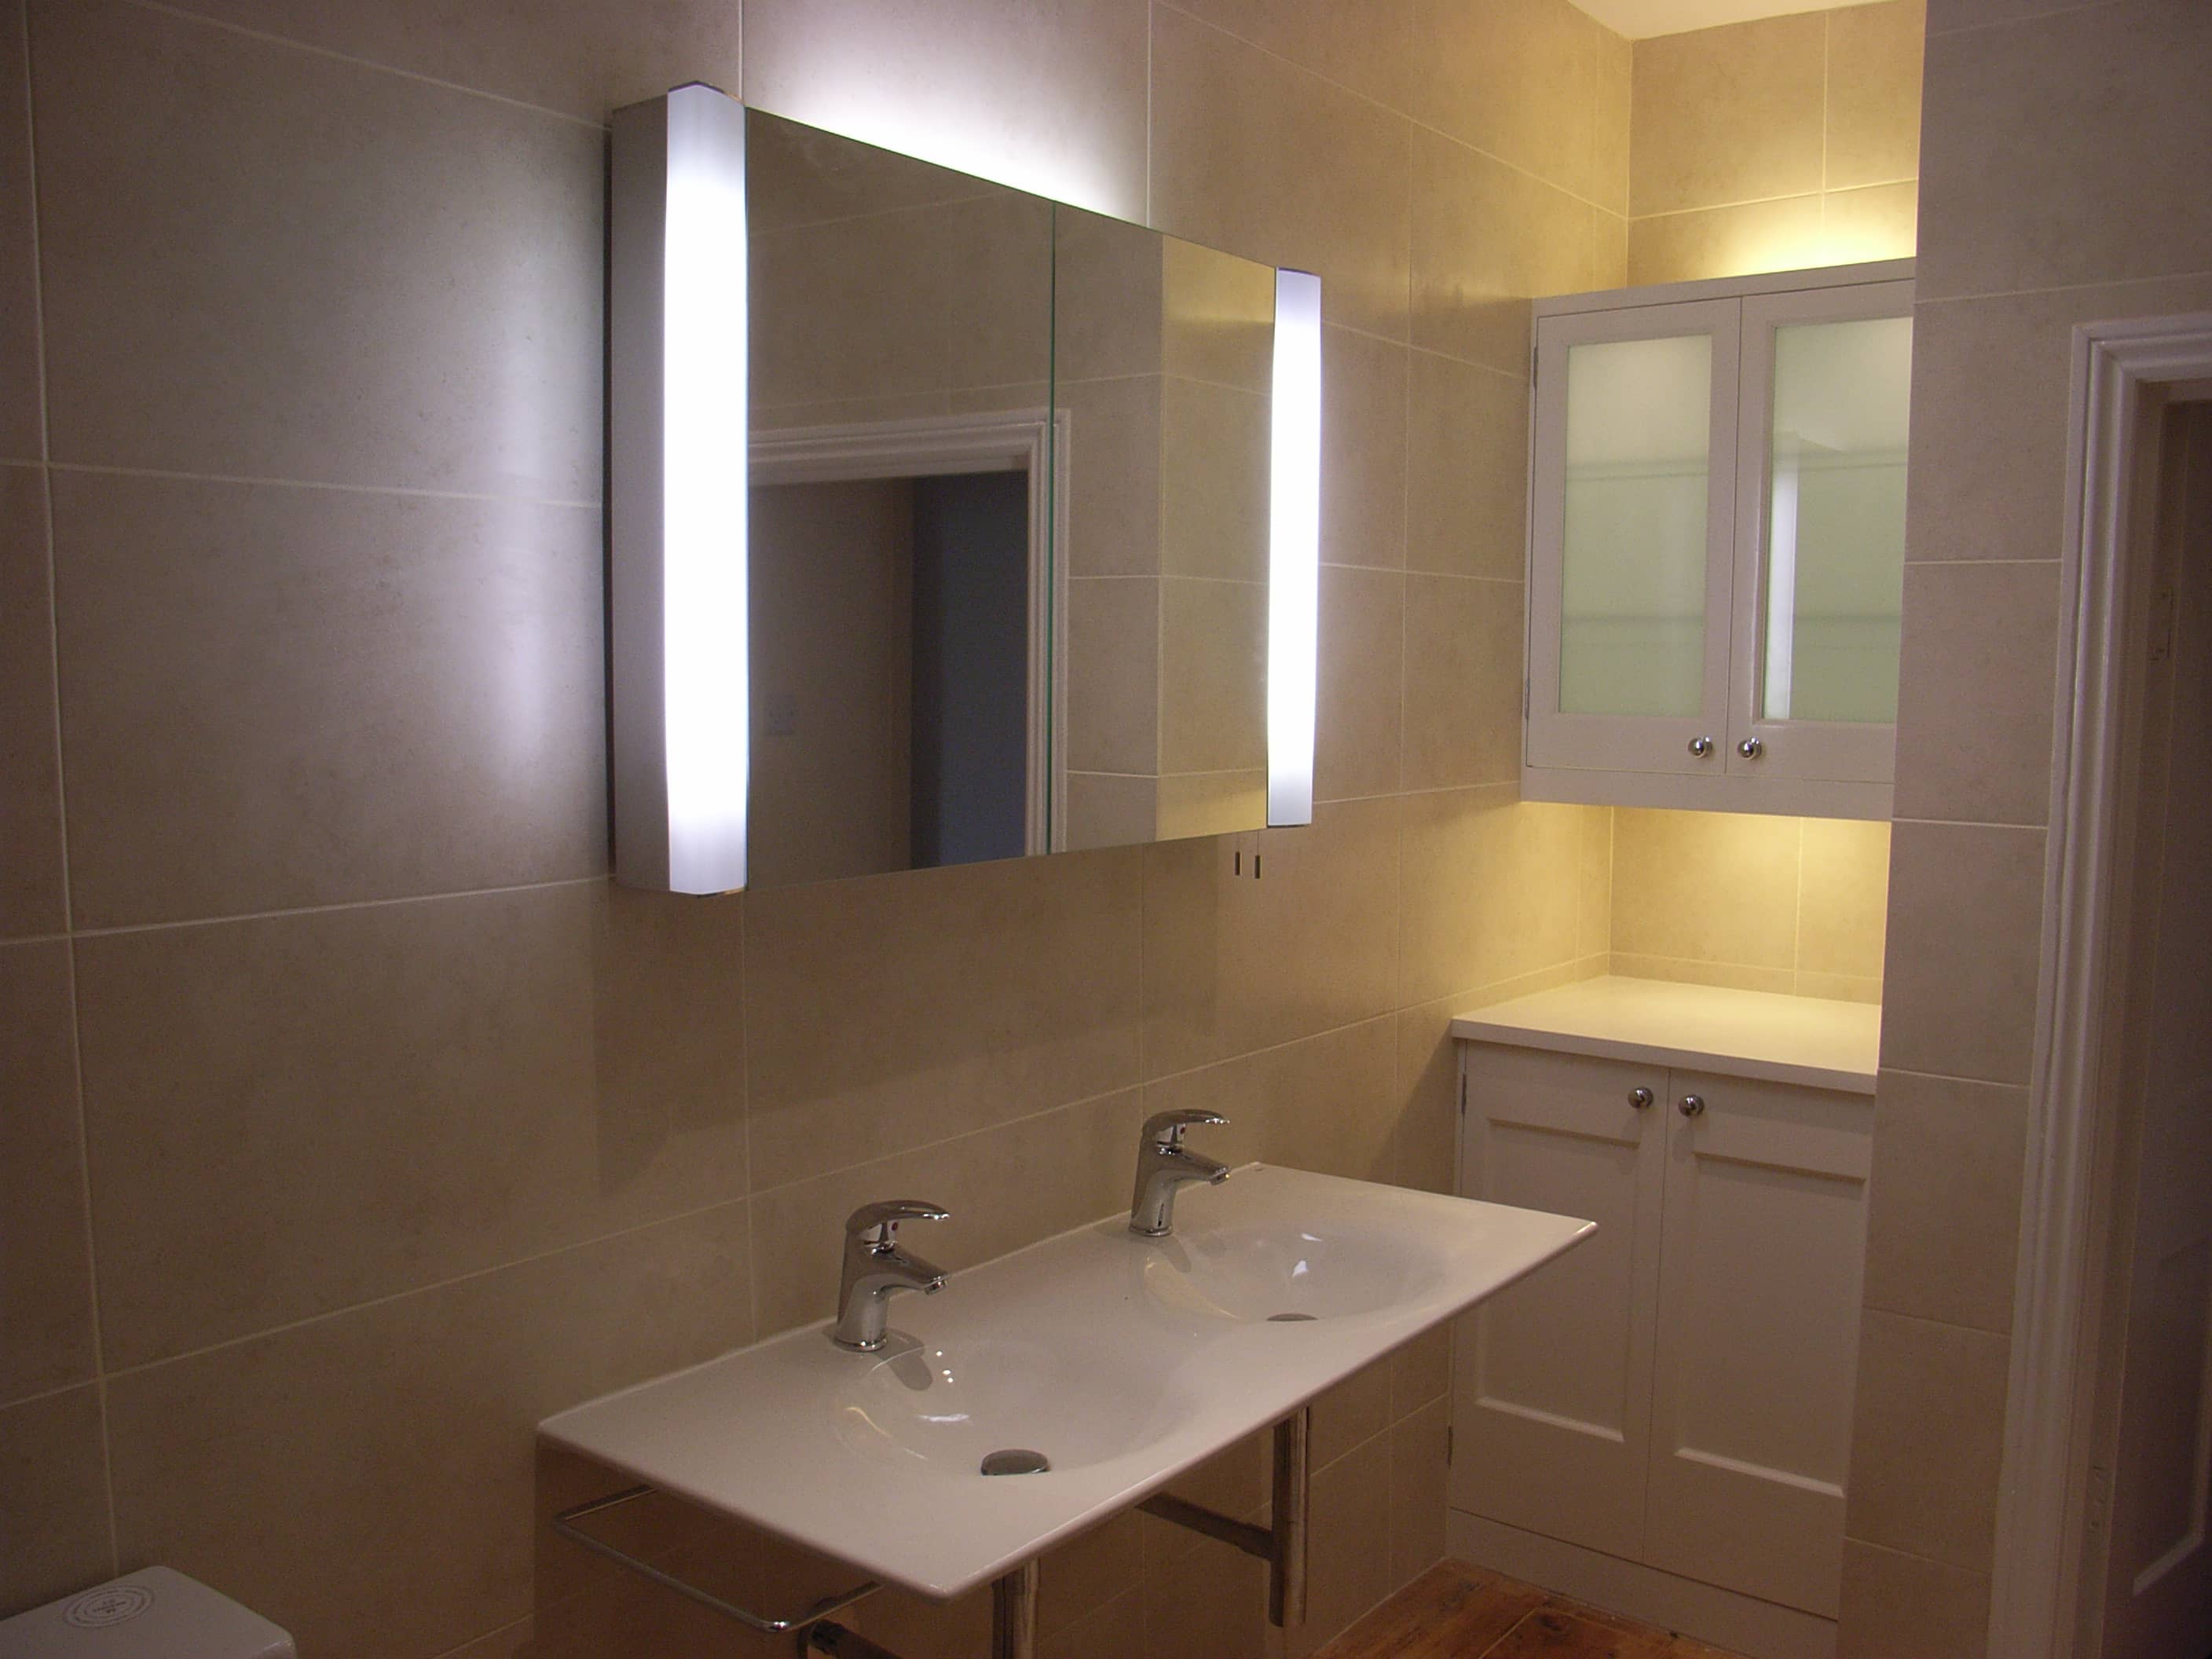
As well as creating an inviting atmosphere, effective bathroom lighting serves several purposes.
- Proper illumination reduces the risk of slips and falls on wet surfaces.
- Task lighting around mirrors eliminates harsh shadows for accurate grooming and makeup application.
- Layered lighting creates depth and makes small bathrooms appear larger and more spacious.
- Well-positioned lights help elderly family members and those with vision impairments navigate safely.
There are a few ways to achieve these goals. Here are the common choices:
Bathroom lighting - 5 common choices
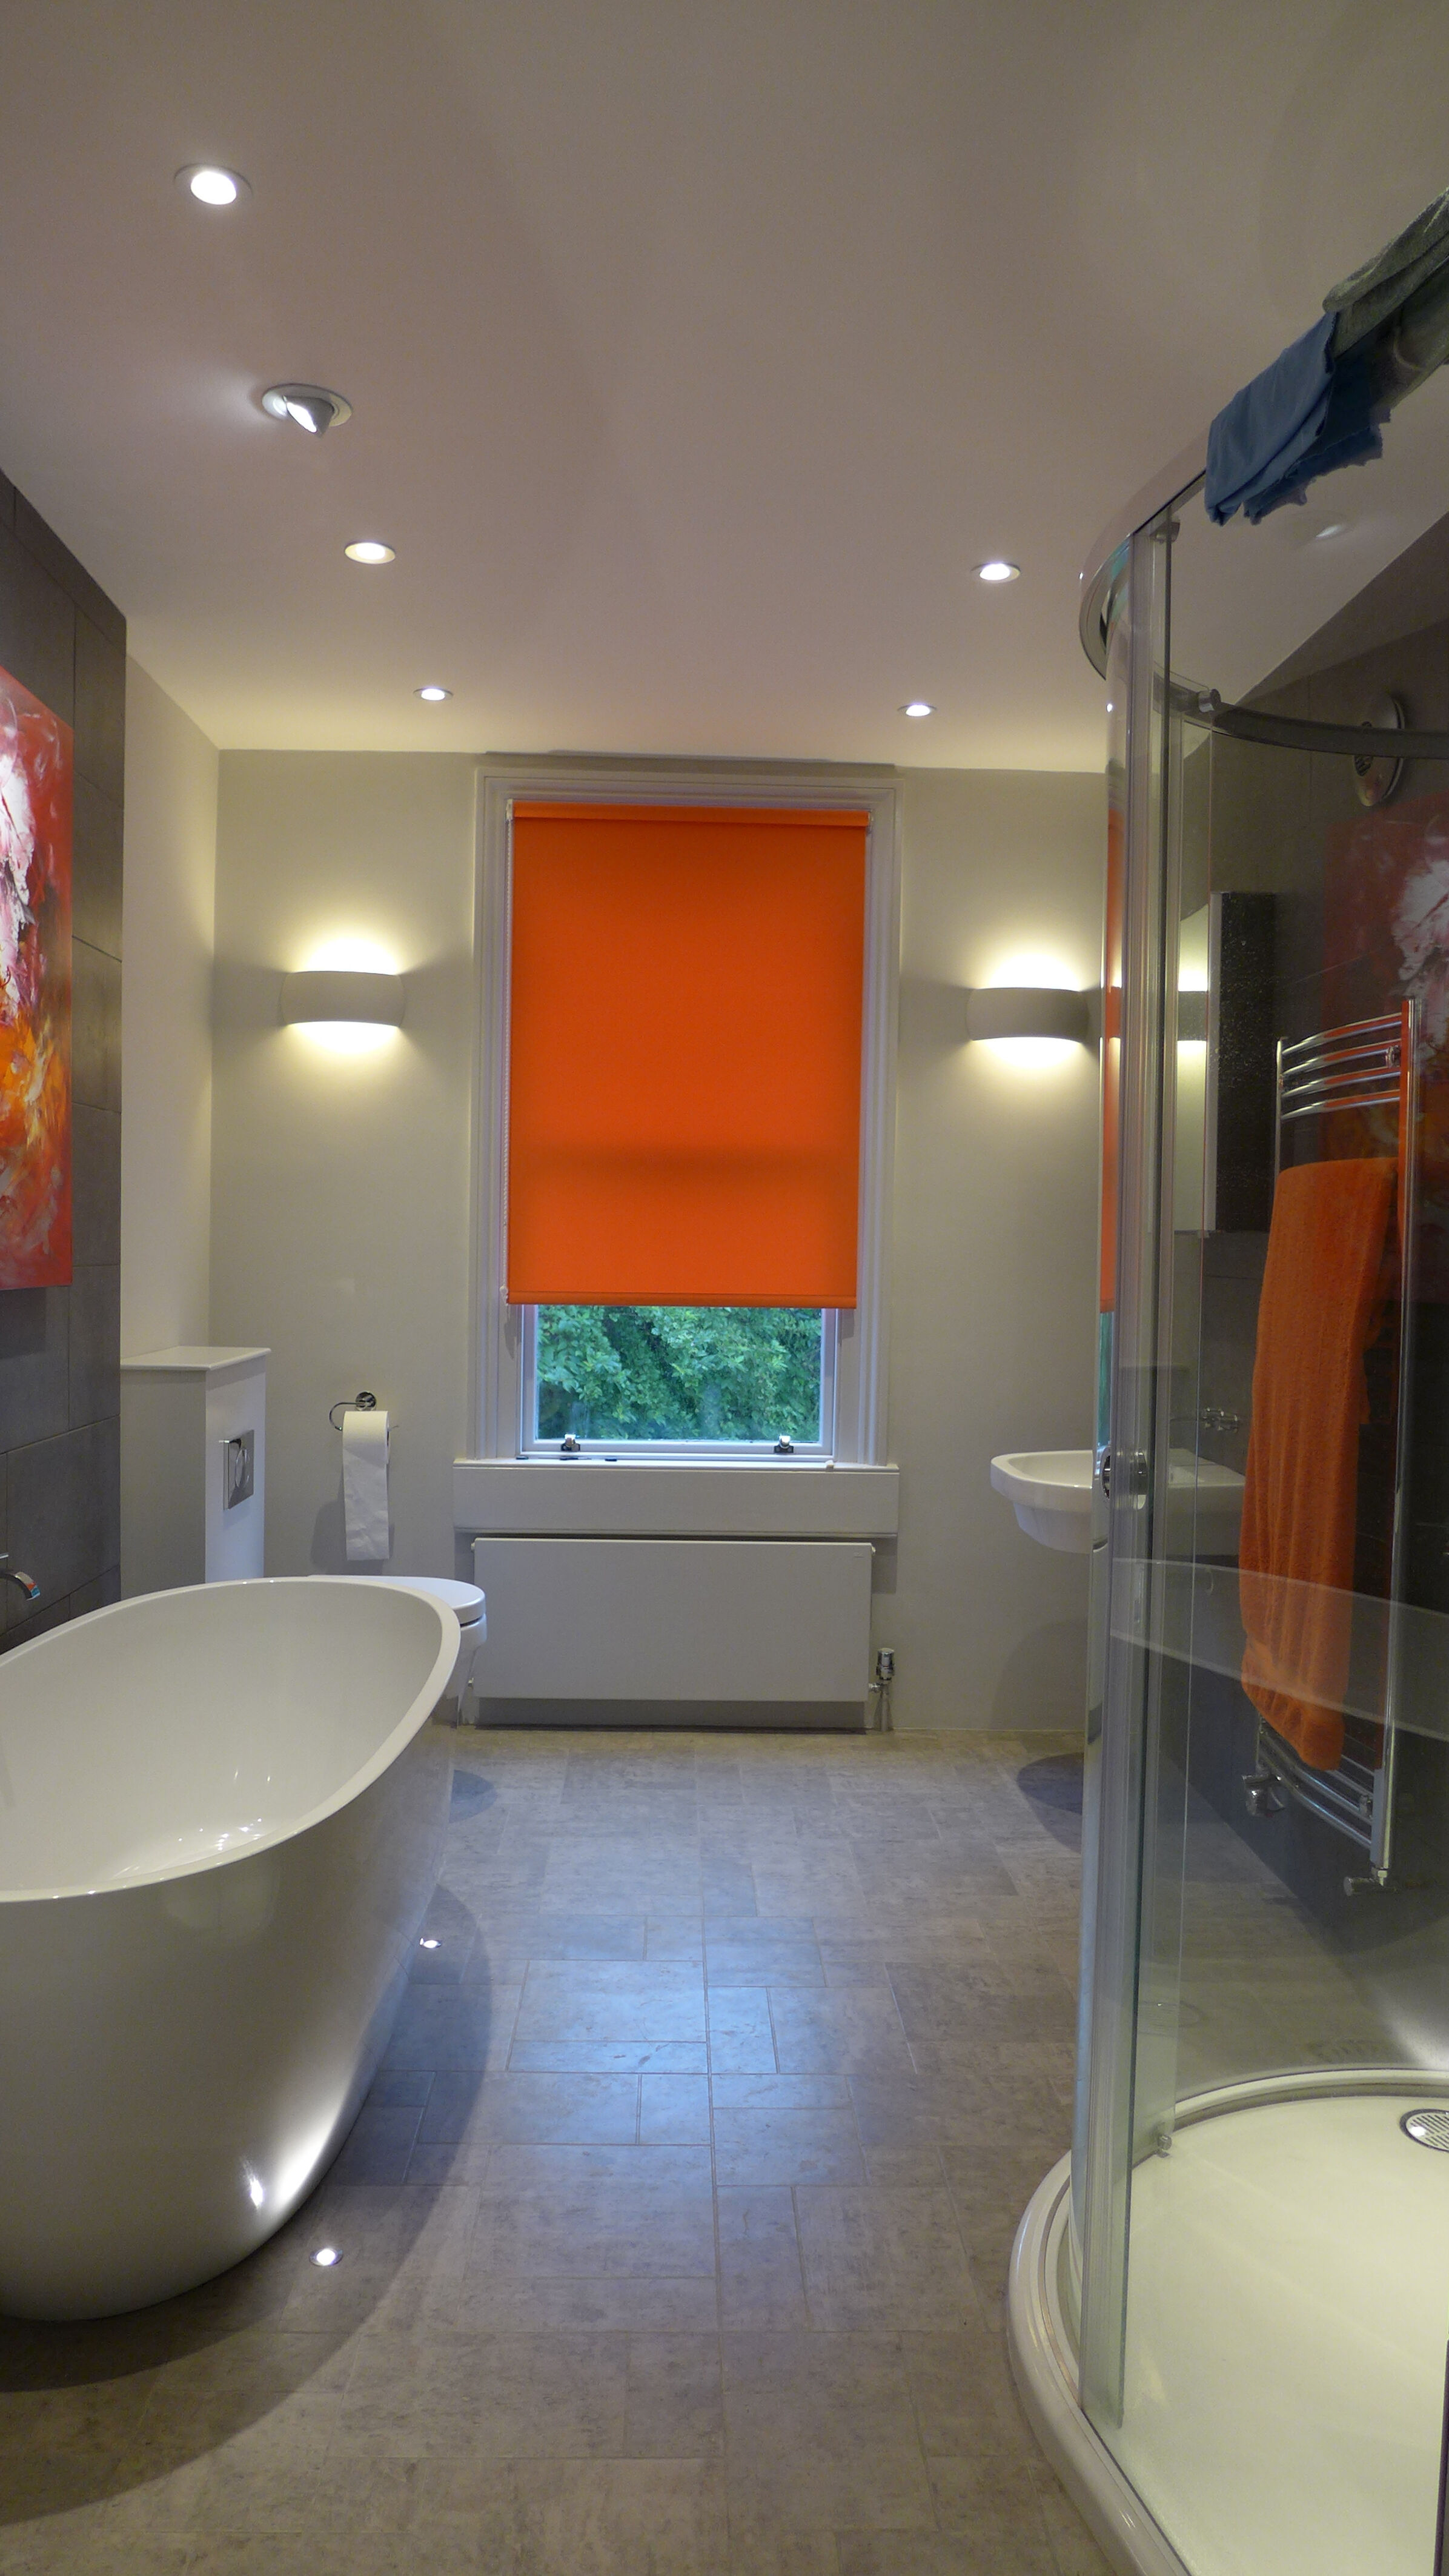
With your new floorplan to hand, now is the time to consider different types of bathroom lighting. The main lighting categories each serve distinct purposes:
- Ceiling lighting – providing ambient illumination, it establishes the overall brightness and atmosphere of your space.
- Wall lighting – offering targeted task lighting, it delivers focused illumination for grooming and daily routines.
- Floor lighting – creating accent and mood lighting, it adds depth and visual interest from ground level.
To make the best choice for your specific bathroom, a professional interior designer will consider each option’s strengths and limitations. Let’s go through them.

Ceiling lights
Ceiling-mounted fixtures are the most common form of bathroom lighting.
Recessed downlighters remain the most popular choice, offering clean lines and even light distribution.
Surface-mounted and flush-mounted ceiling lights provide stronger, multi-directional illumination. They work particularly well if you don’t want to penetrate the ceiling with a recessed light.
Giving an even spread, the surface-mounted lighting tends to be “flat” and less interesting, whereas recessed downlighters offer a more pleasing, pooling effect to the space.
Wall lights
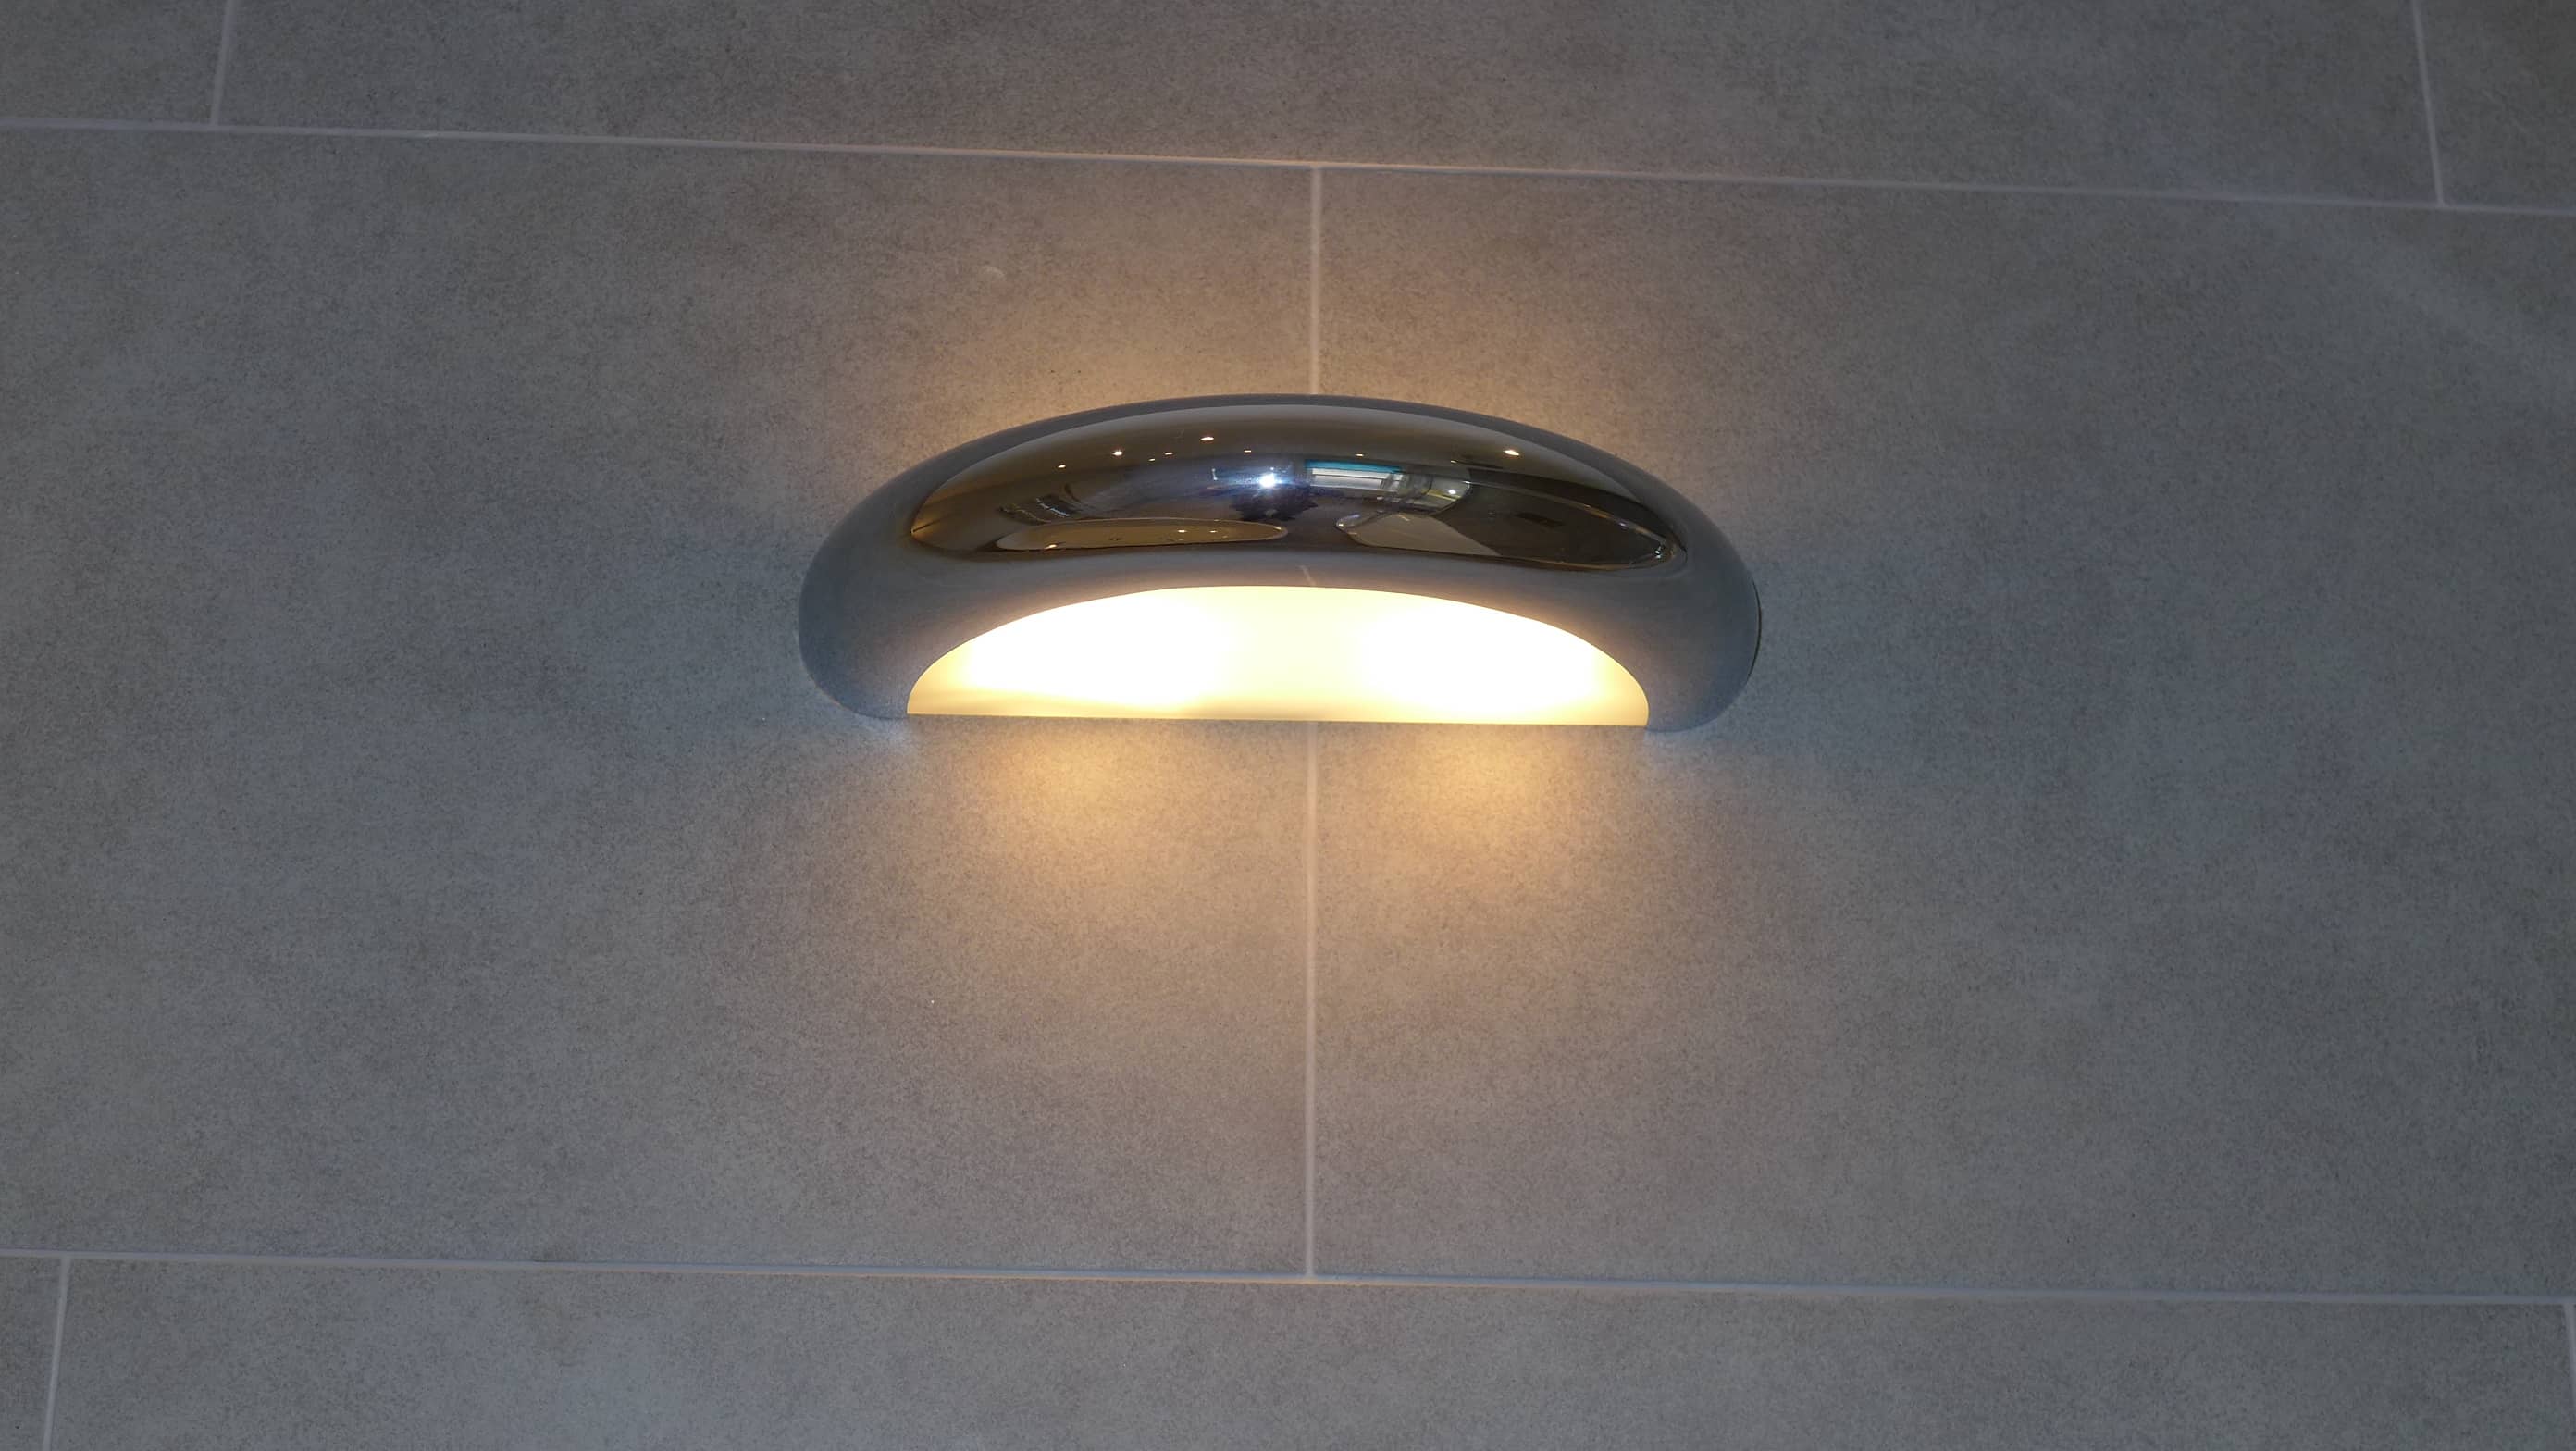
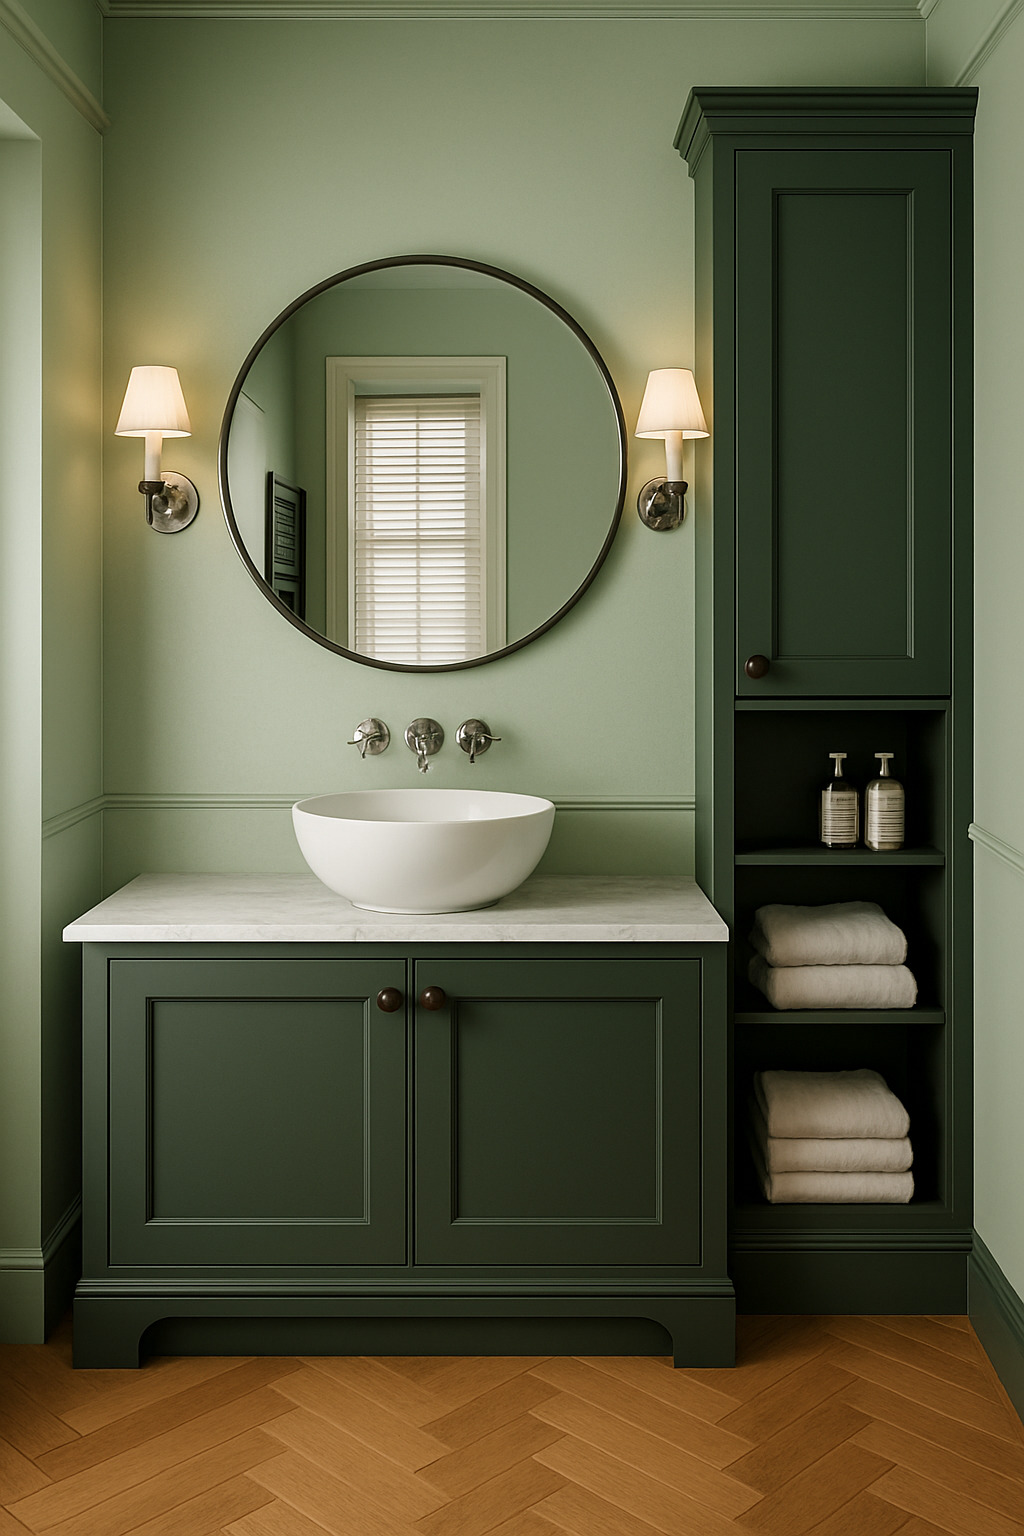
Wall-mounted sconces deliver excellent task lighting around vanity areas and mirrors, as well as general accent lighting. If used with a mirror, place at pair at eye level, one either side to eliminate shadows on the face whilst making up or grooming; much more flattering than an overhead light.

Floor lights
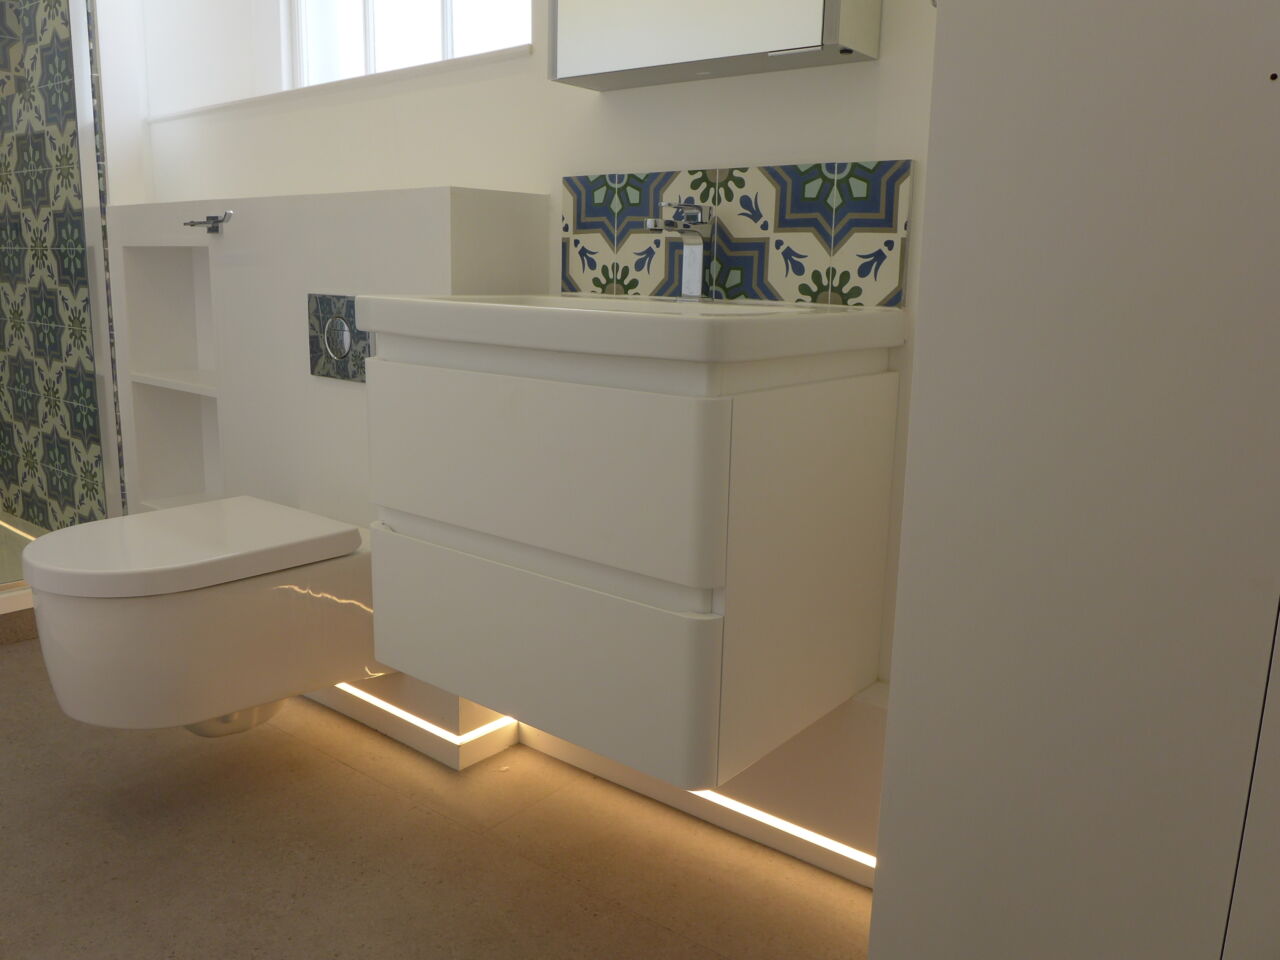
Floor-level lighting creates ambient atmosphere whilst providing practical guidance during night-time visits. LED strip lights installed beneath vanity units or behind toilet pedestals offer subtle illumination.
Consider recessed floor lights in wet room installations, ensuring they meet IP65 rating requirements for direct water exposure.

Specialist lighting options
Shower lights require careful positioning within the shower enclosure itself, and always consult a specialist. These fixtures demand IP65 rating minimum, with many designers opting for IP67 rated units for maximum protection.
Niche lighting highlights architectural features or display areas, and LED strip lighting concealed within alcoves creates dramatic effects.
Lighting for a purpose
Ambient Lighting
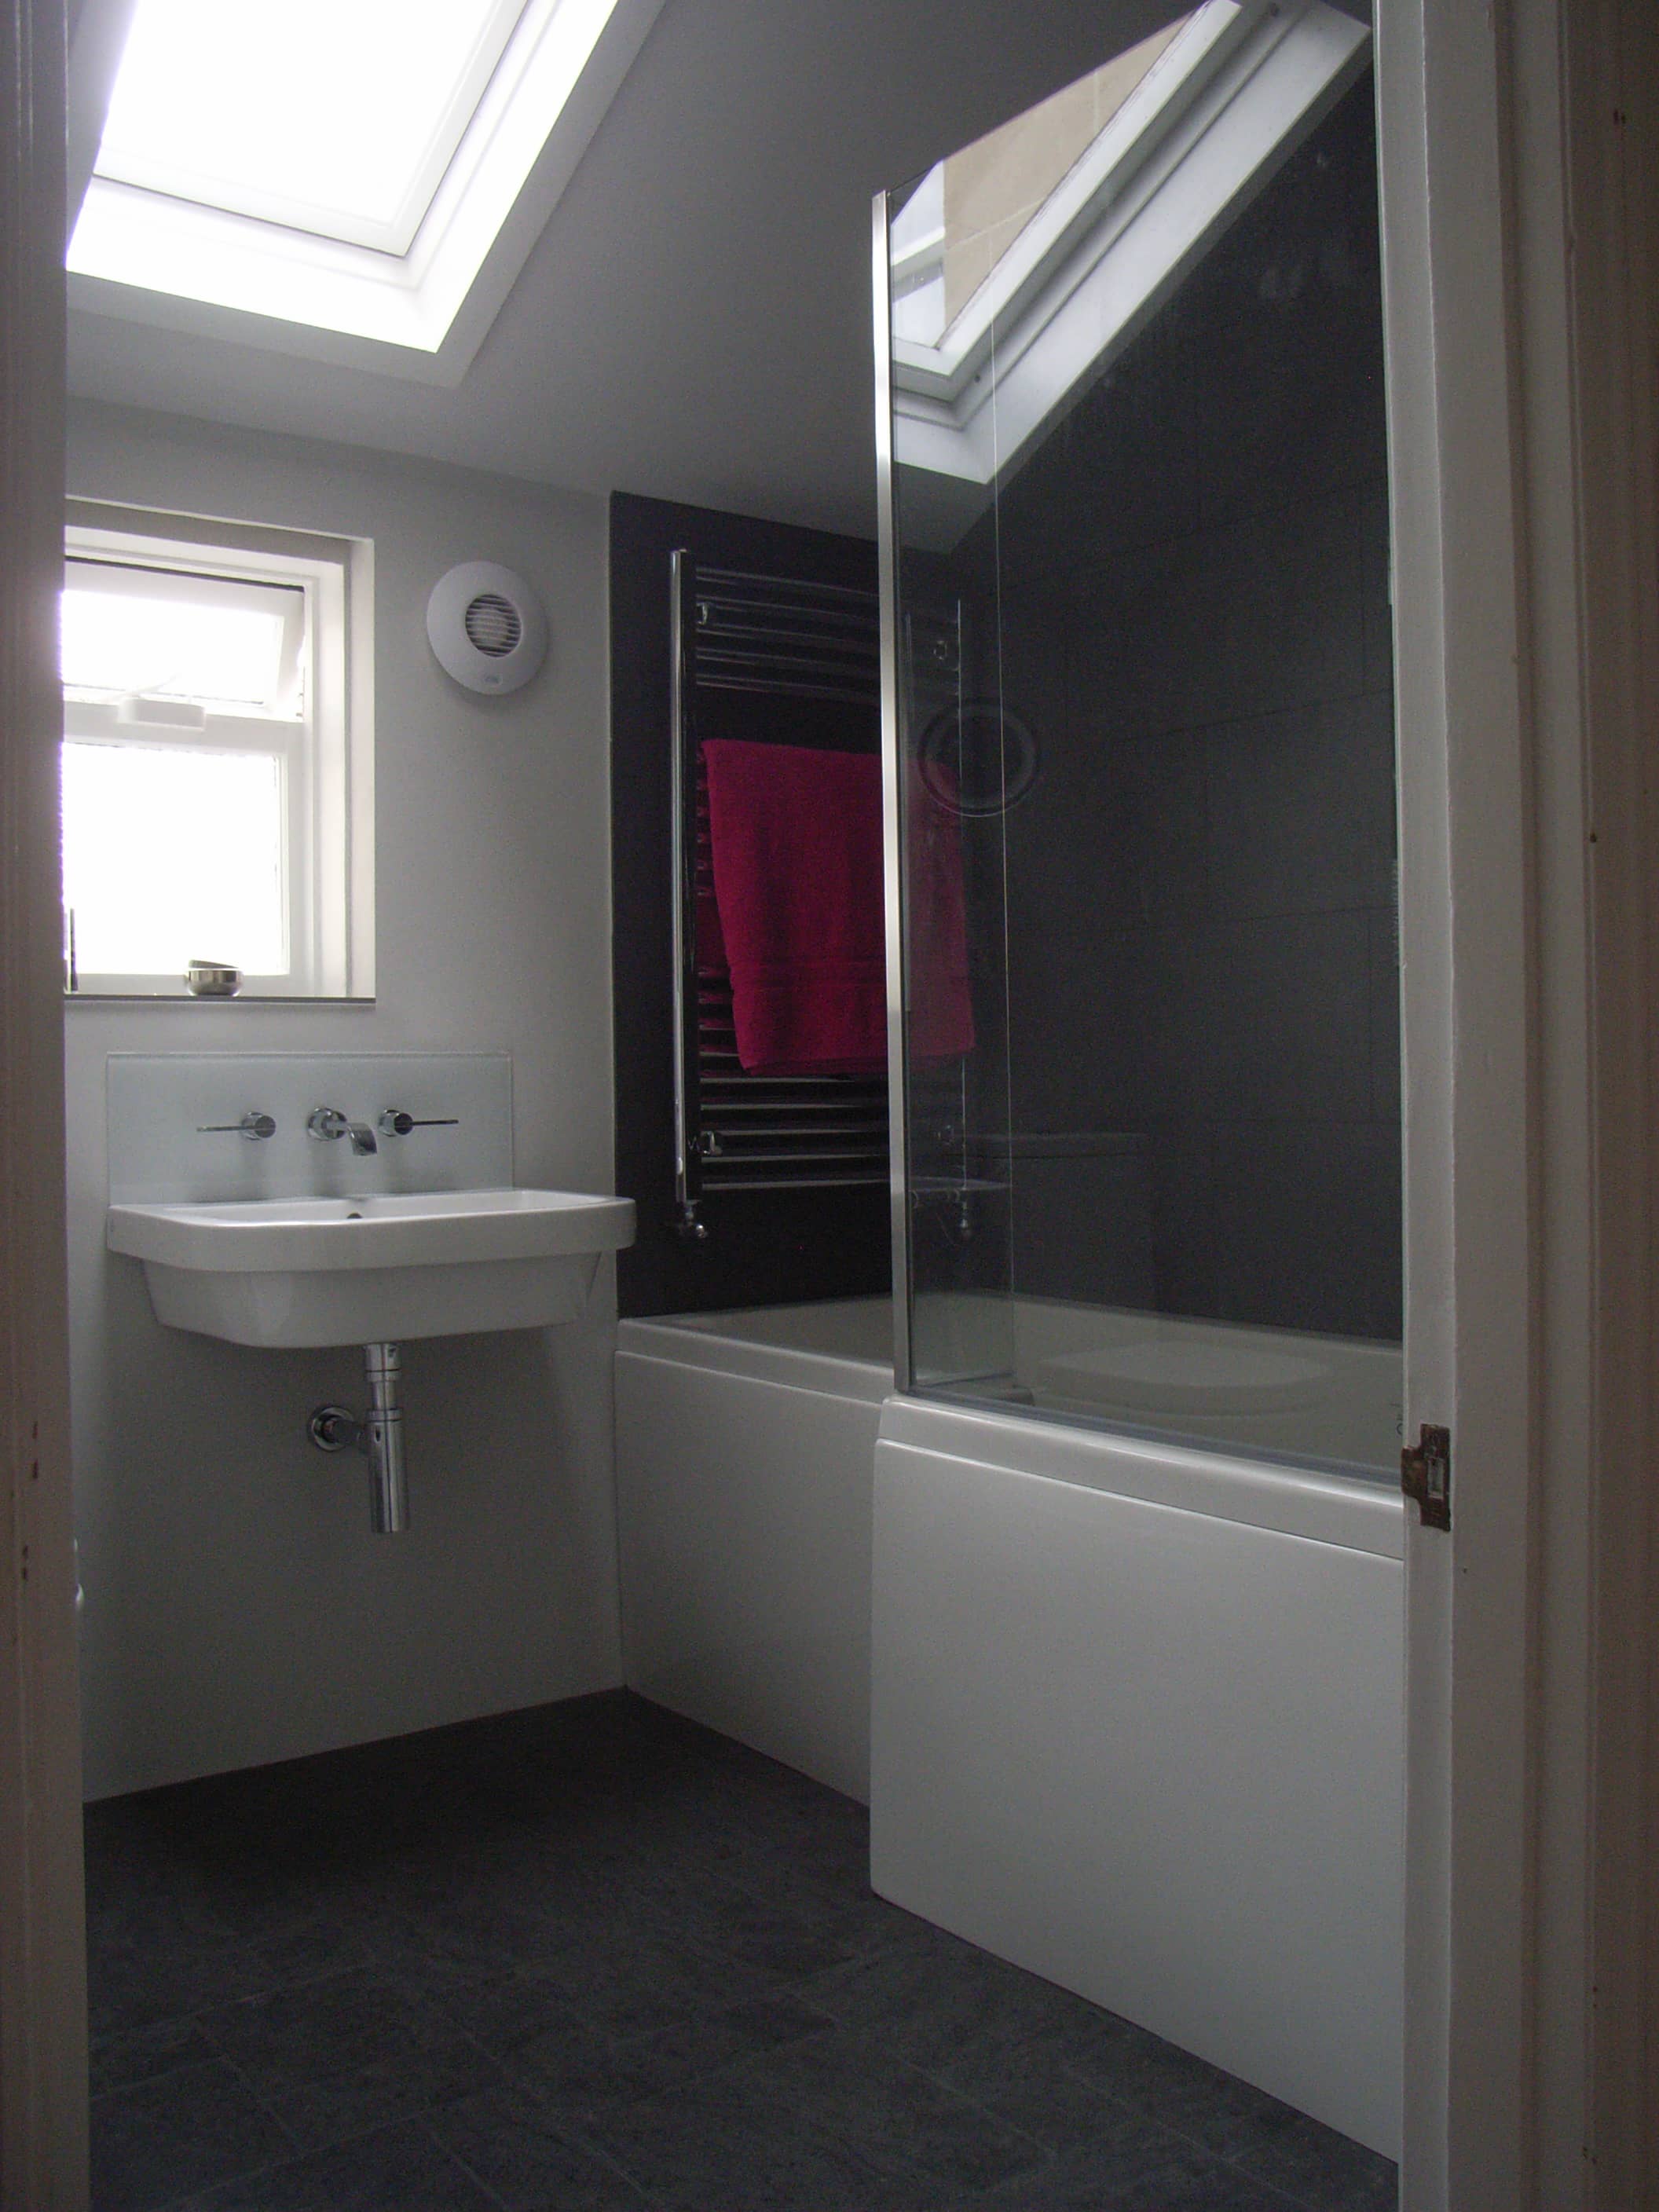
This provides general lighting in the bathroom, whether from basic ceiling lights or natural light.
Task lighting

Task lighting facilitates specific activities like shaving or applying makeup. As mentioned earlier, vanity lighting should illuminate your face evenly and not cast shadows. Twin LED strip lights integrated into mirrors or mirror cabinets to the sides work well.
Decorative lighting
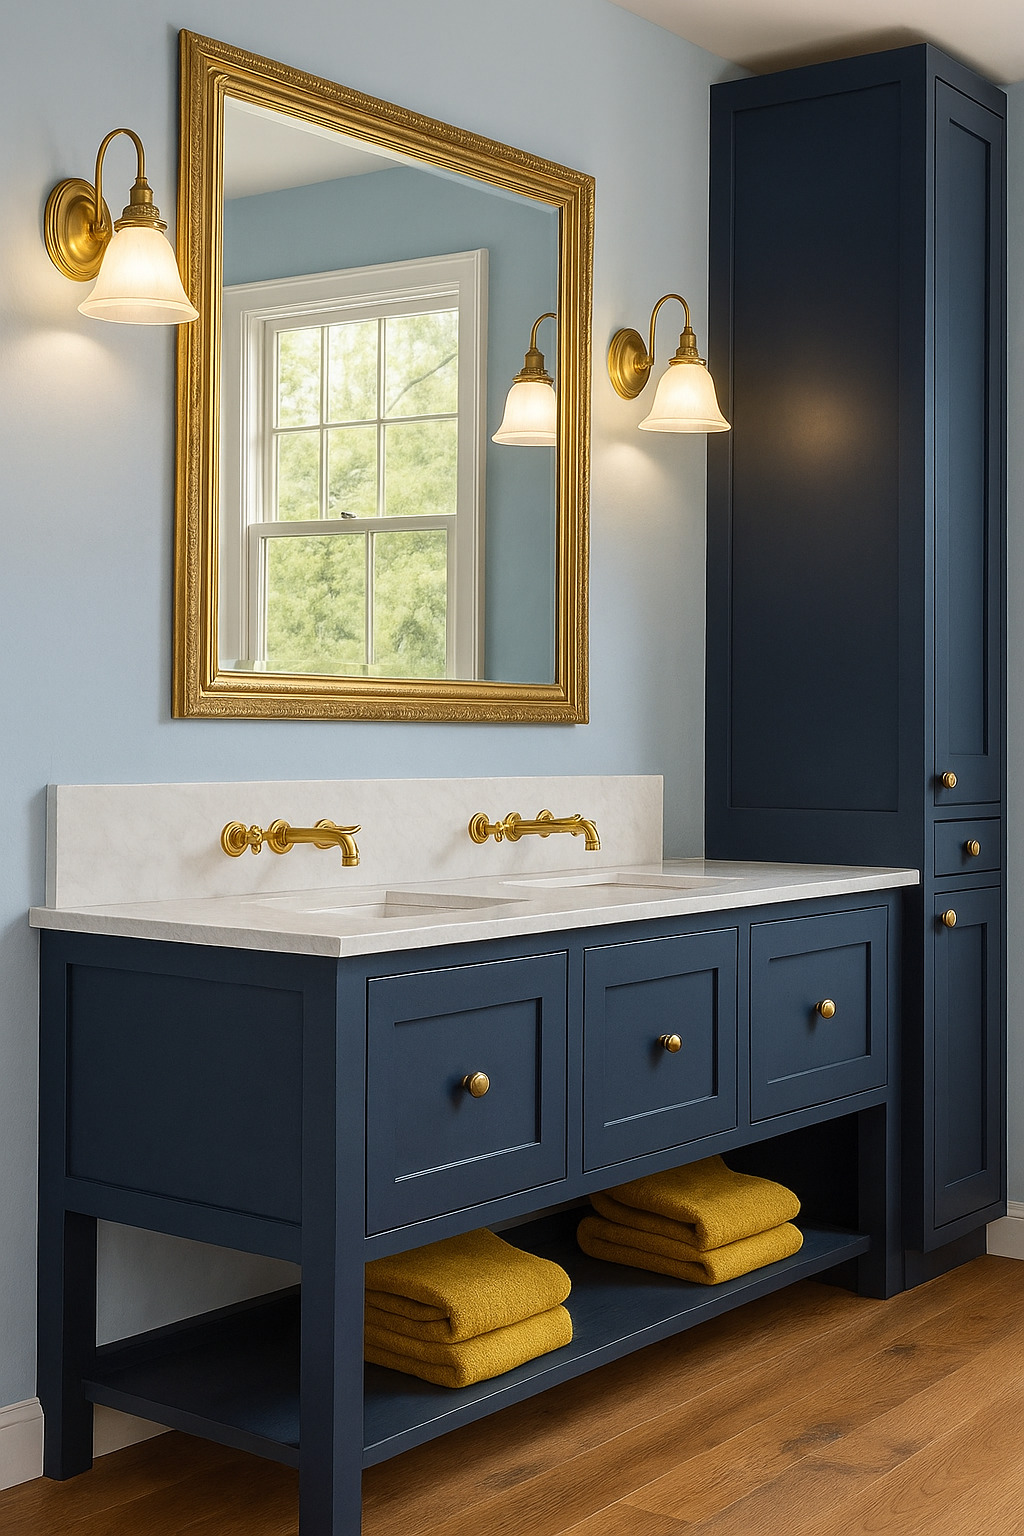
Decorative fixtures add personality and style to bathroom spaces. Statement pendant lights positioned away from wet zones create focal points without compromising safety.
Consider period-appropriate fixtures for traditional bathrooms, ensuring they meet current IP rating requirements whilst maintaining the period aesthetic.
Accent lighting
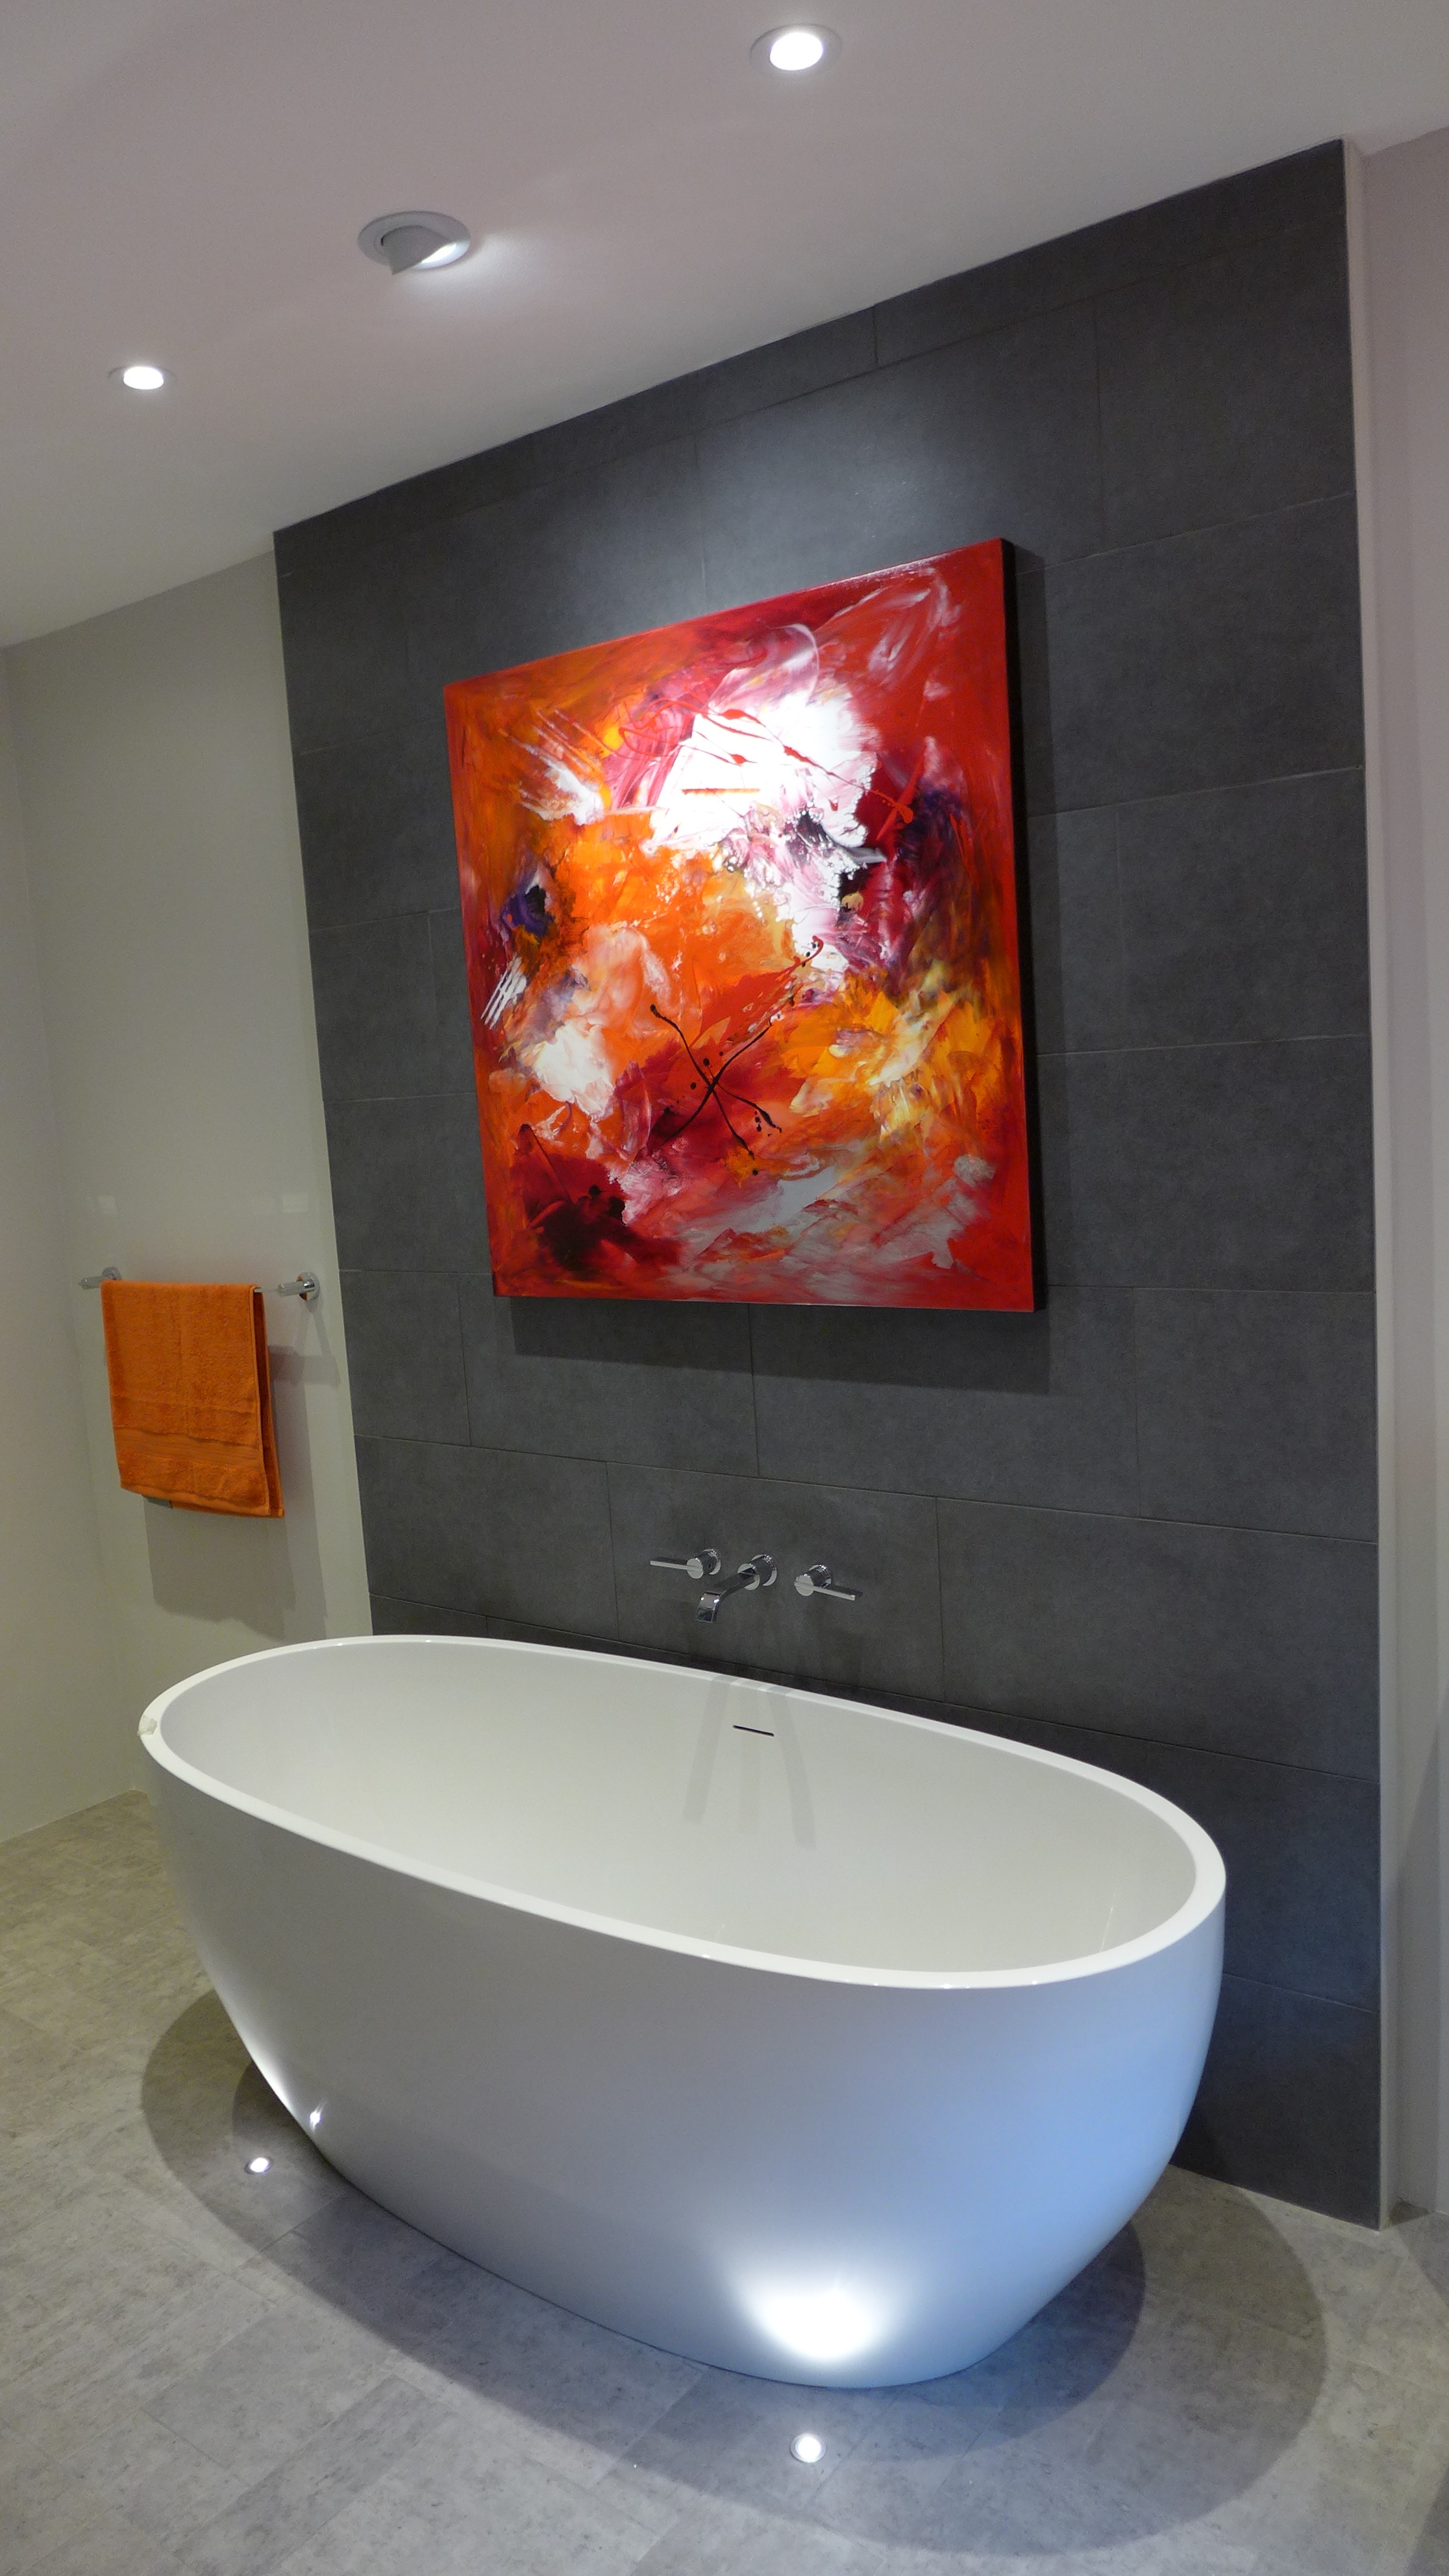
Accent lighting highlights specific features like artwork, architectural details, or luxury finishes. Directional spotlights can emphasise textured wall tiles or natural stone surfaces.
Backlit mirrors create stunning visual effects whilst providing functional illumination. If there’s one room in the home where the options for stylish light fittings have always been distinctly lacking but new bathroom lighting trends are emerging, offering exciting possibilities for creative lighting design.
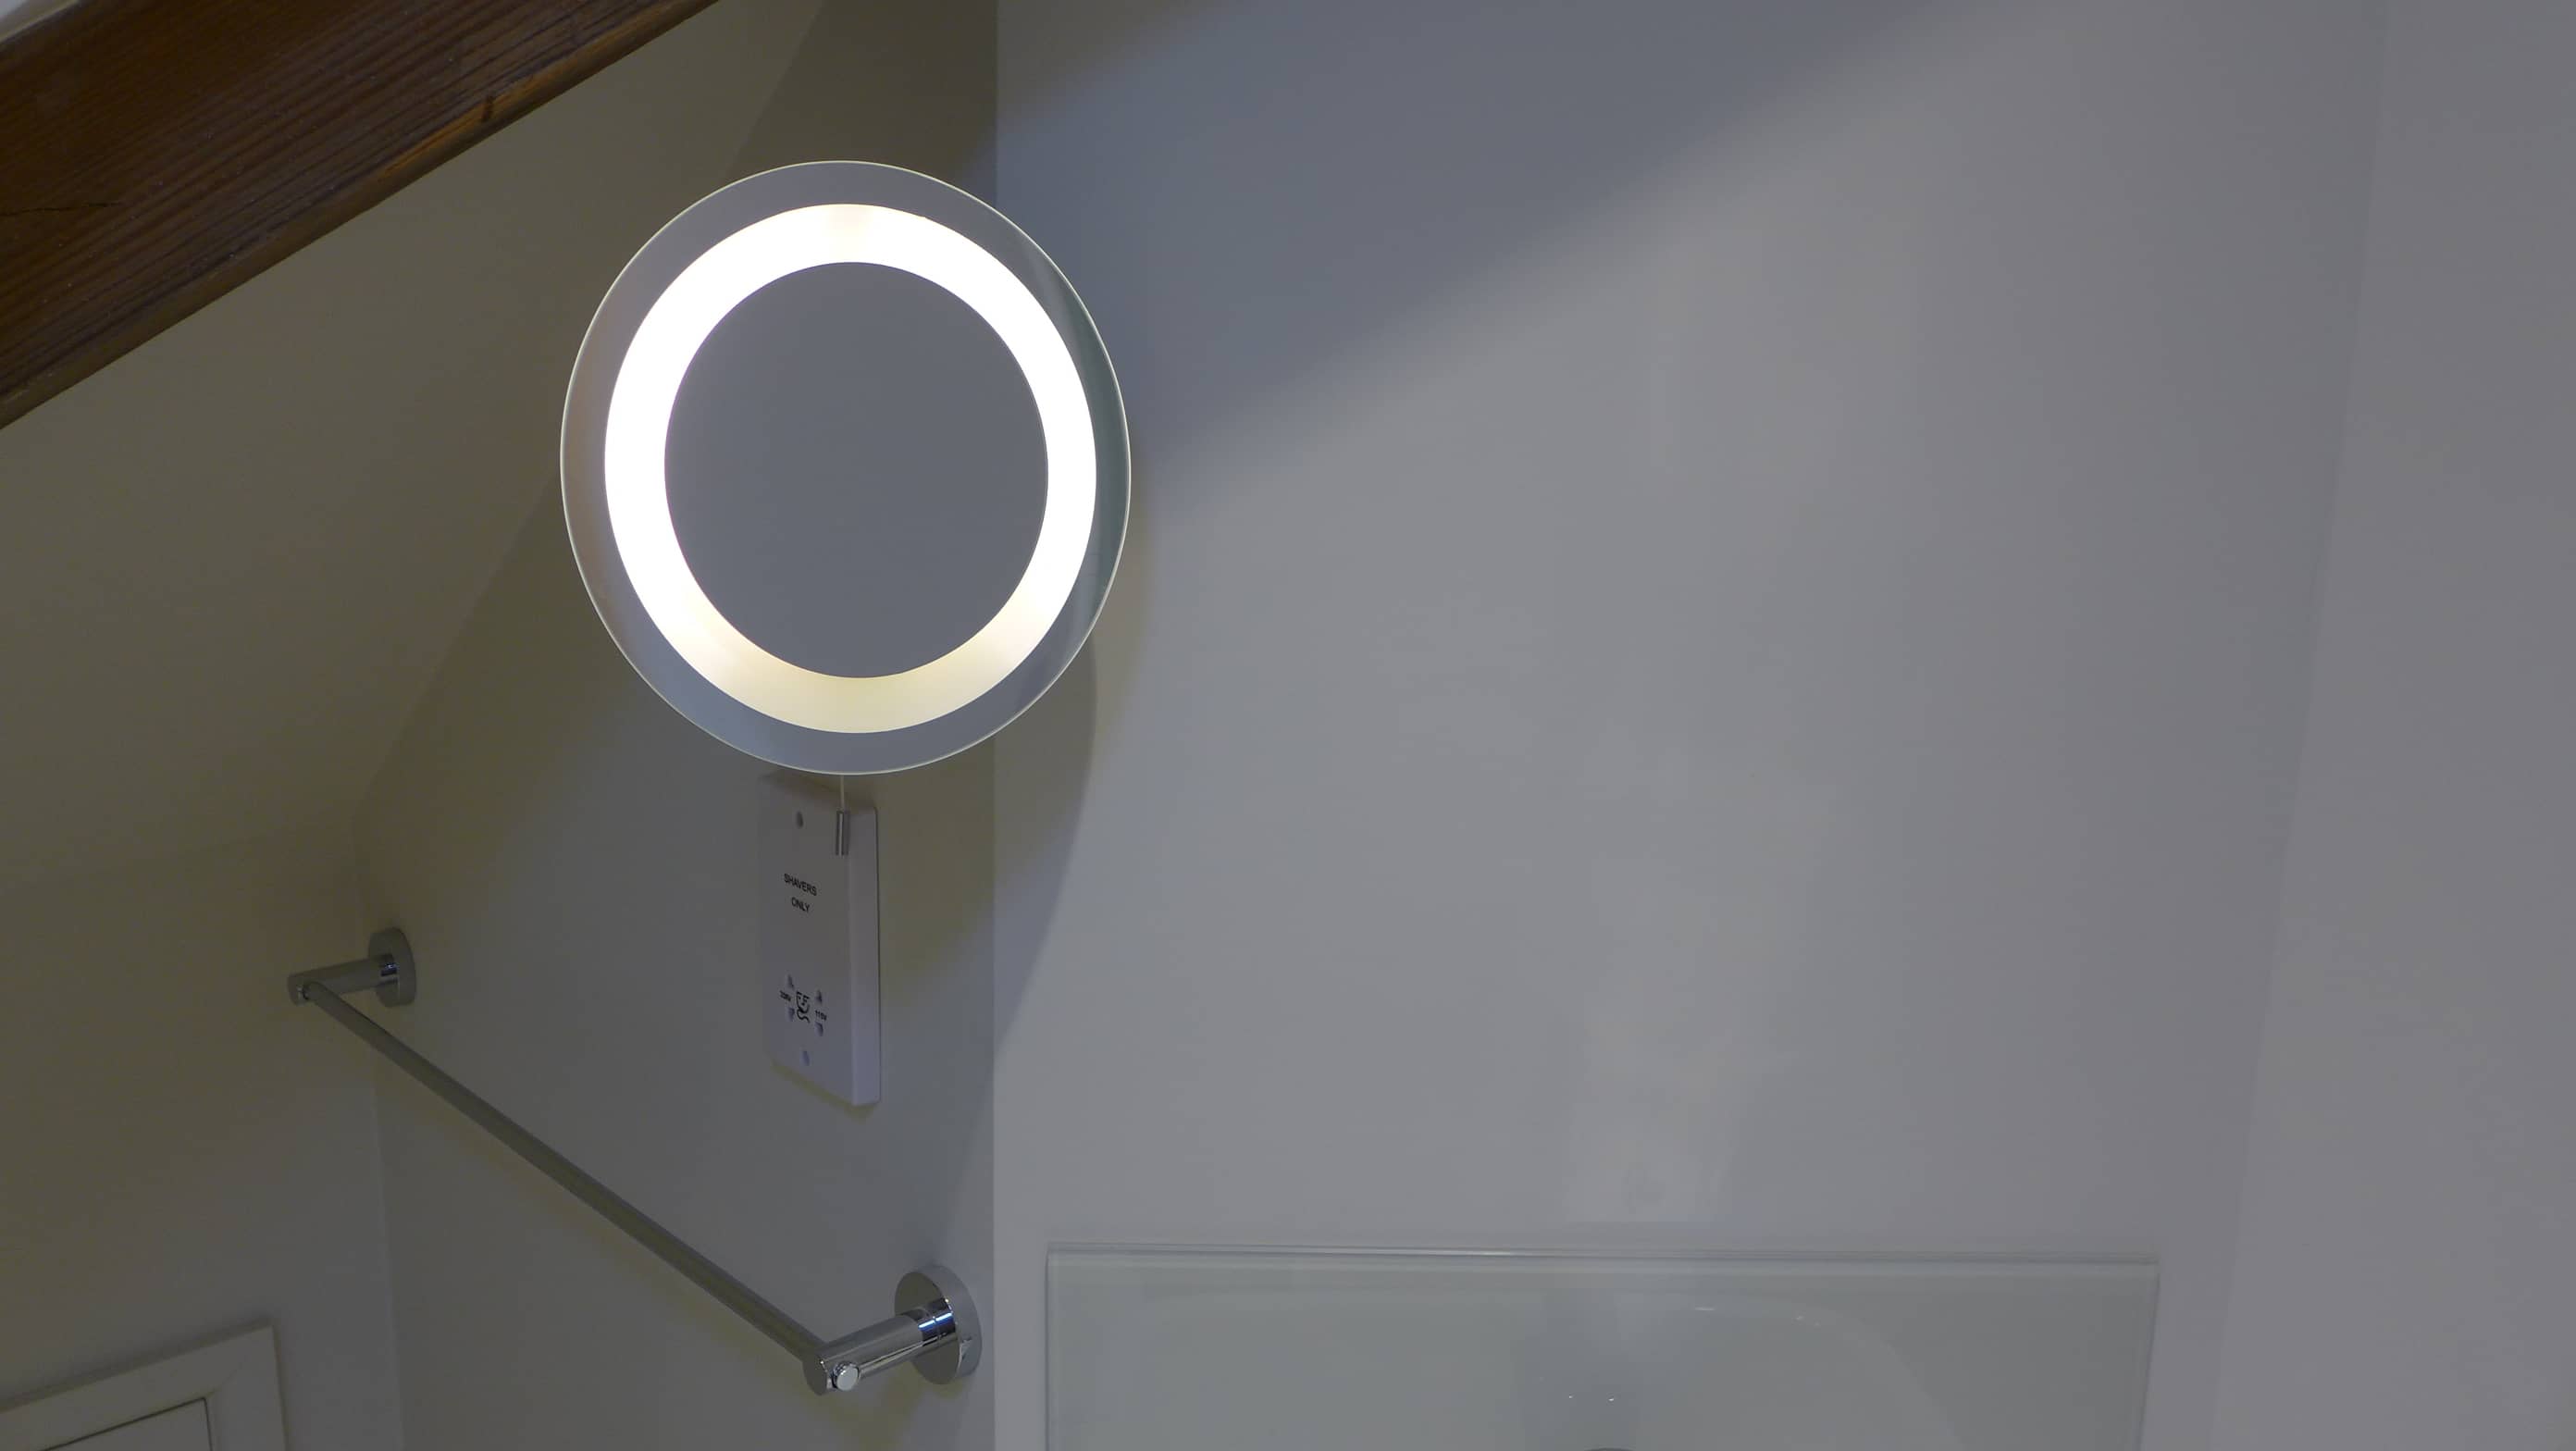
Mirror and cabinet lighting
Integrated mirror lighting eliminates shadows whilst providing clean, modern aesthetics.
Cabinet lighting improves functionality whilst adding ambient glow. Motion sensors activate lights, improving usability during night-time visits.
Backlit mirrors featuring built-in LED technology offer energy-efficient solutions with long lifespans. These fixtures often include dimming capabilities and colour temperature adjustment features.
Understanding light colour temperature
Light temperature refers to the warmth or coolness of the light emitted by the fitting; you’ll see the temperature and a description on the packaging. In essence, warmer lighting is yellow and lower temperature; cooler lighting is blueish and a higher temperature. What you need to decide is whether to create a cool environment or warm environment, which is why bathroom design needs to consider all the factors – so, for example, if you fit warm tones through bathroom tiles, flooring and finishes, say, you may want to enhance this with warmer lighting.
Warm white (2700K-3000K)
Warm white creates cosy, relaxing atmospheres perfect for evening routines. This temperature mimics traditional incandescent bulbs, providing comfortable illumination for bathing activities.
Daylight (5000K-6500K)
Daylight temperature offers accurate colour representation, essential for makeup application and detailed grooming tasks. This cooler temperature provides energising illumination for morning routines.
Cool white (3500K-4100K)
Cool white strikes a balance between warm and daylight temperatures. This versatile option works well for general bathroom lighting, providing clarity without being too clinical.
Light fitting finishes
Chrome finishes
Chrome remains the most popular choice for bathroom fixtures, offering durability and water resistance. This finish complements contemporary design schemes whilst providing easy maintenance.
Pros: Corrosion resistant, easy cleaning, matches most bathroom fittings Cons: Shows water spots.
Brushed nickel
Brushed nickel provides sophisticated appearance with better fingerprint resistance than chrome. This finish works well with both modern and traditional bathroom designs.
Pros: Hides water spots, warm appearance, versatile styling Cons: More expensive than chrome, limited colour matching options
Brass and gold plate
Brass finishes create luxurious, warm atmospheres particularly suited to traditional or boutique hotel aesthetics. Modern brushed brass offers contemporary appeal without excessive shine.
Pros: Timeless elegance, antimicrobial properties, adds warmth Cons: Requires regular maintenance, higher cost, limited modern appeal. Don’t clean too aggressively, or the plating will wear off.
Black and matt finishes
Black fixtures create dramatic contrast whilst matt finishes reduce glare and reflections. These contemporary options work particularly well in industrial or minimalist design schemes.
Pros: Modern aesthetics, reduces glare, dramatic visual impact Cons: Shows dust and water marks.
Safety considerations
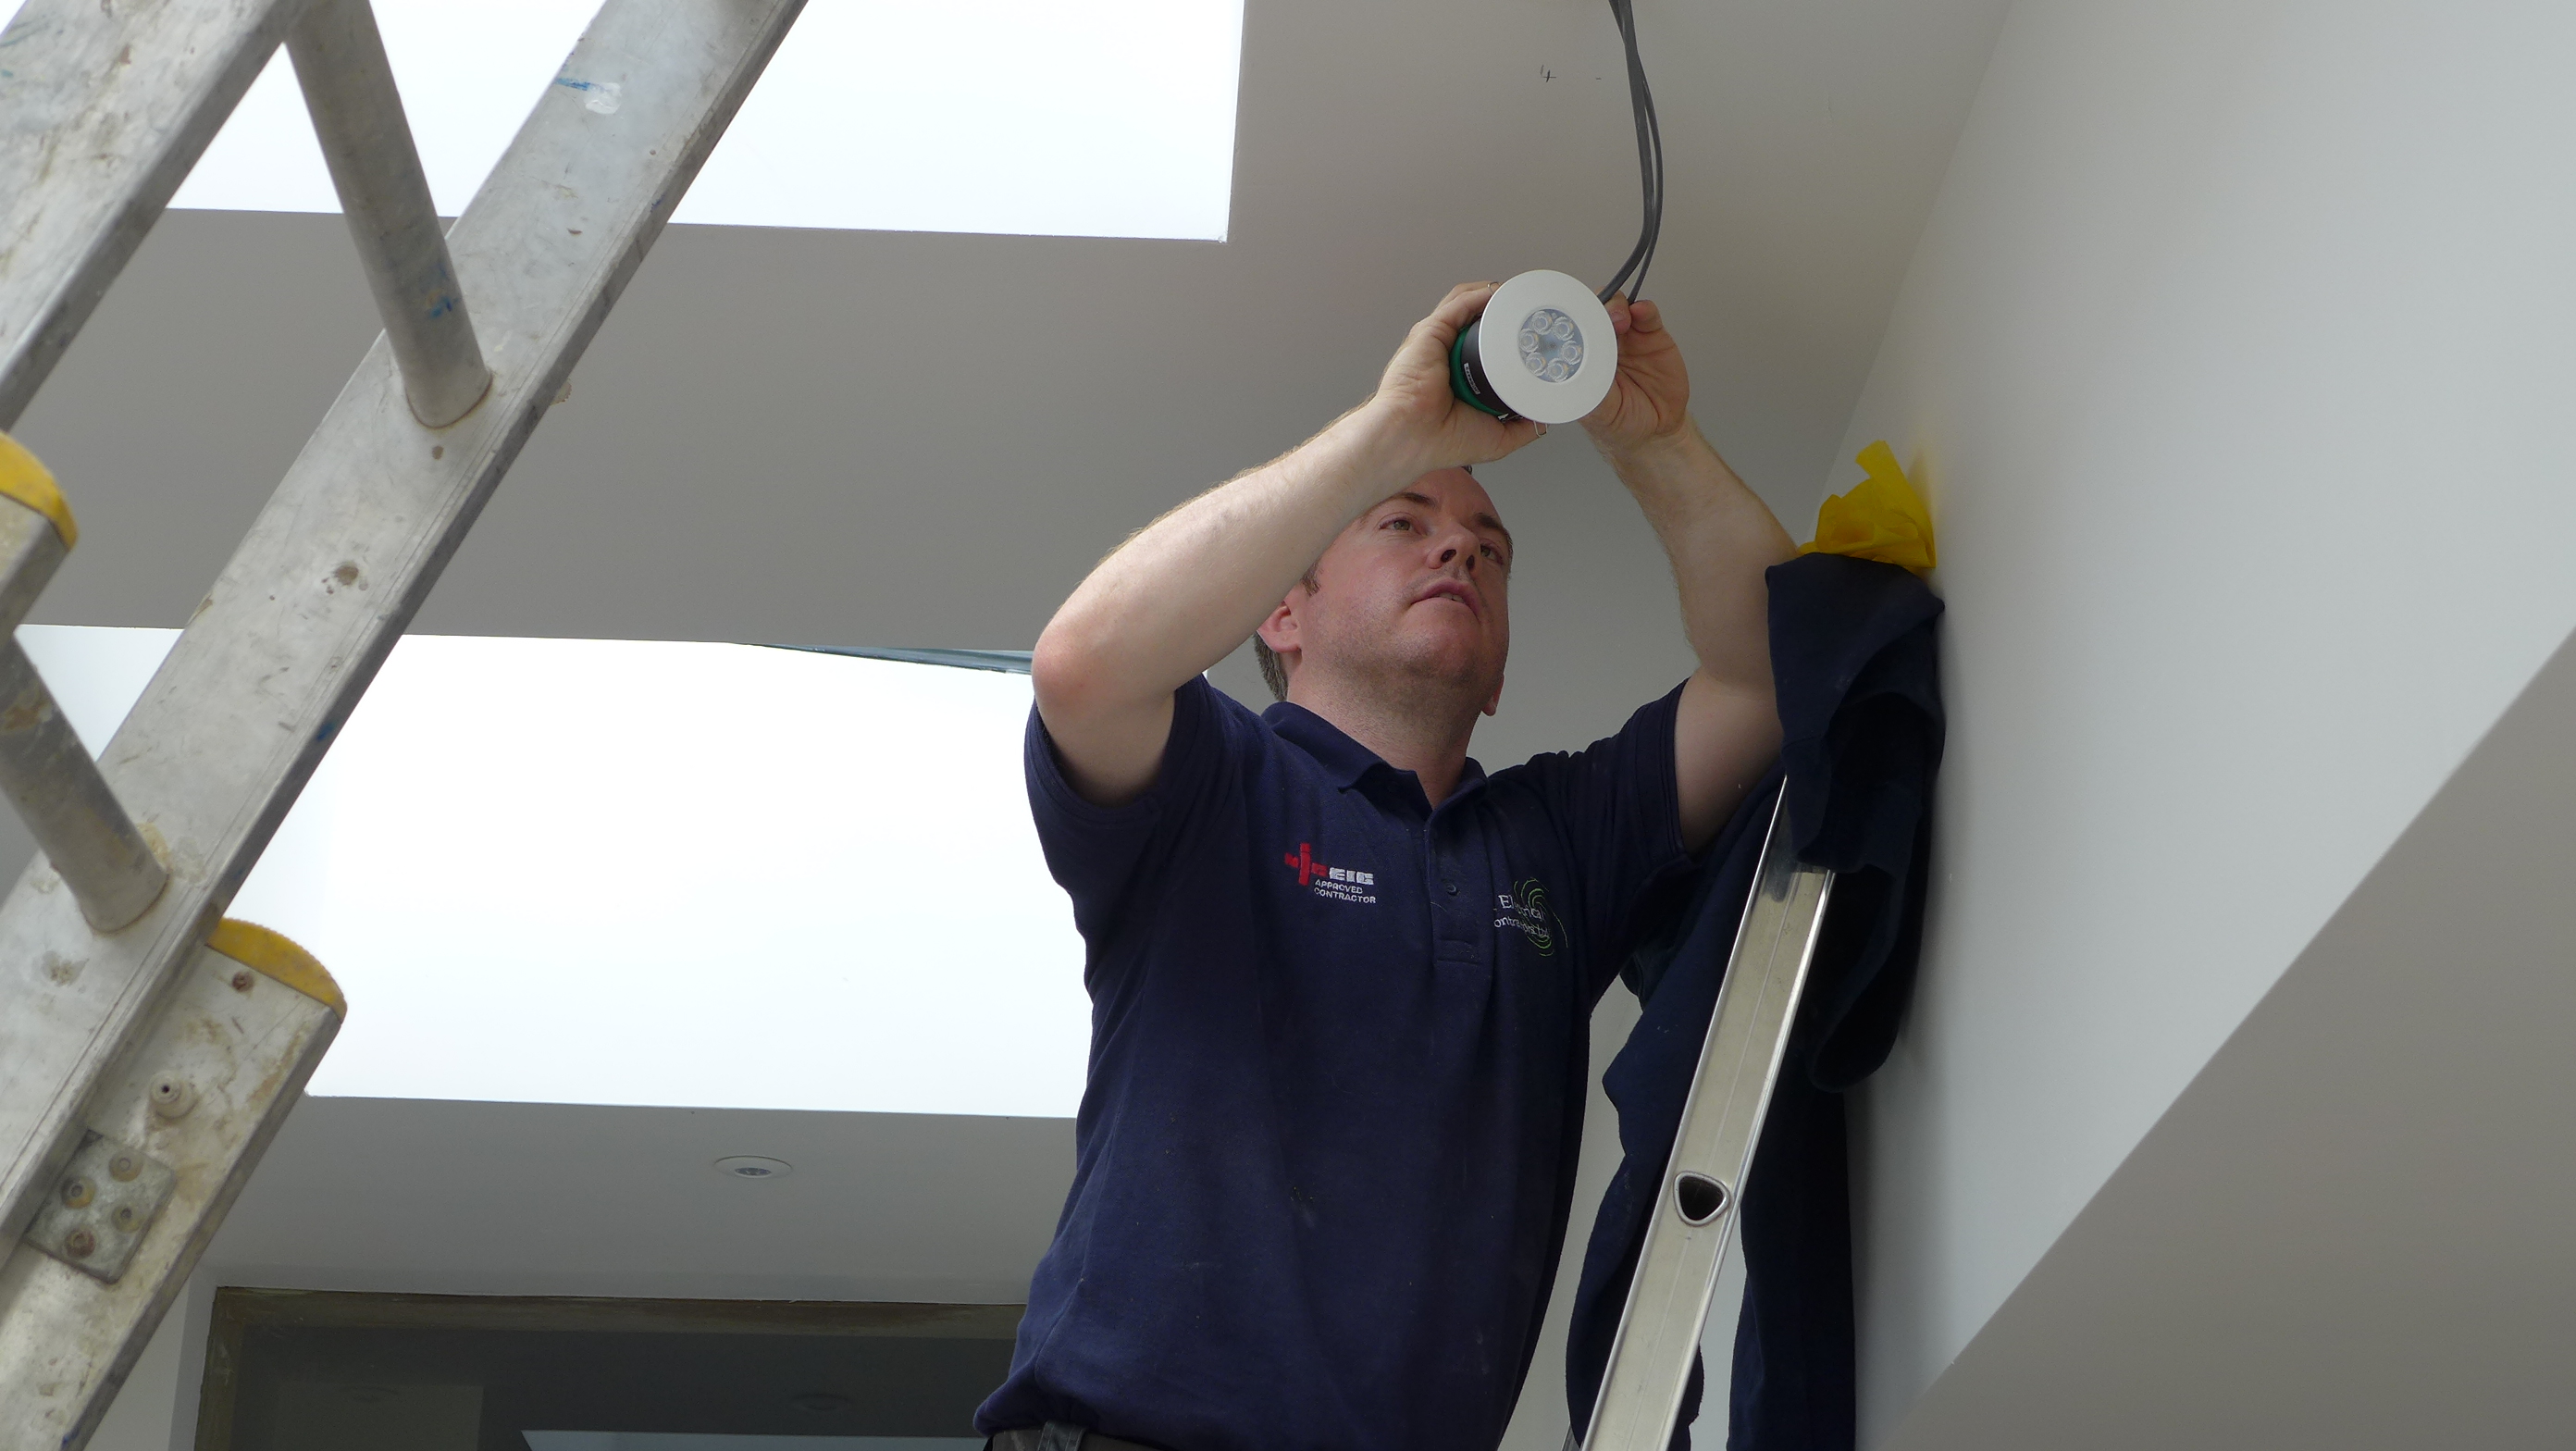
Always use a qualified contractor for installing electrics but, for your initial planning, you can get an idea of what can go where by referring to one of the many diagrams of IP-ratings for bathroom zones.
IP stands for ingress protection – how well sealed is the fitting against solids (like dust) or liquids (like water). When searching for light fittings on-line, the specification should show the IP rating (for example IP65). The first figure relates to its protection against solid matter; the second figure relates to protection against liquids.
When taken with the illustrative schematic below and the specification for the fitting, you should be able to work out whether your preferred fitting is likely to be allowed in a particular location for planning purposes – but always consult a qualified electrician, as your bathroom or shower configuration may be nuanced (such as a shower head fixed above the 225cm).
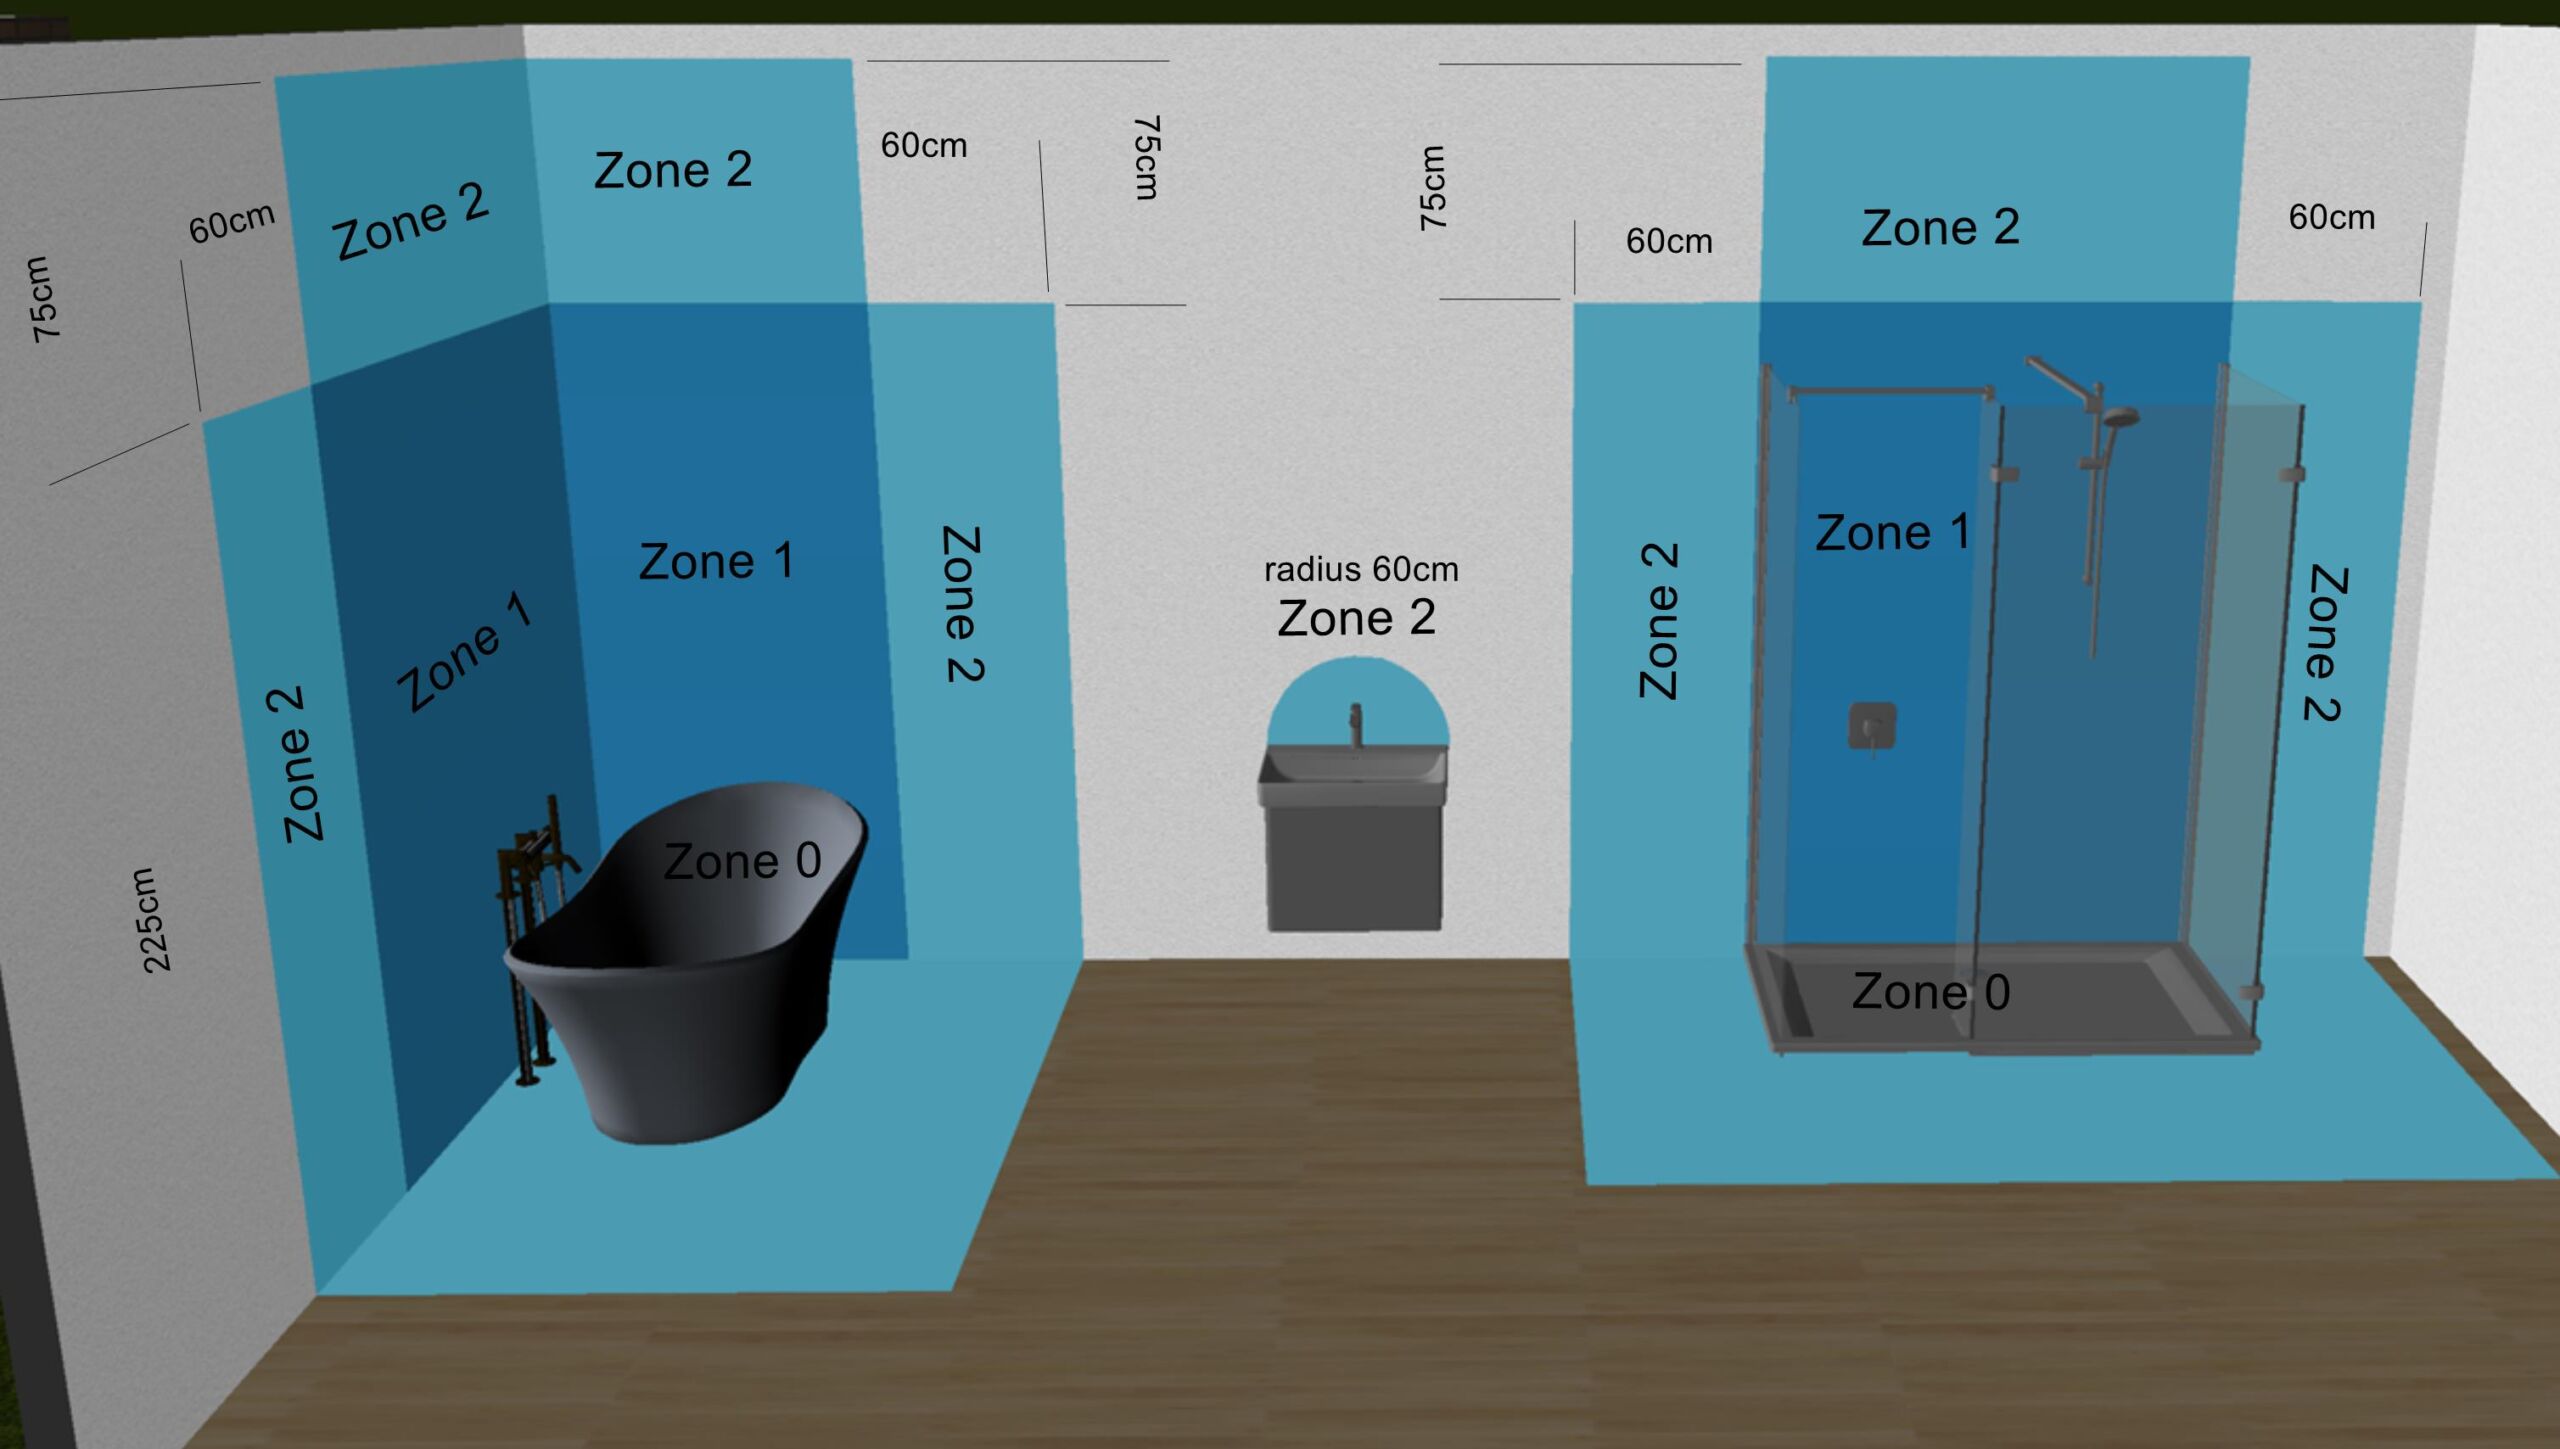
Zone 0 is inside the shower or bath itself. Fittings should be rated IP67 at least which reflects immersion in water.
Zone 1 is the area above floor level where the shower tray or bath is located, reaching 2.25m. Fittings should be a minimum of IP45 but most would recommend IP65 is to be used.
Zone 2 is the area reaching 0.6m from the edges of the bath and shower, and 75cm above Zone 1 as shown. Fittings should be a minimum of IP44 is required. Similar applies to the area near the basin, based on an 60cm radius from the taps.
Outside zones Any area in the bathroom without a zone specified have no particular IP ratings although a qualified contractor may recommend specific requirements based on your specific configuration and use.
Fire-rated fittings
Fire-rated fittings may also appropriate when penetrating a ceiling; again, your qualified contractor will be able to advise. If so, check that the product specification states “fire-rated” as some cheaper fittings look the same but are not fire-rated.
Natural light
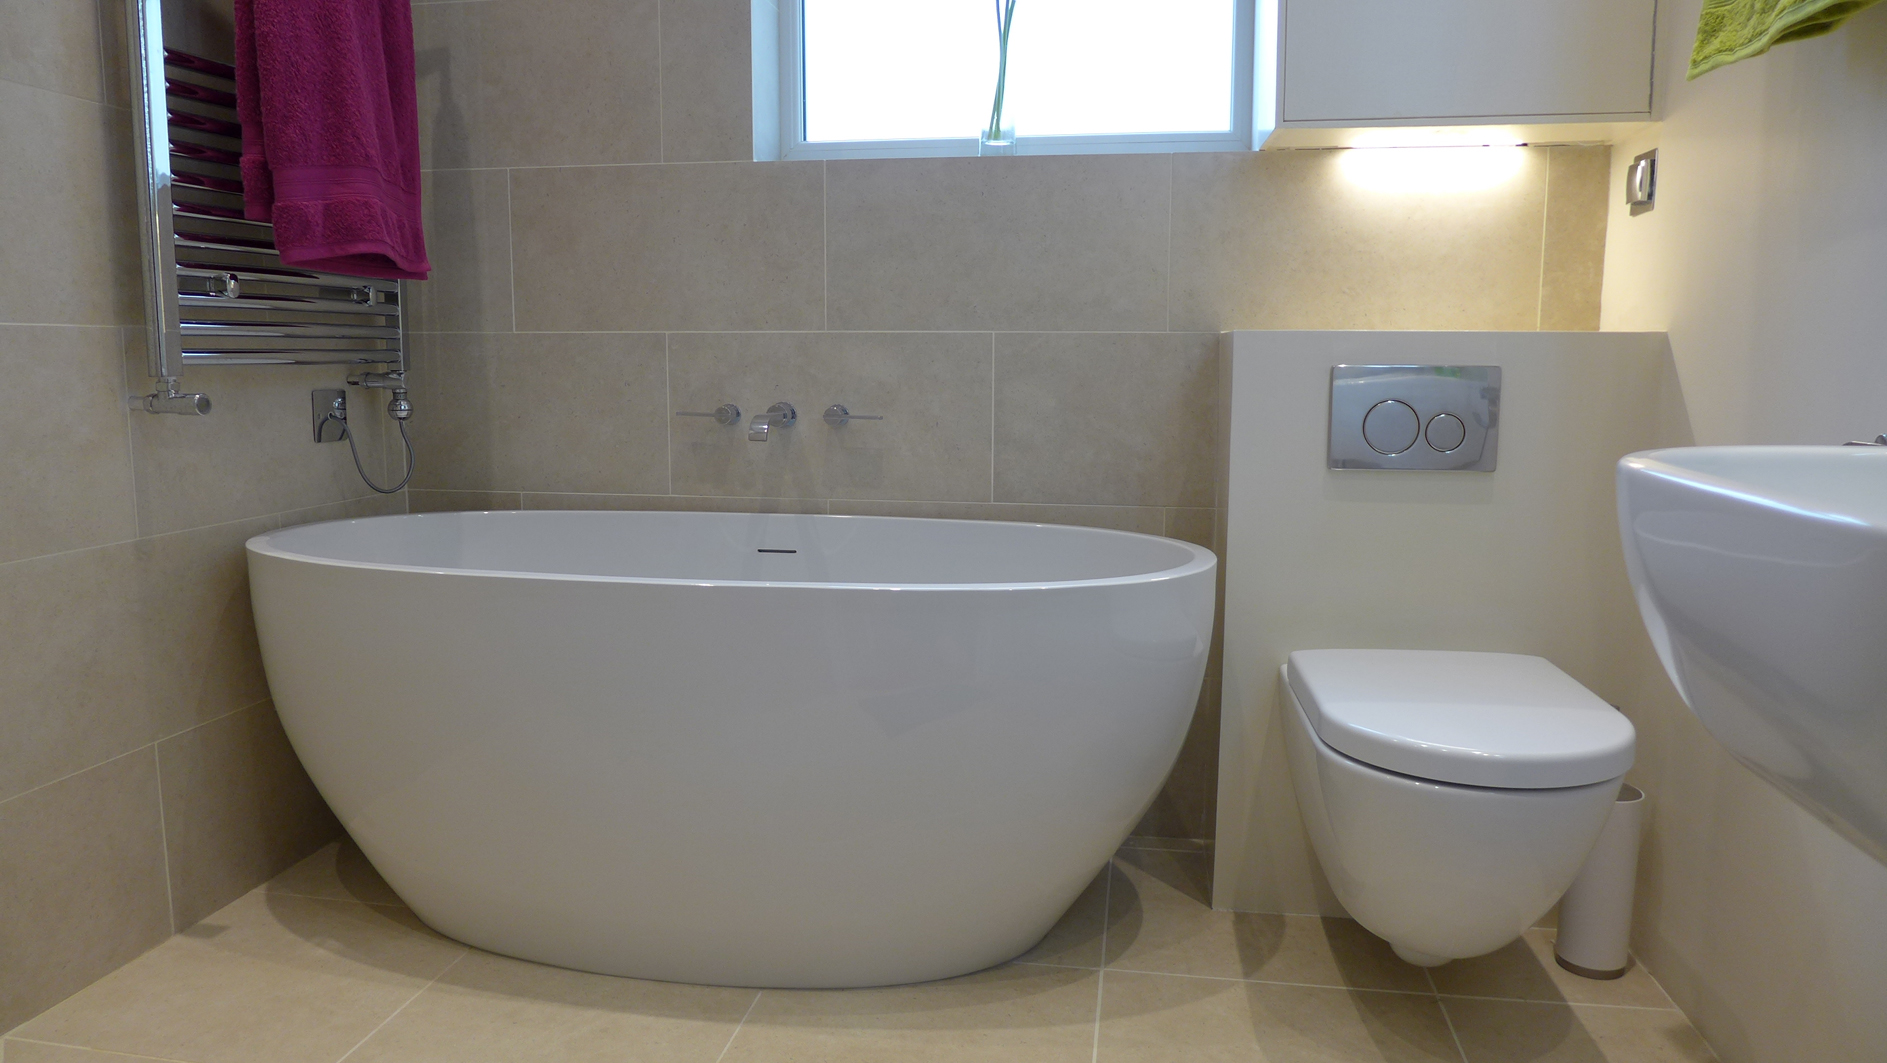
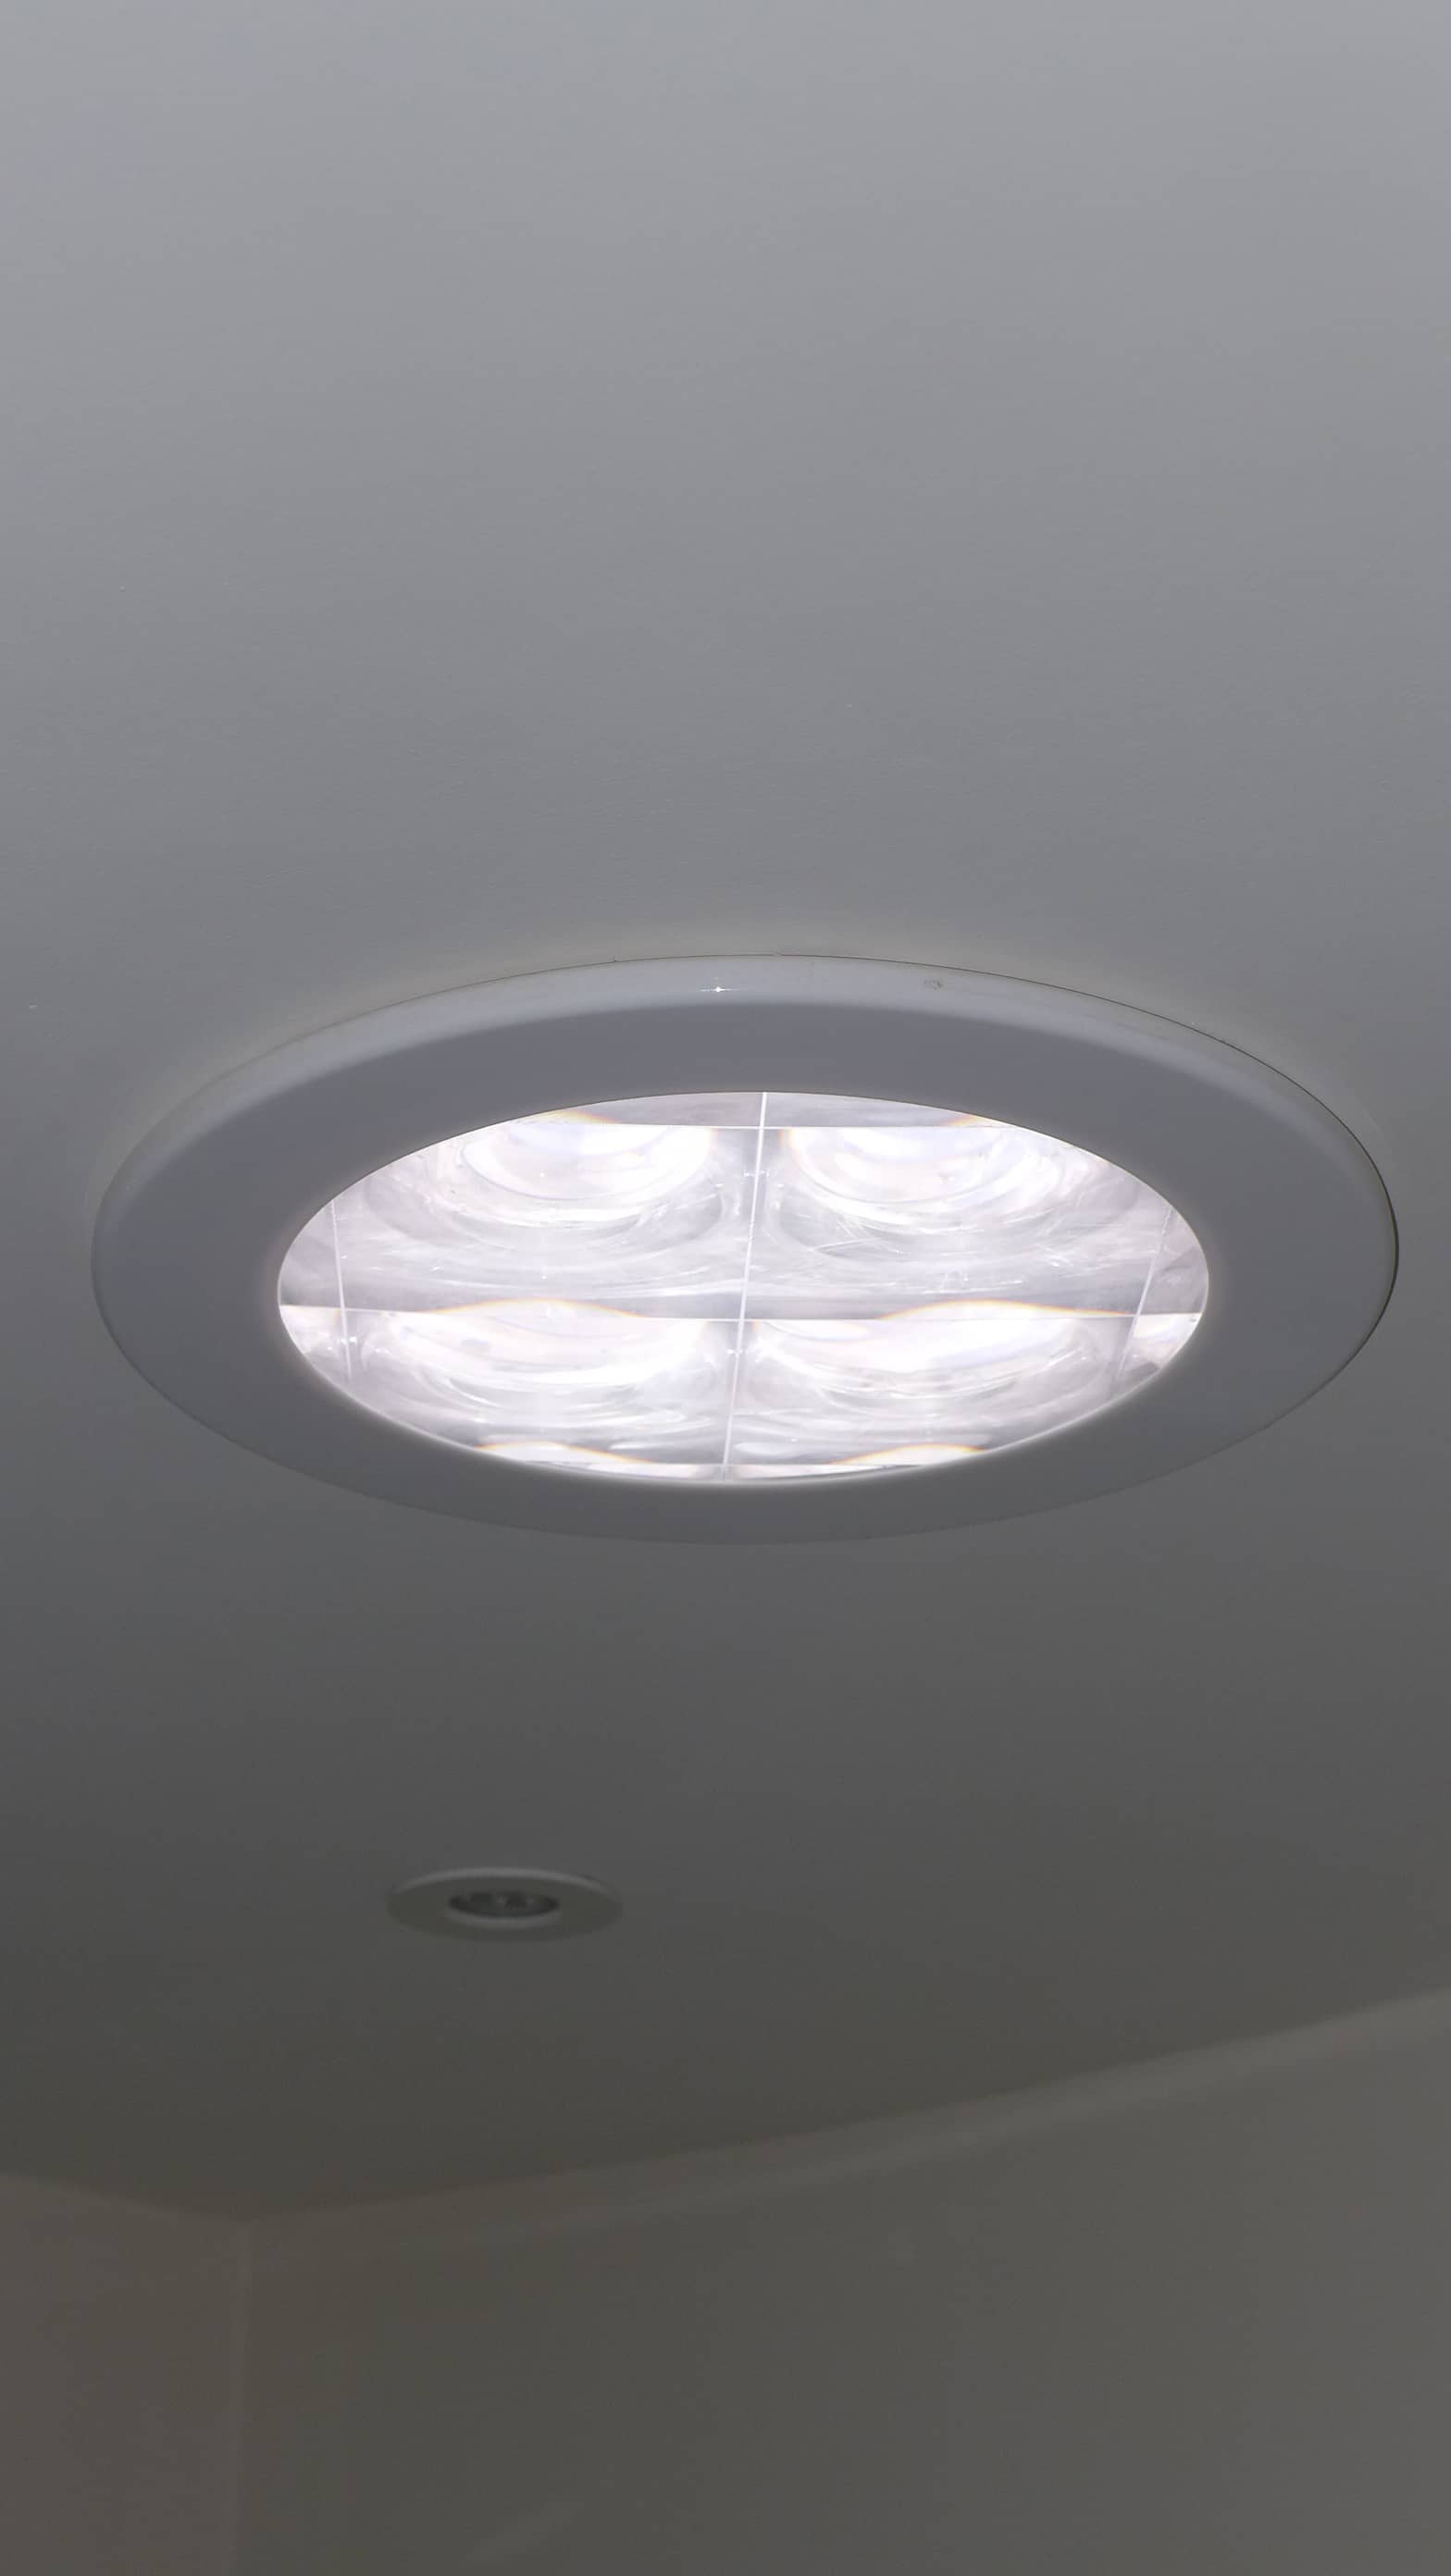
Maximising natural light reduces energy consumption whilst creating healthy, welcoming environments. Roof lights and larger windows transform bathroom spaces, whilst retaining privacy, typically through frosted glass or a translucent screen.
Light, or sun-tubes channel natural light from roof level down to internal bathrooms without windows. These systems provide natural illumination during daytime hours, reducing reliance on artificial lighting.

Installation issues
Ceiling joists
It’s not always possible to know precisely where your recessed ceiling lights will fit, because of the ceiling joists. You can still plan for a particular pattern, but be prepared to compromise when the joists are eventually exposed. If the ceiling is high enough, you could create a false ceiling, giving more flexibility, and would be easier access for the contractors. Obviously, flush-mounted alternatives overcome this problem, although such fittings are less stylish that the recessed options.
We usually space standard recessed downlighters (100mm diameter bezels) in an array with 90cm spacing. Larger downlighters can be spaced more widely.
Extractor fan operation
If you are mounting your extractor fan in the ceiling, coordinate the location of the grill with your lighting pattern so they don’t conflict.
Consider combination units featuring both lighting and extraction functions. These space-saving solutions work well in smaller bathrooms whilst maintaining safety standards.
Whether or not you connect the extractor fan to a lighting circuit is down to personal choice. A separate switch offers the advantage of independent operation which may be useful for extended running or, indeed, not to disturb others during the night.
Condensation
It’s not obvious, but if your recessed downlighters pass close to an outside surface (just below a flat roof for instance), in cold weather, condensation may form on the back of the fitting and drip through to the bathroom below. Solutions include: (1) ensuring sufficient insulation between the back of the fitting and the underside of the roof; (2) fit a different type of recessed fitting such as the plaster-in linear LED light; (3) install a low profile, surface mounted, flush fitting.
Lighting schematics
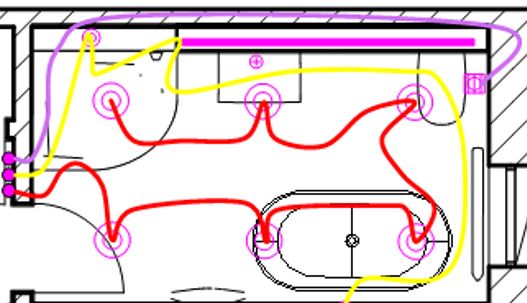
Now that you’ve seen several lighting options, you can return to your floorplan and lay out the lights appropriately, and how they will be switched.
We suggest at least two lighting circuits – one for the main lights, and one for feature lights. Feature lights offer the advantage of cosy, low level lighting for night time visits. We don’t recommend dimmers in bathrooms – they are not necessary.
Depending on space, you may mount the switch inside or outside the bathroom – again it depends on the zones discussed earlier – your qualified contractor will advise. Some bathrooms use motion sensors, taking away the need to fit an additional switch plate.
Bathroom Lighting design

If you had to pick one feature of interior design that makes the most difference, it would be the lighting. That’s why film studios and photo-shoots spend so much time and money lighting their scenes to best effect.
You can achieve the same without breaking the bank – it just requires intelligent design – think about what light you need, where and when, and your bathroom will come to life in ways you never thought possible.
At Style Within, we offer this guidance tailored to your specific requirements, integrating seamlessly with your bathroom vision.
If you want to discuss ideas with us, please get in touch and we’ll help you choose the best lighting options for your space, lifestyle, and budget.
