Renovating a 70s apartment may not seem particularly exciting. But we transformed the space, stripping everything back to concrete and starting again. We knocked down walls and re-fitted each room for modern living, with a few unique features along the way.
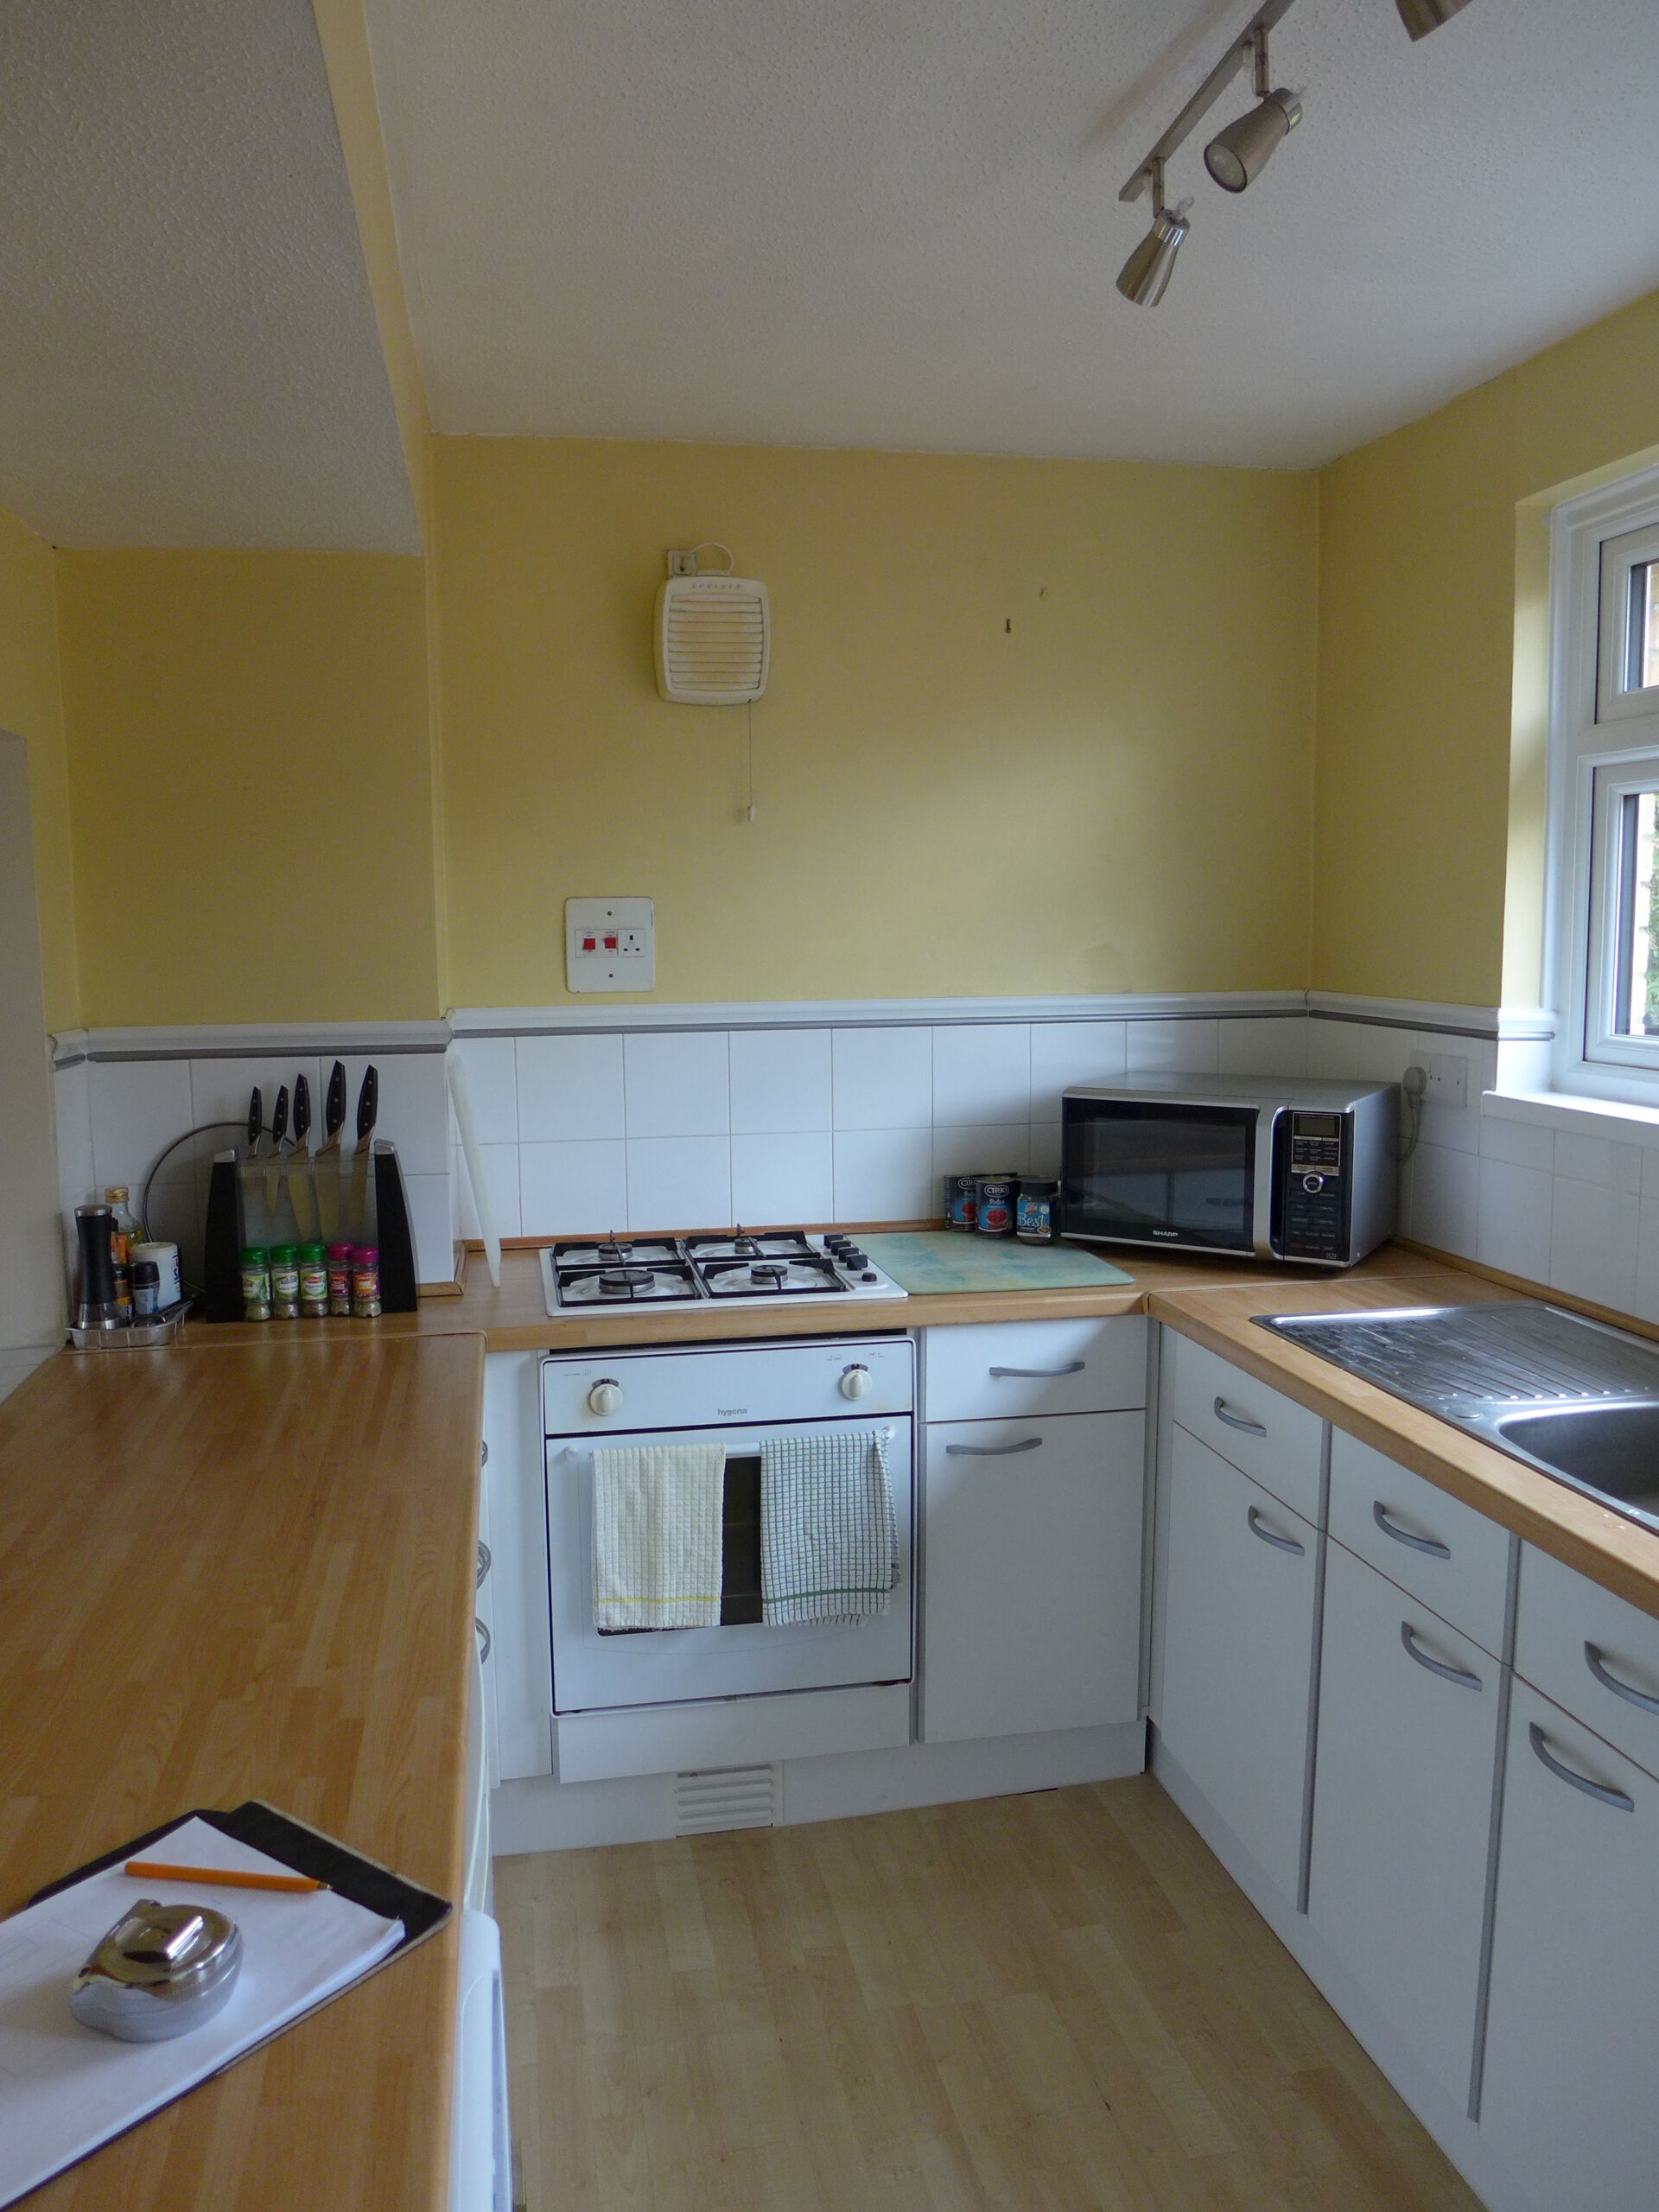
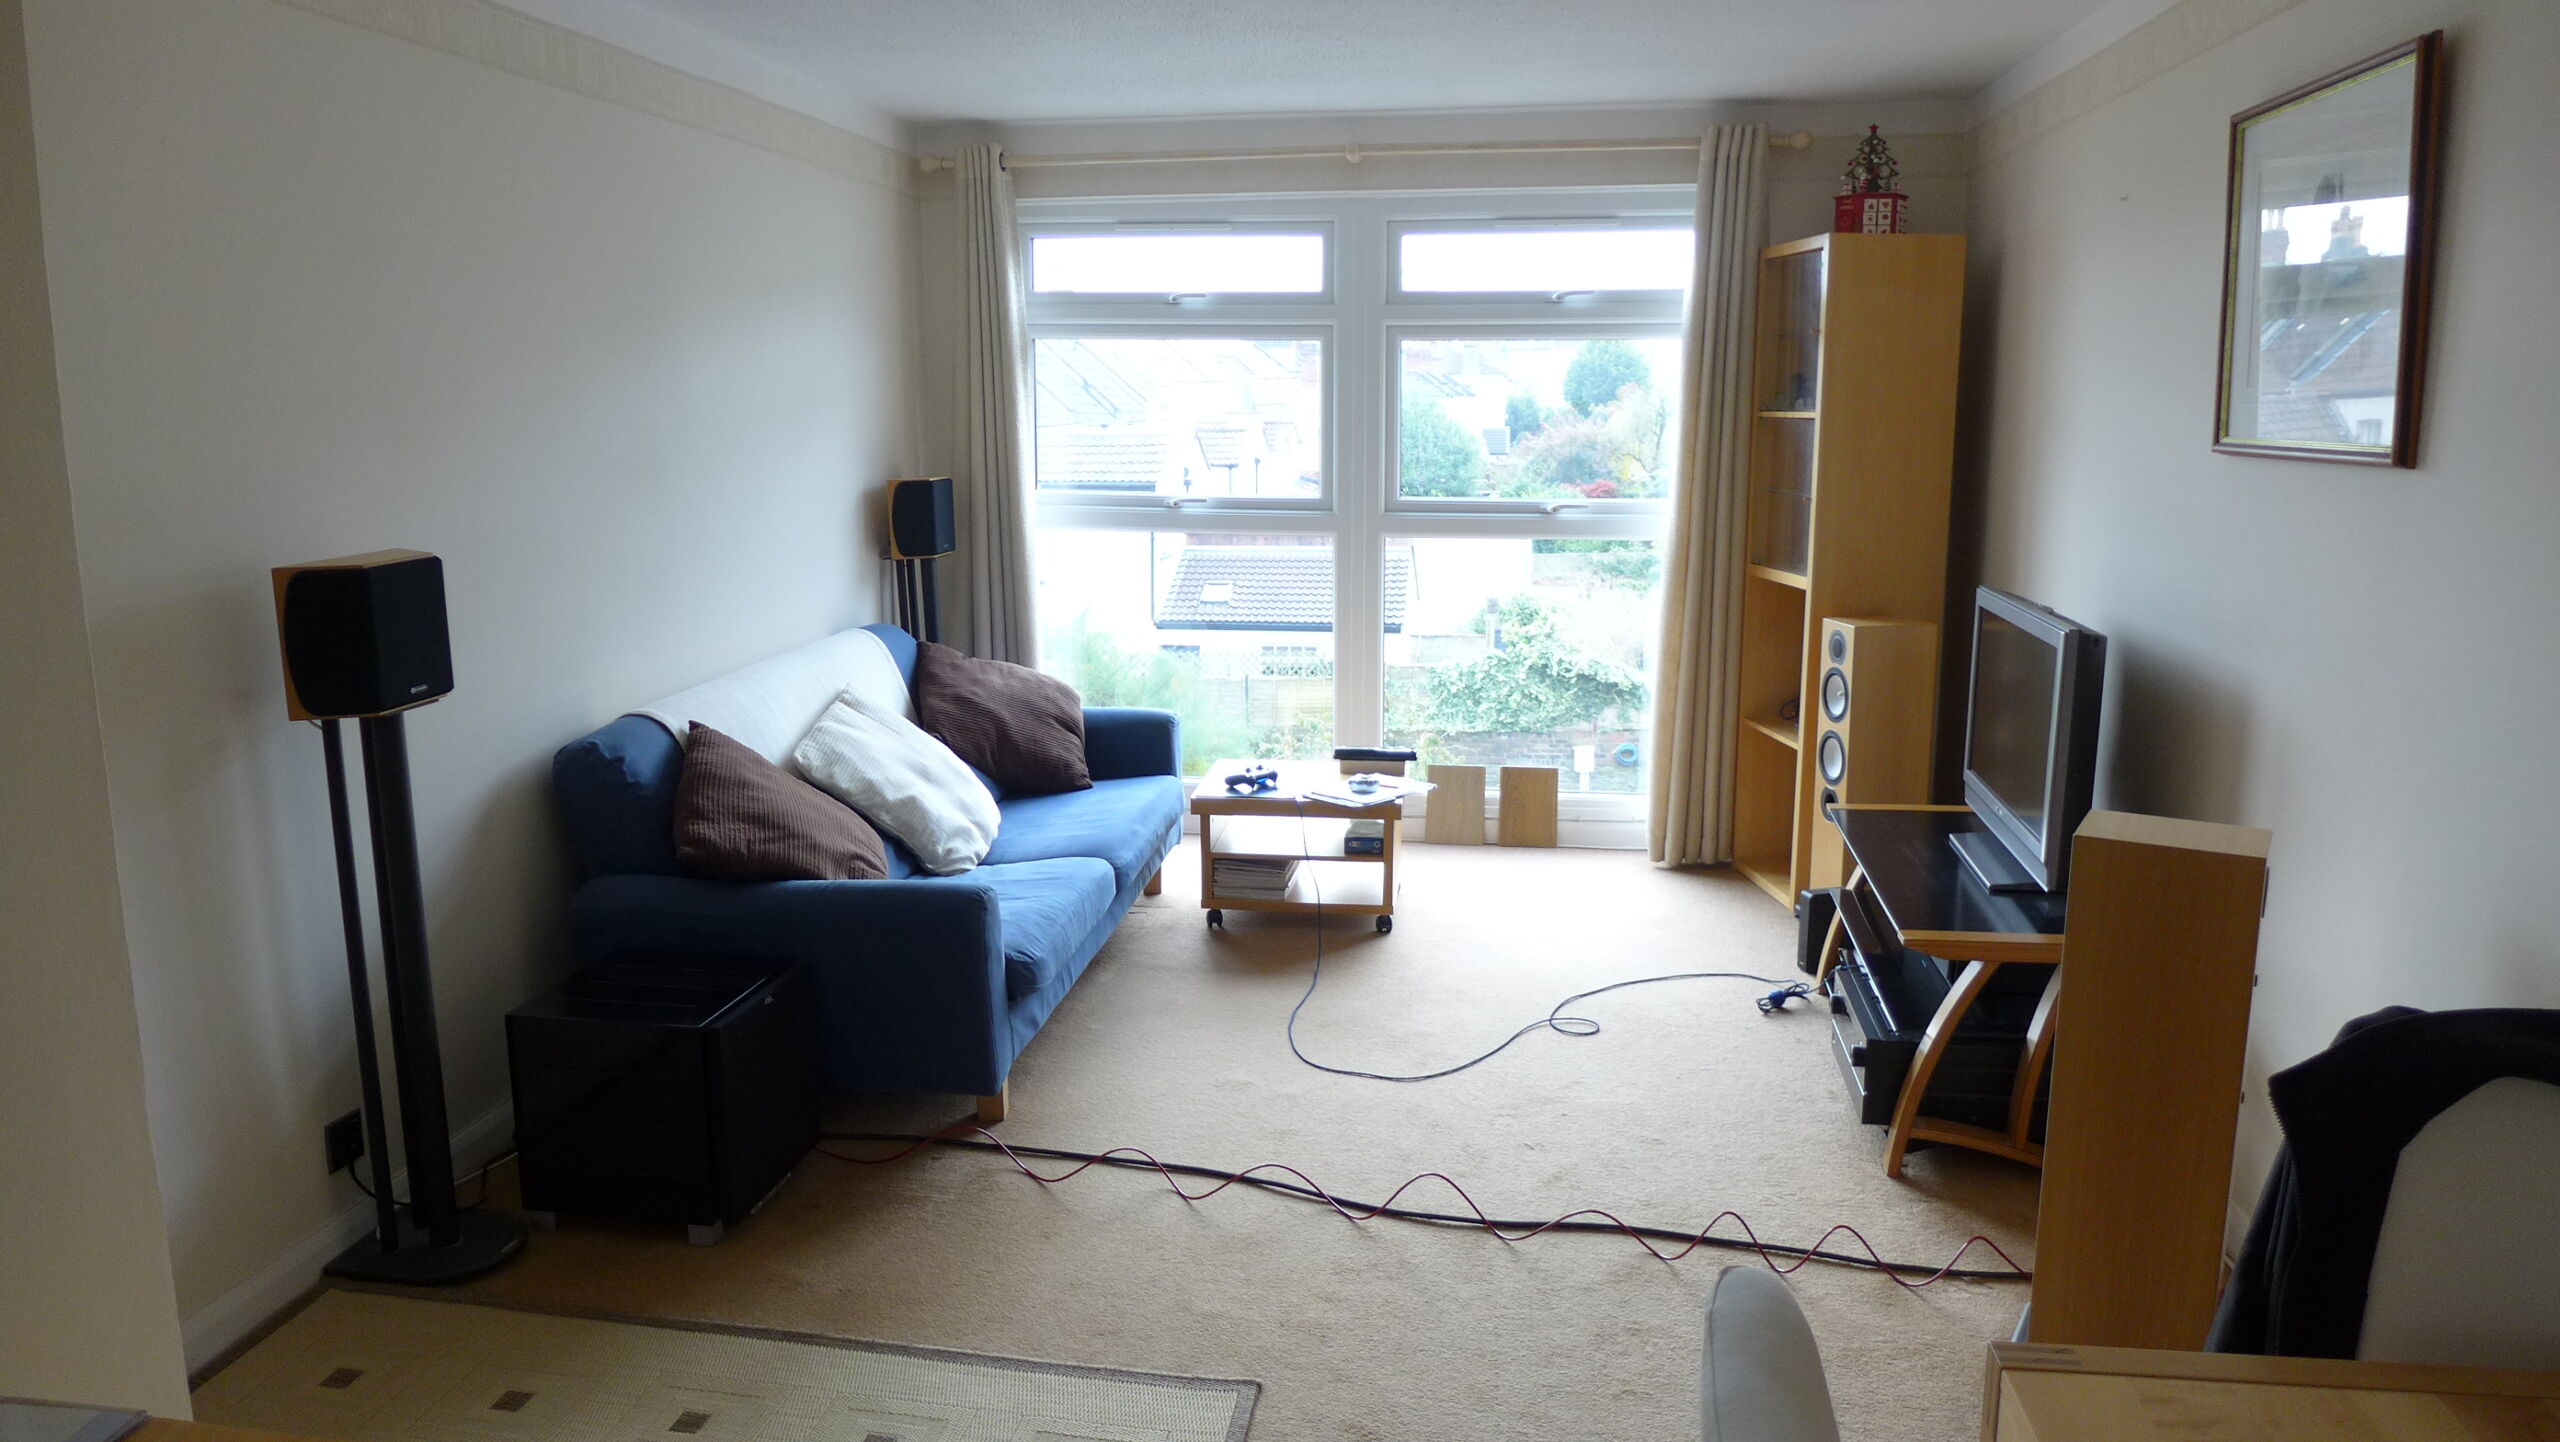
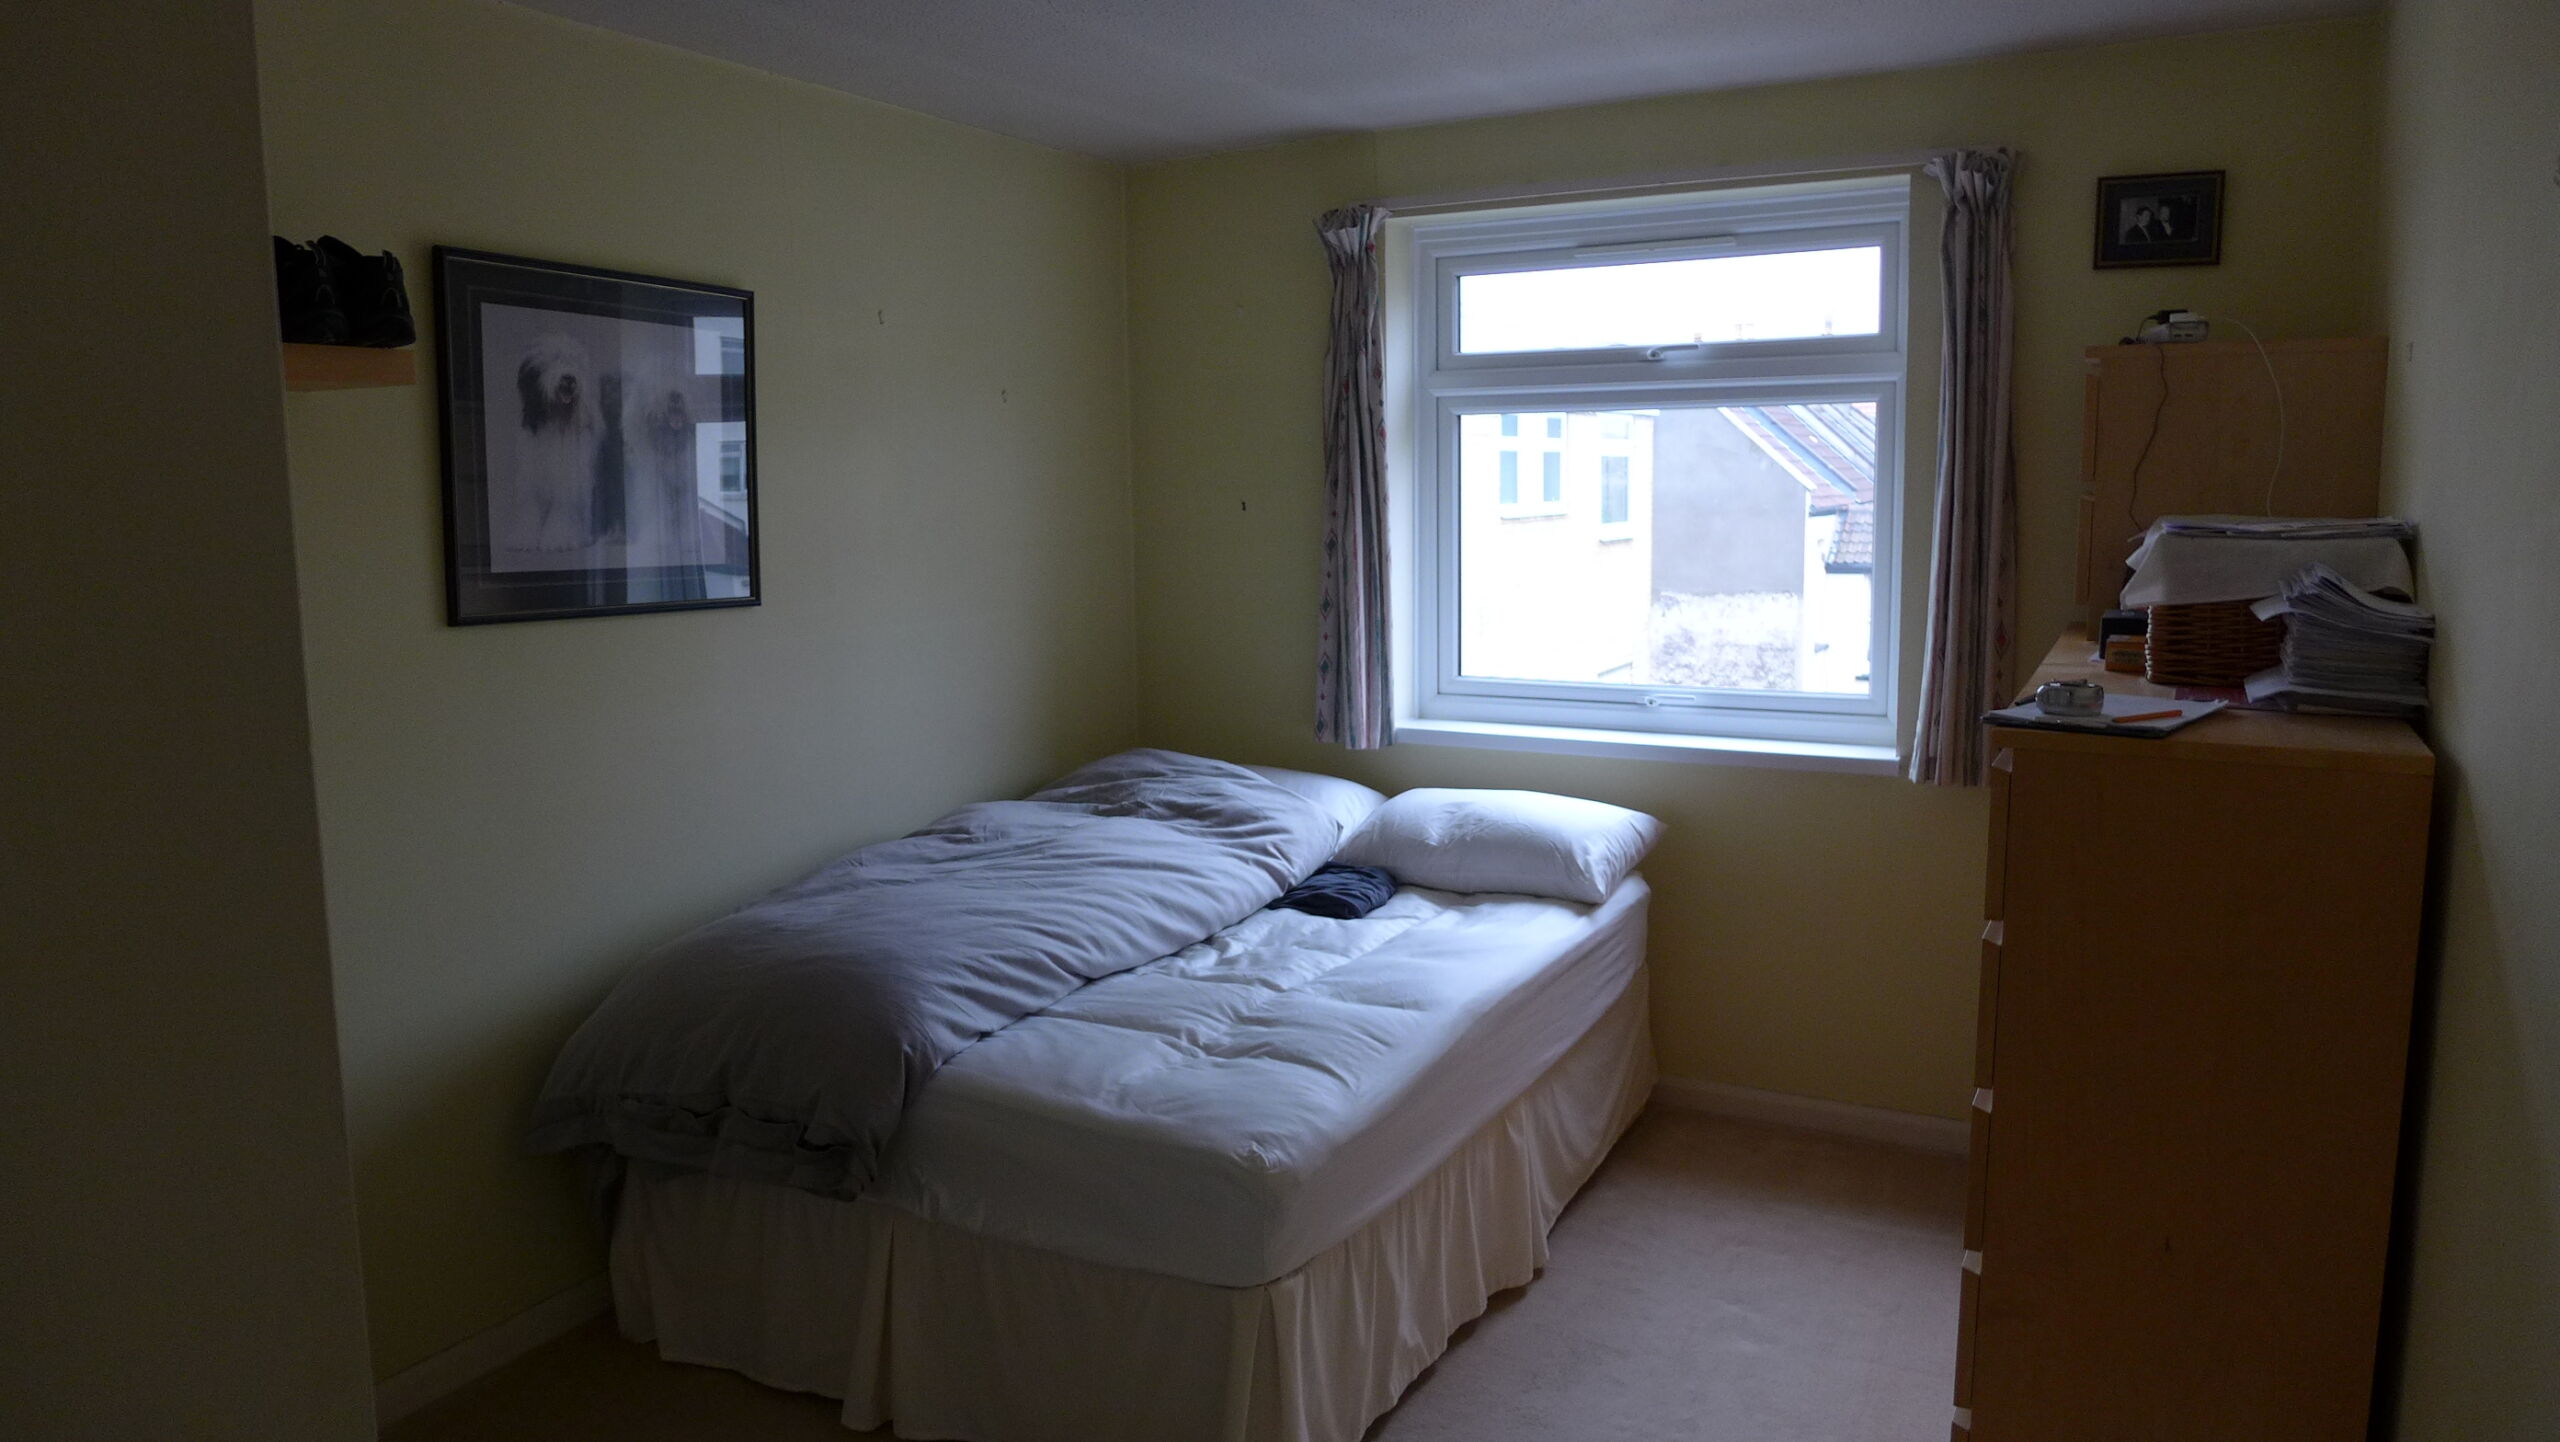
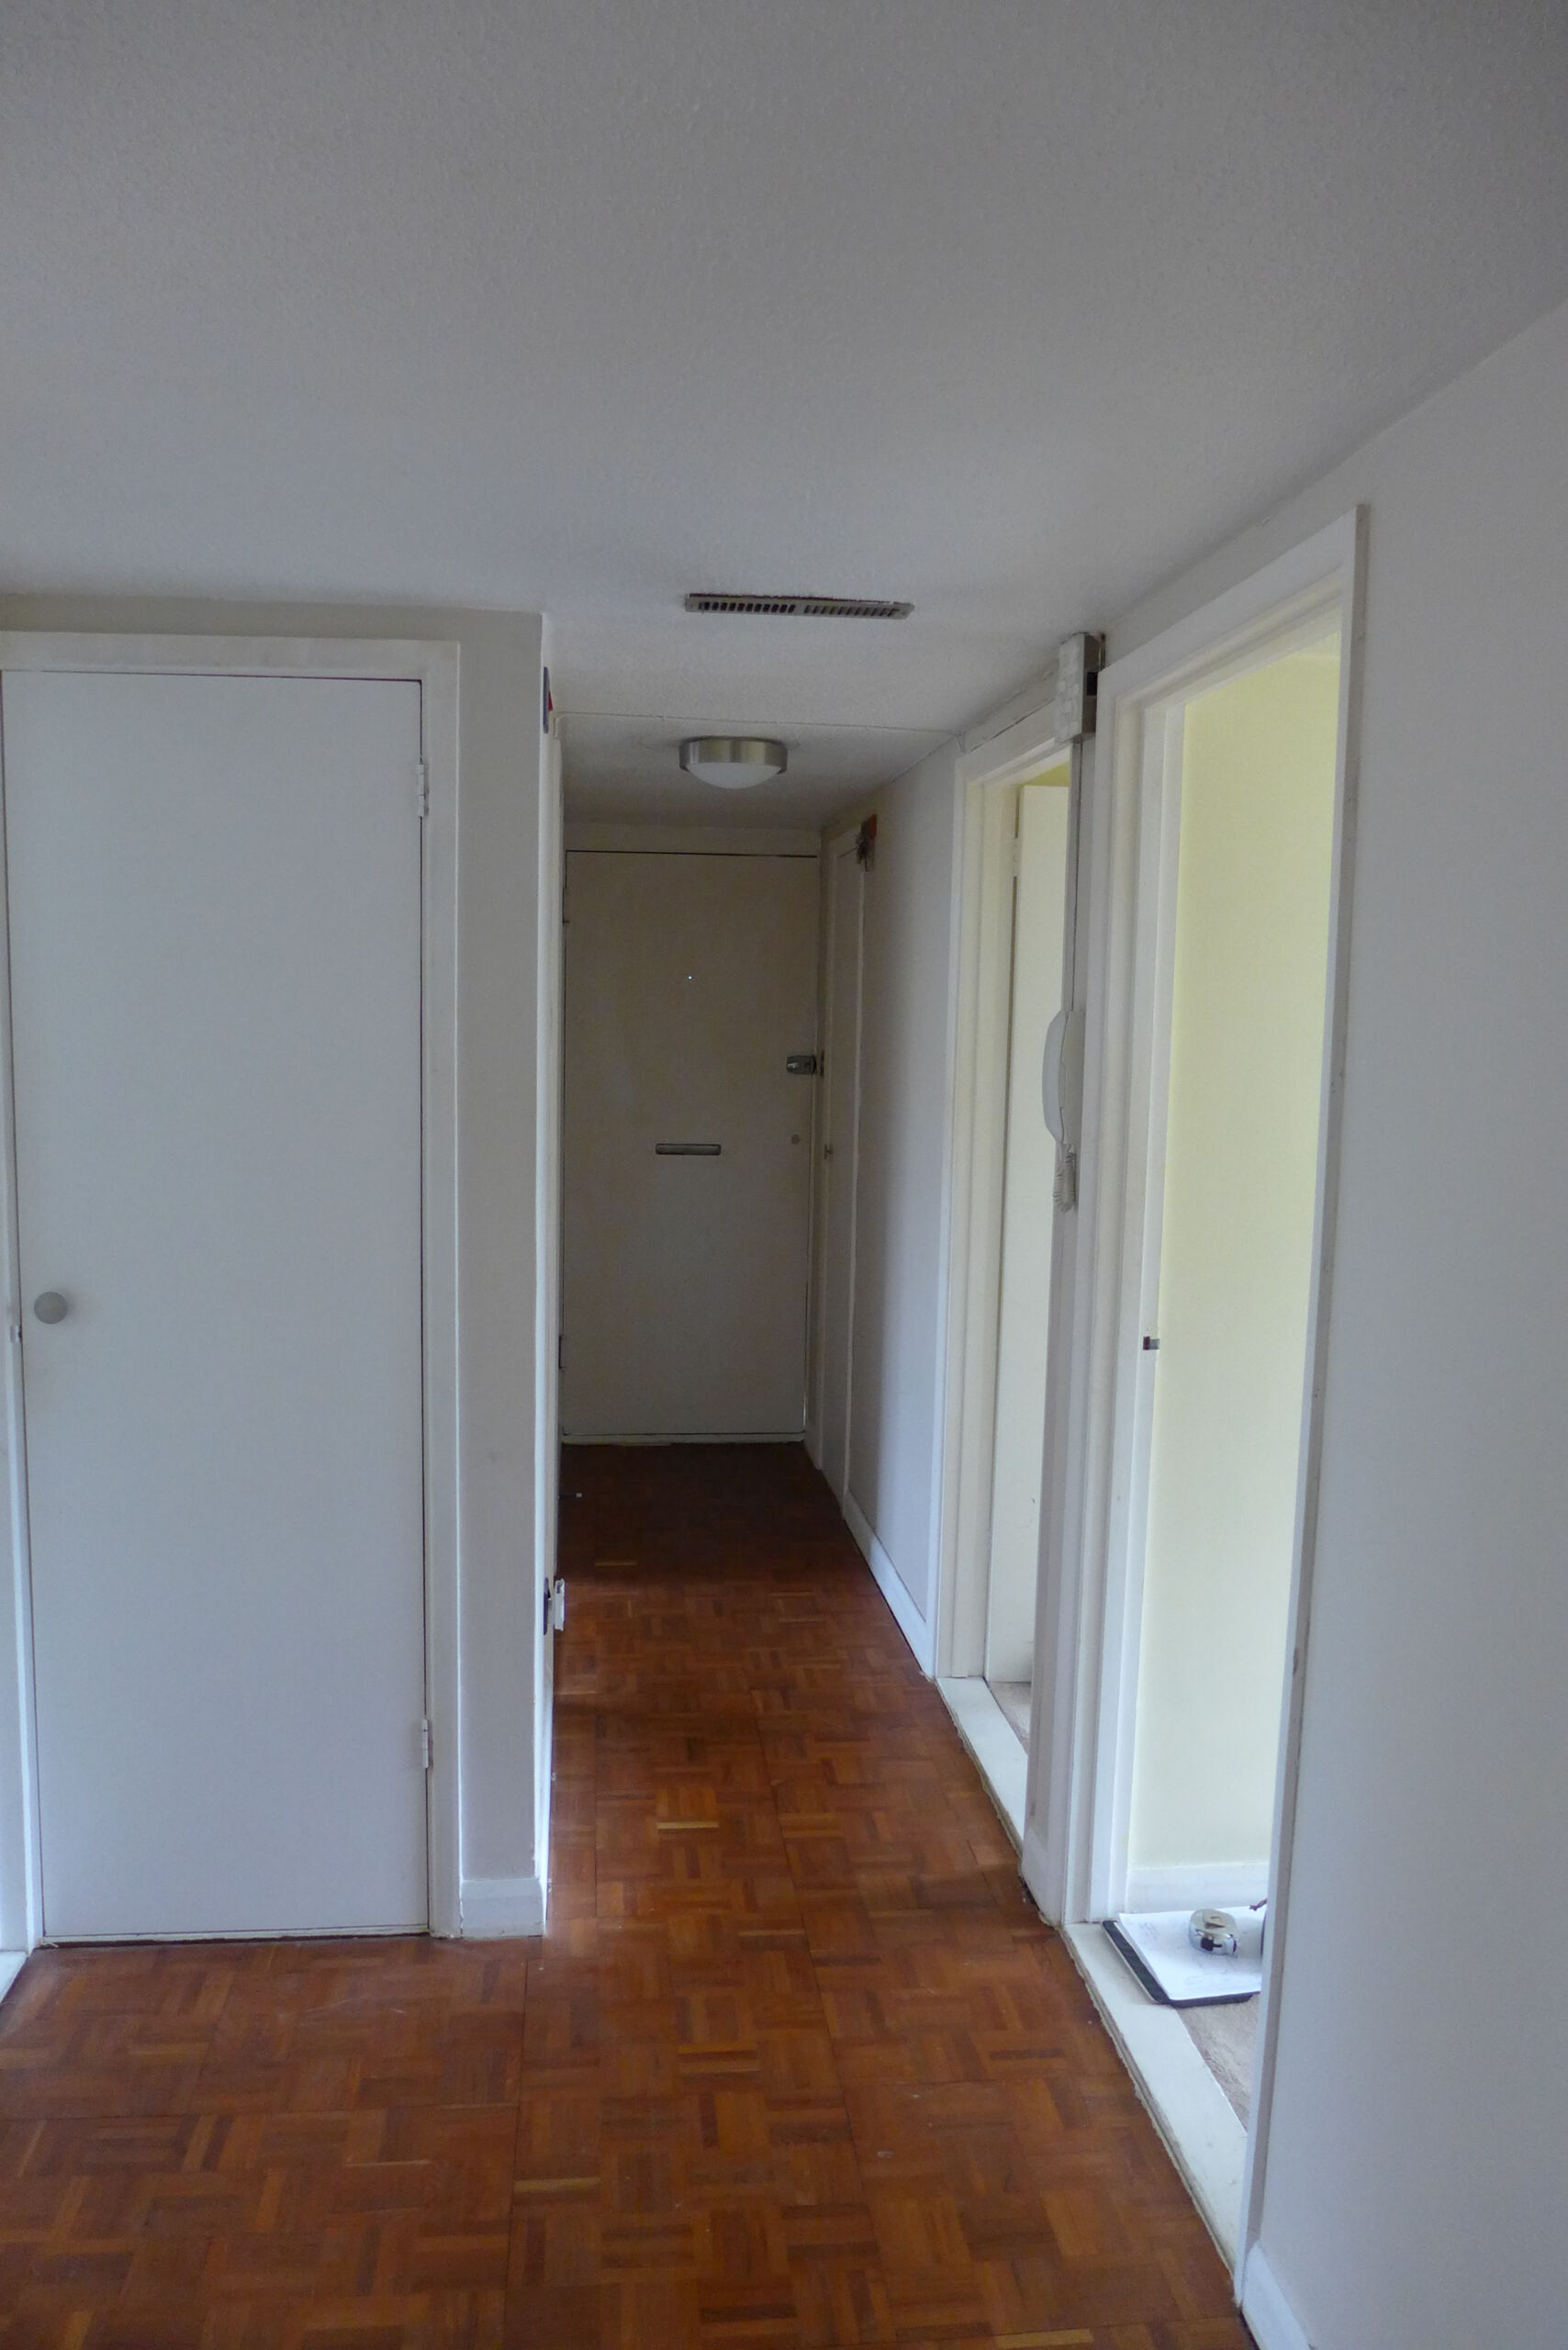
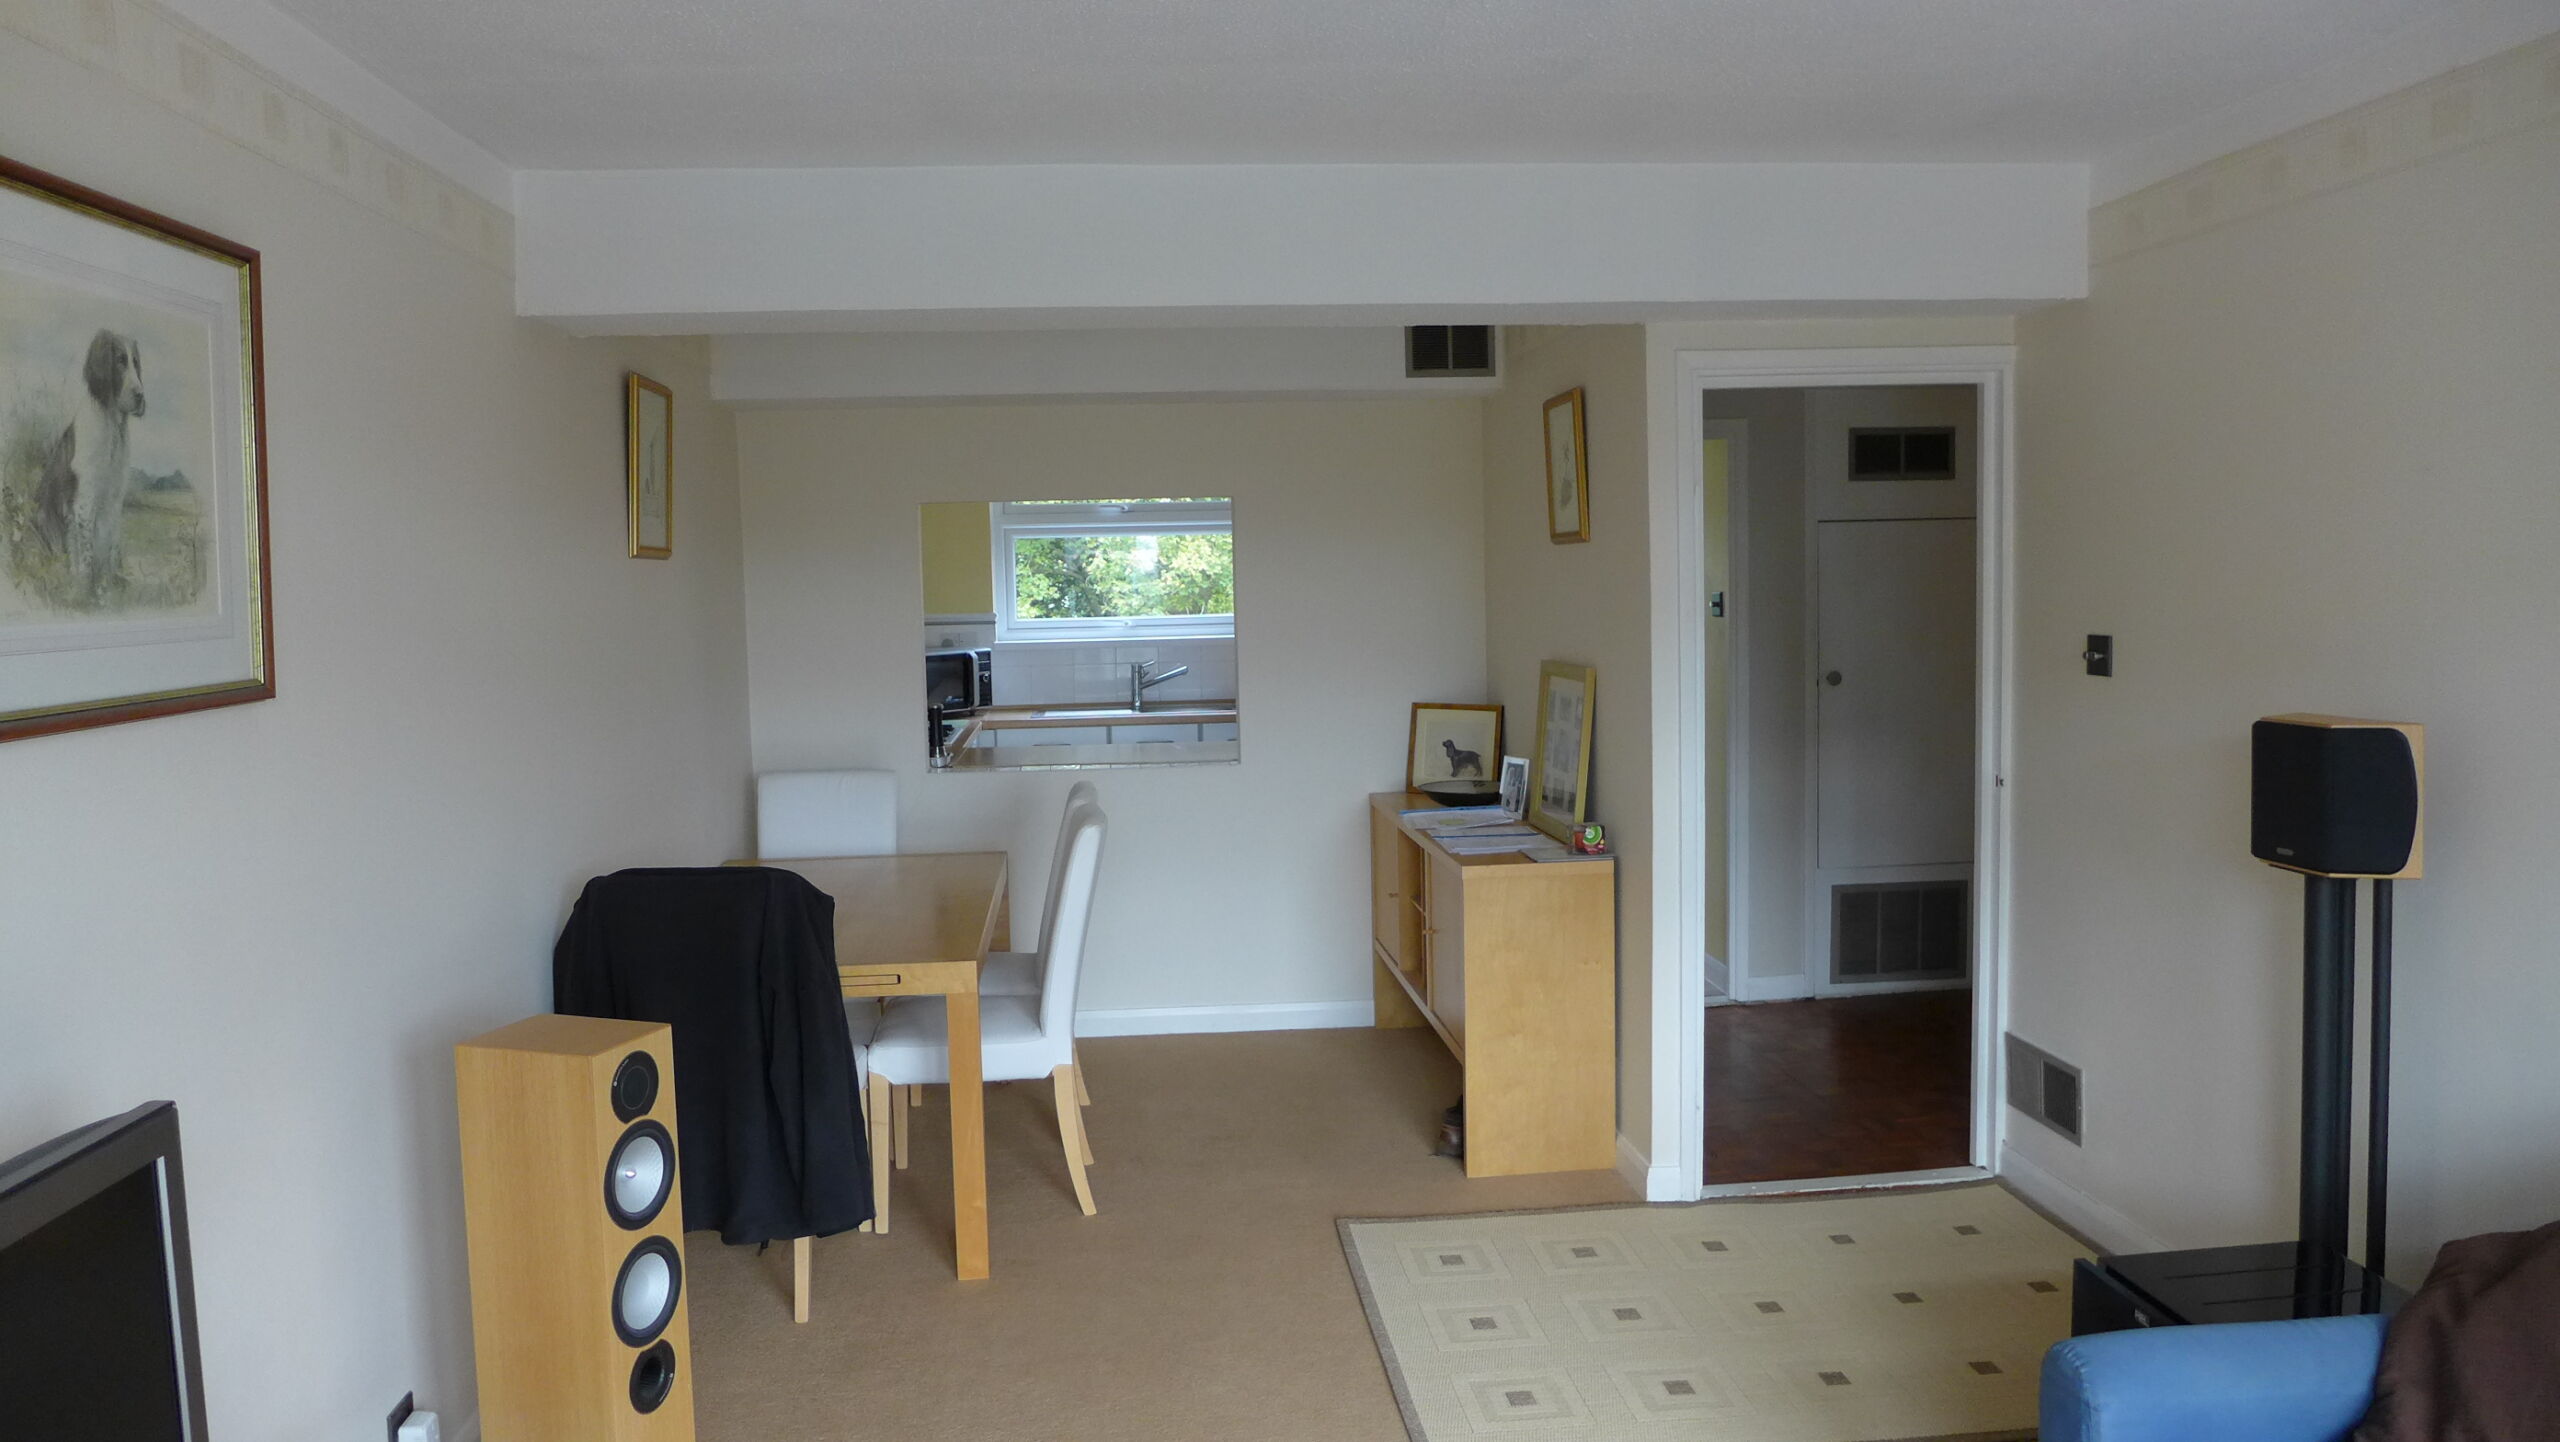
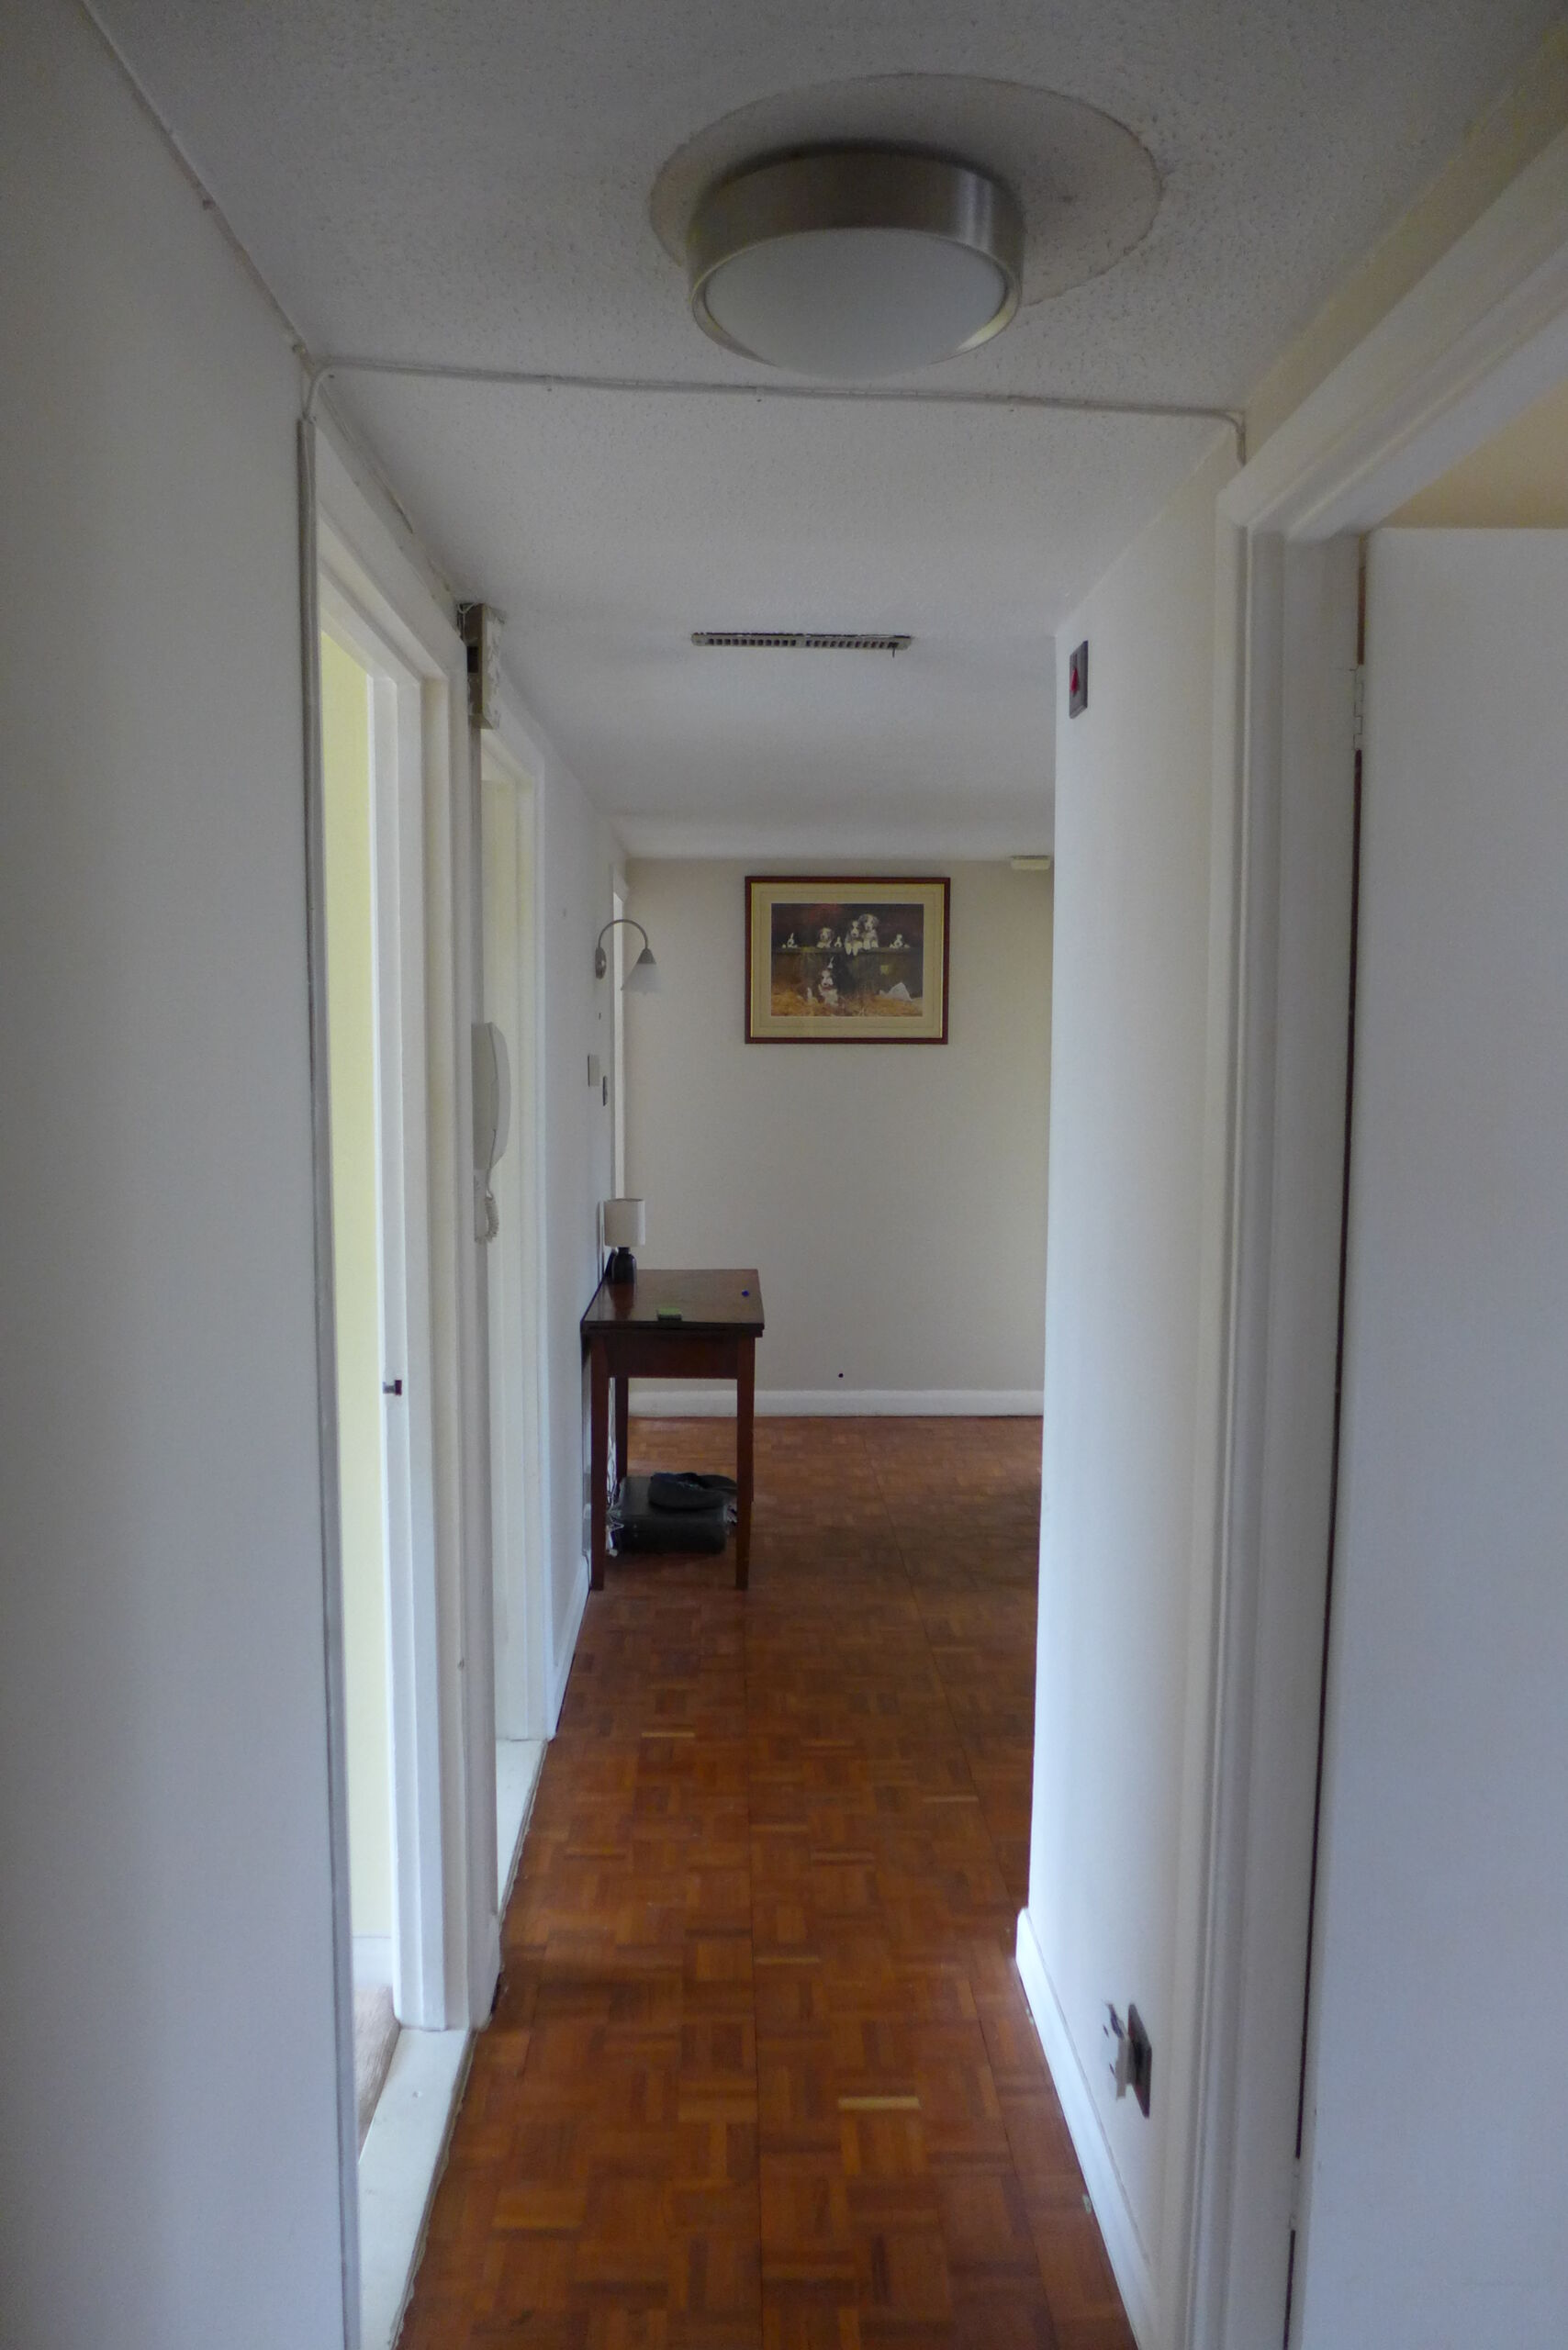
Apartment before renovation
Our client had lived in the flat for many years – it was time for a change.
3D interior visuals
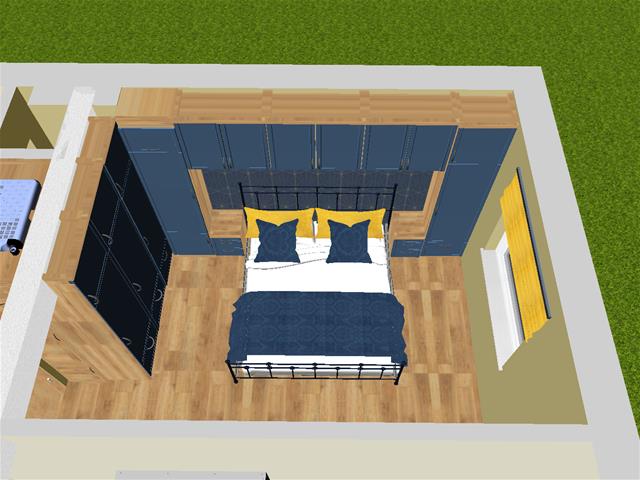
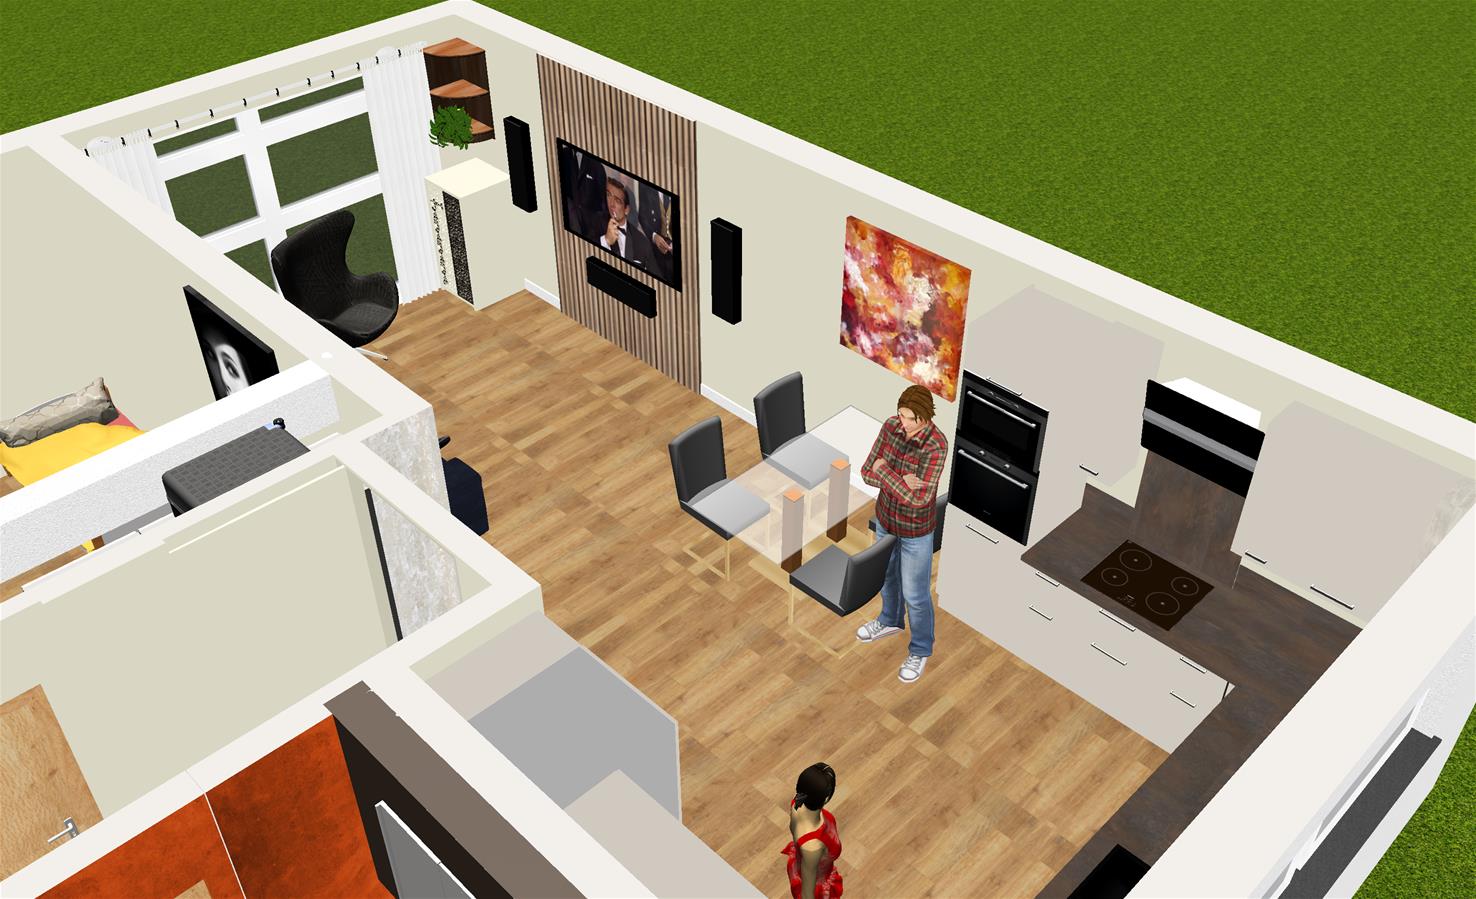
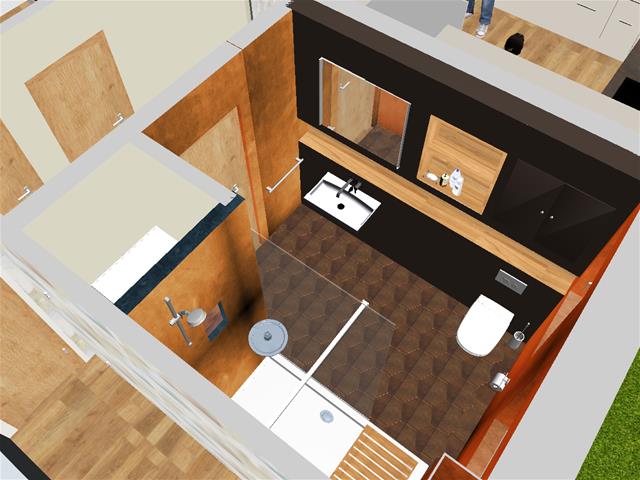
We produced several options in the form of 3D visuals and our client chose his favourites.

Design approval
Because we planned to make structural changes to this apartment, we had to jump through a number of extra hoops. We provided a detailed assessment and structural report to assure the property management company, as well as the insurance company and building control. Obviously other apartment owners were interested in the extent of work, noise and disruption, so our client explained what would be happening and for how long.
With the green light to proceed, we selected a contractor through competitive tender, and work commenced. With so many neighbours, we knew it would be important to manage relationships sensitively throughout the project.
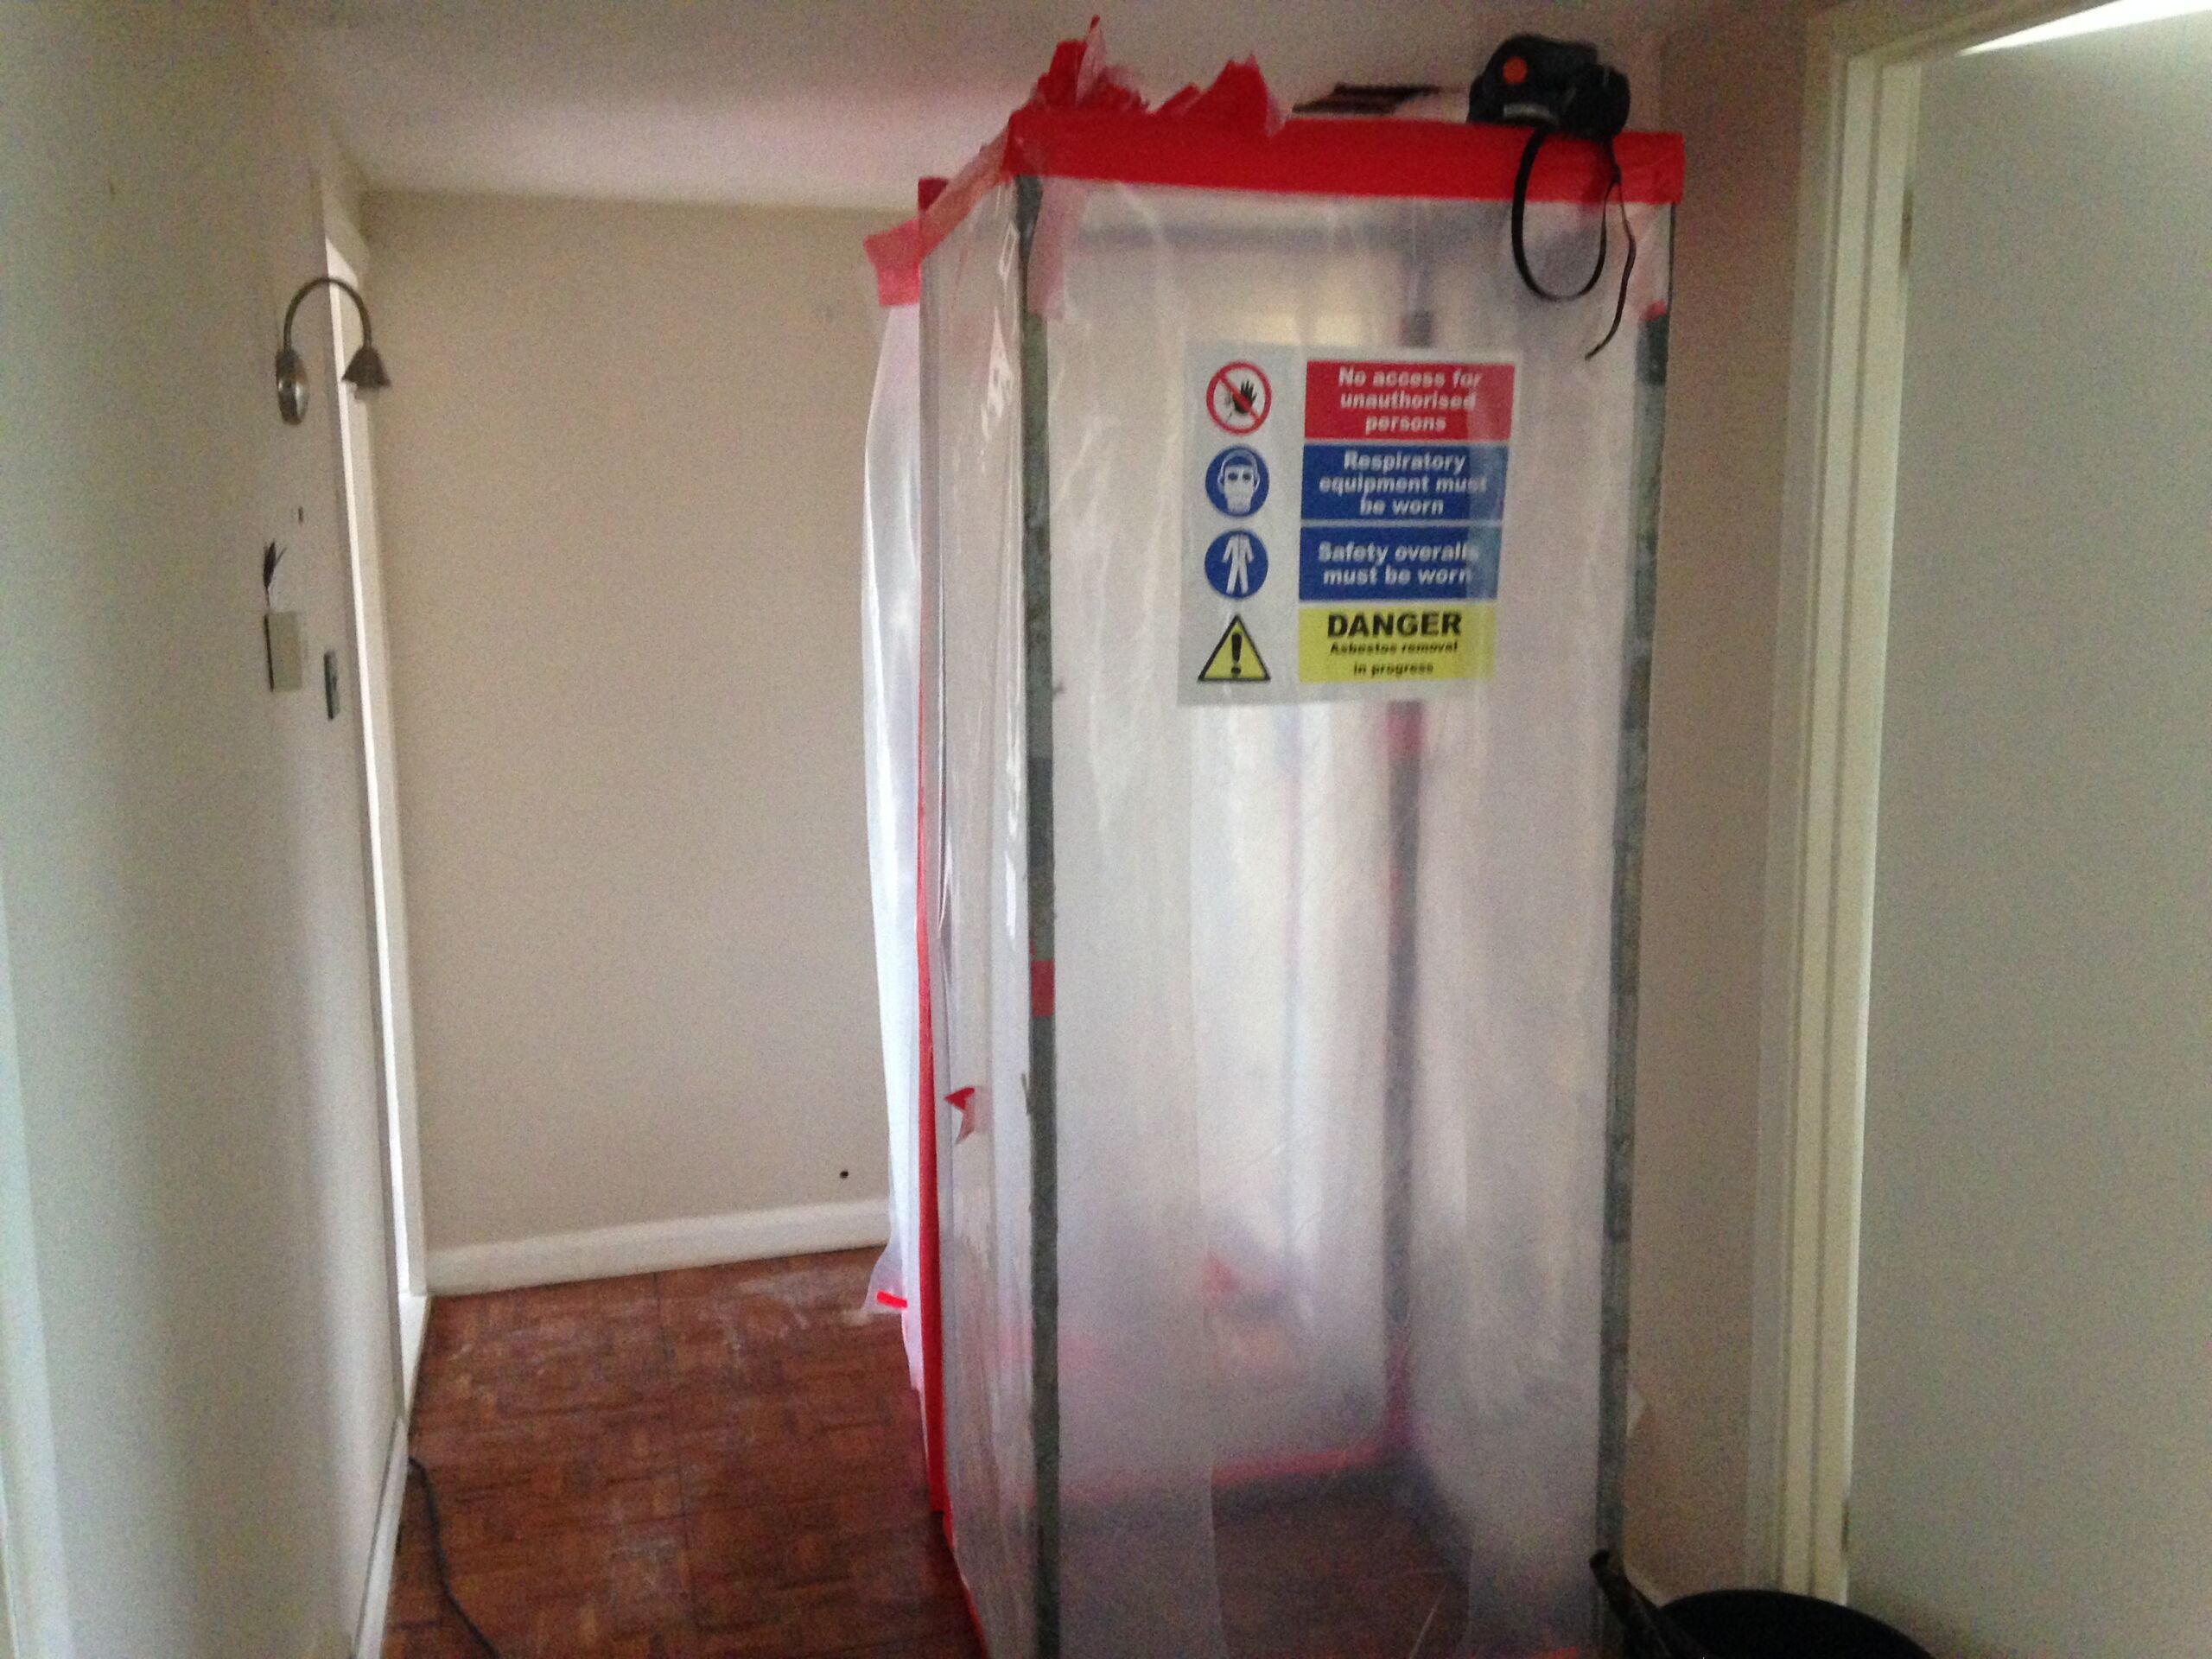
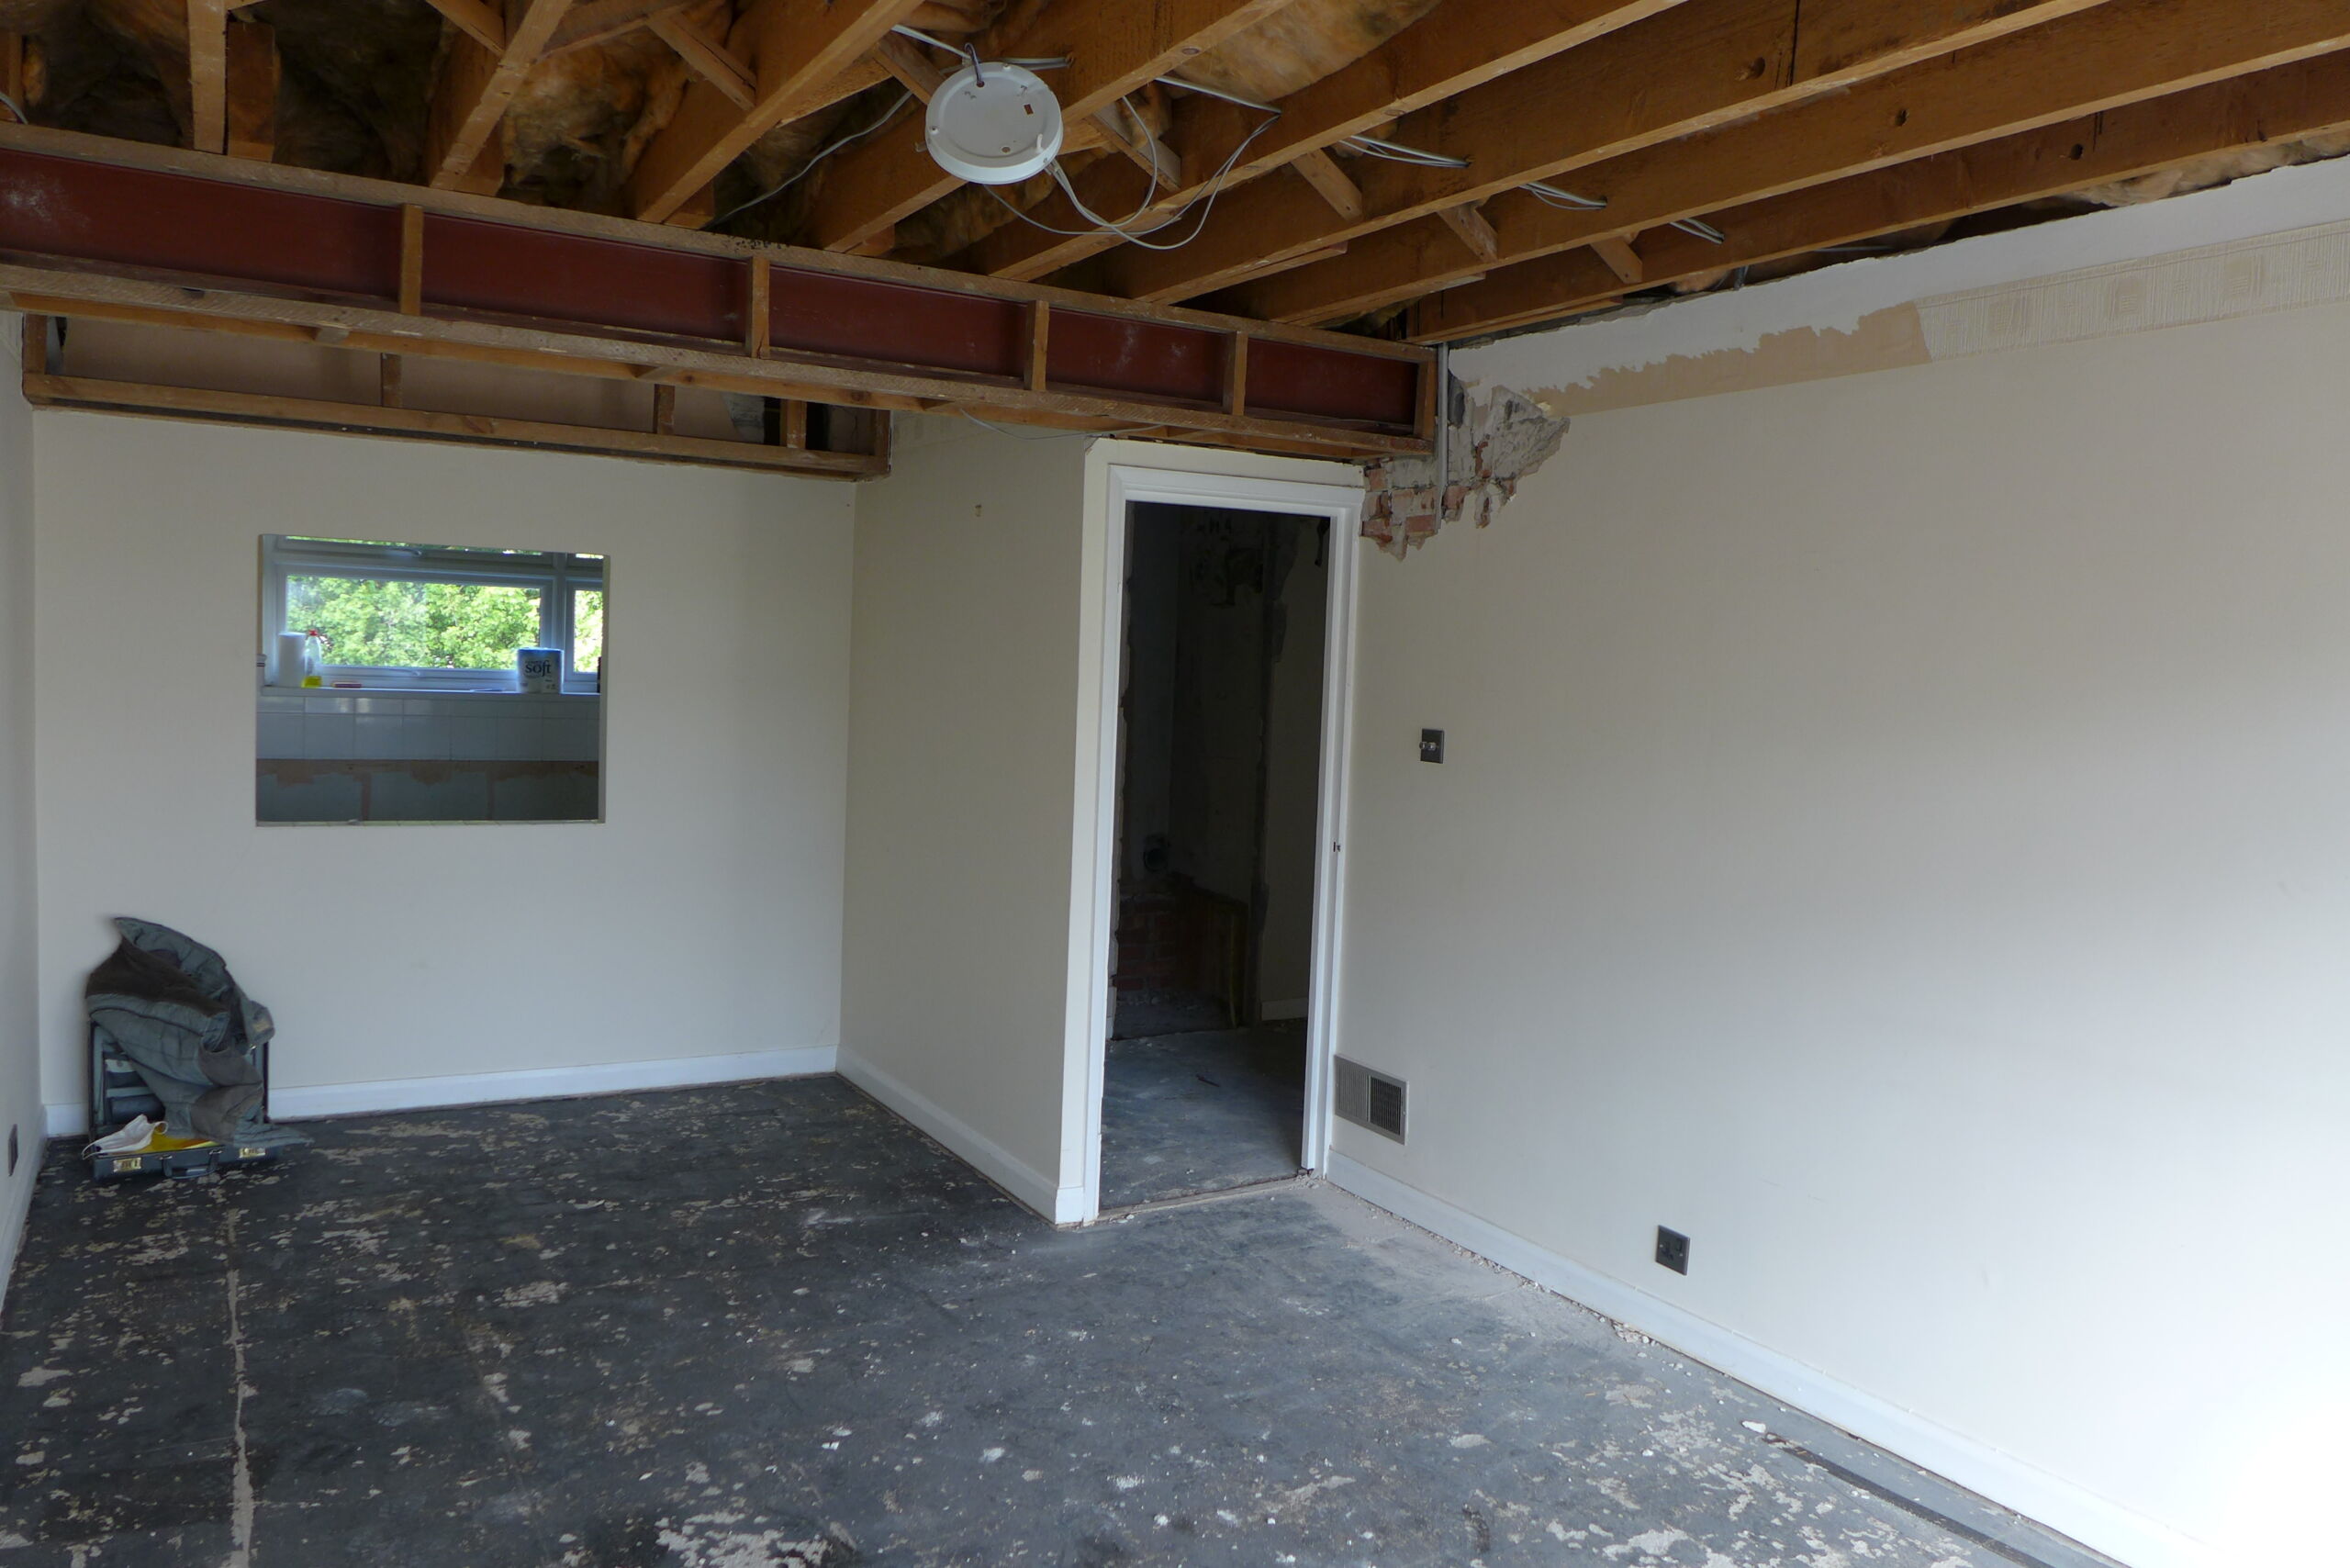
The property was riddled with asbestos, mainly around the original heating unit, hot air ducting and artex ceilings. So the first phase was to strip it out. We engaged an approved contractor to remove the hazardous material under controlled conditions – this cost around £8k + VAT (2021 prices). Then the main contractor took over.
Work proceeded in all areas simultaneously, as each trade and supplier played their part. We’ll look at each space in turn and point out some interesting design features as we go.
Kitchen renovation
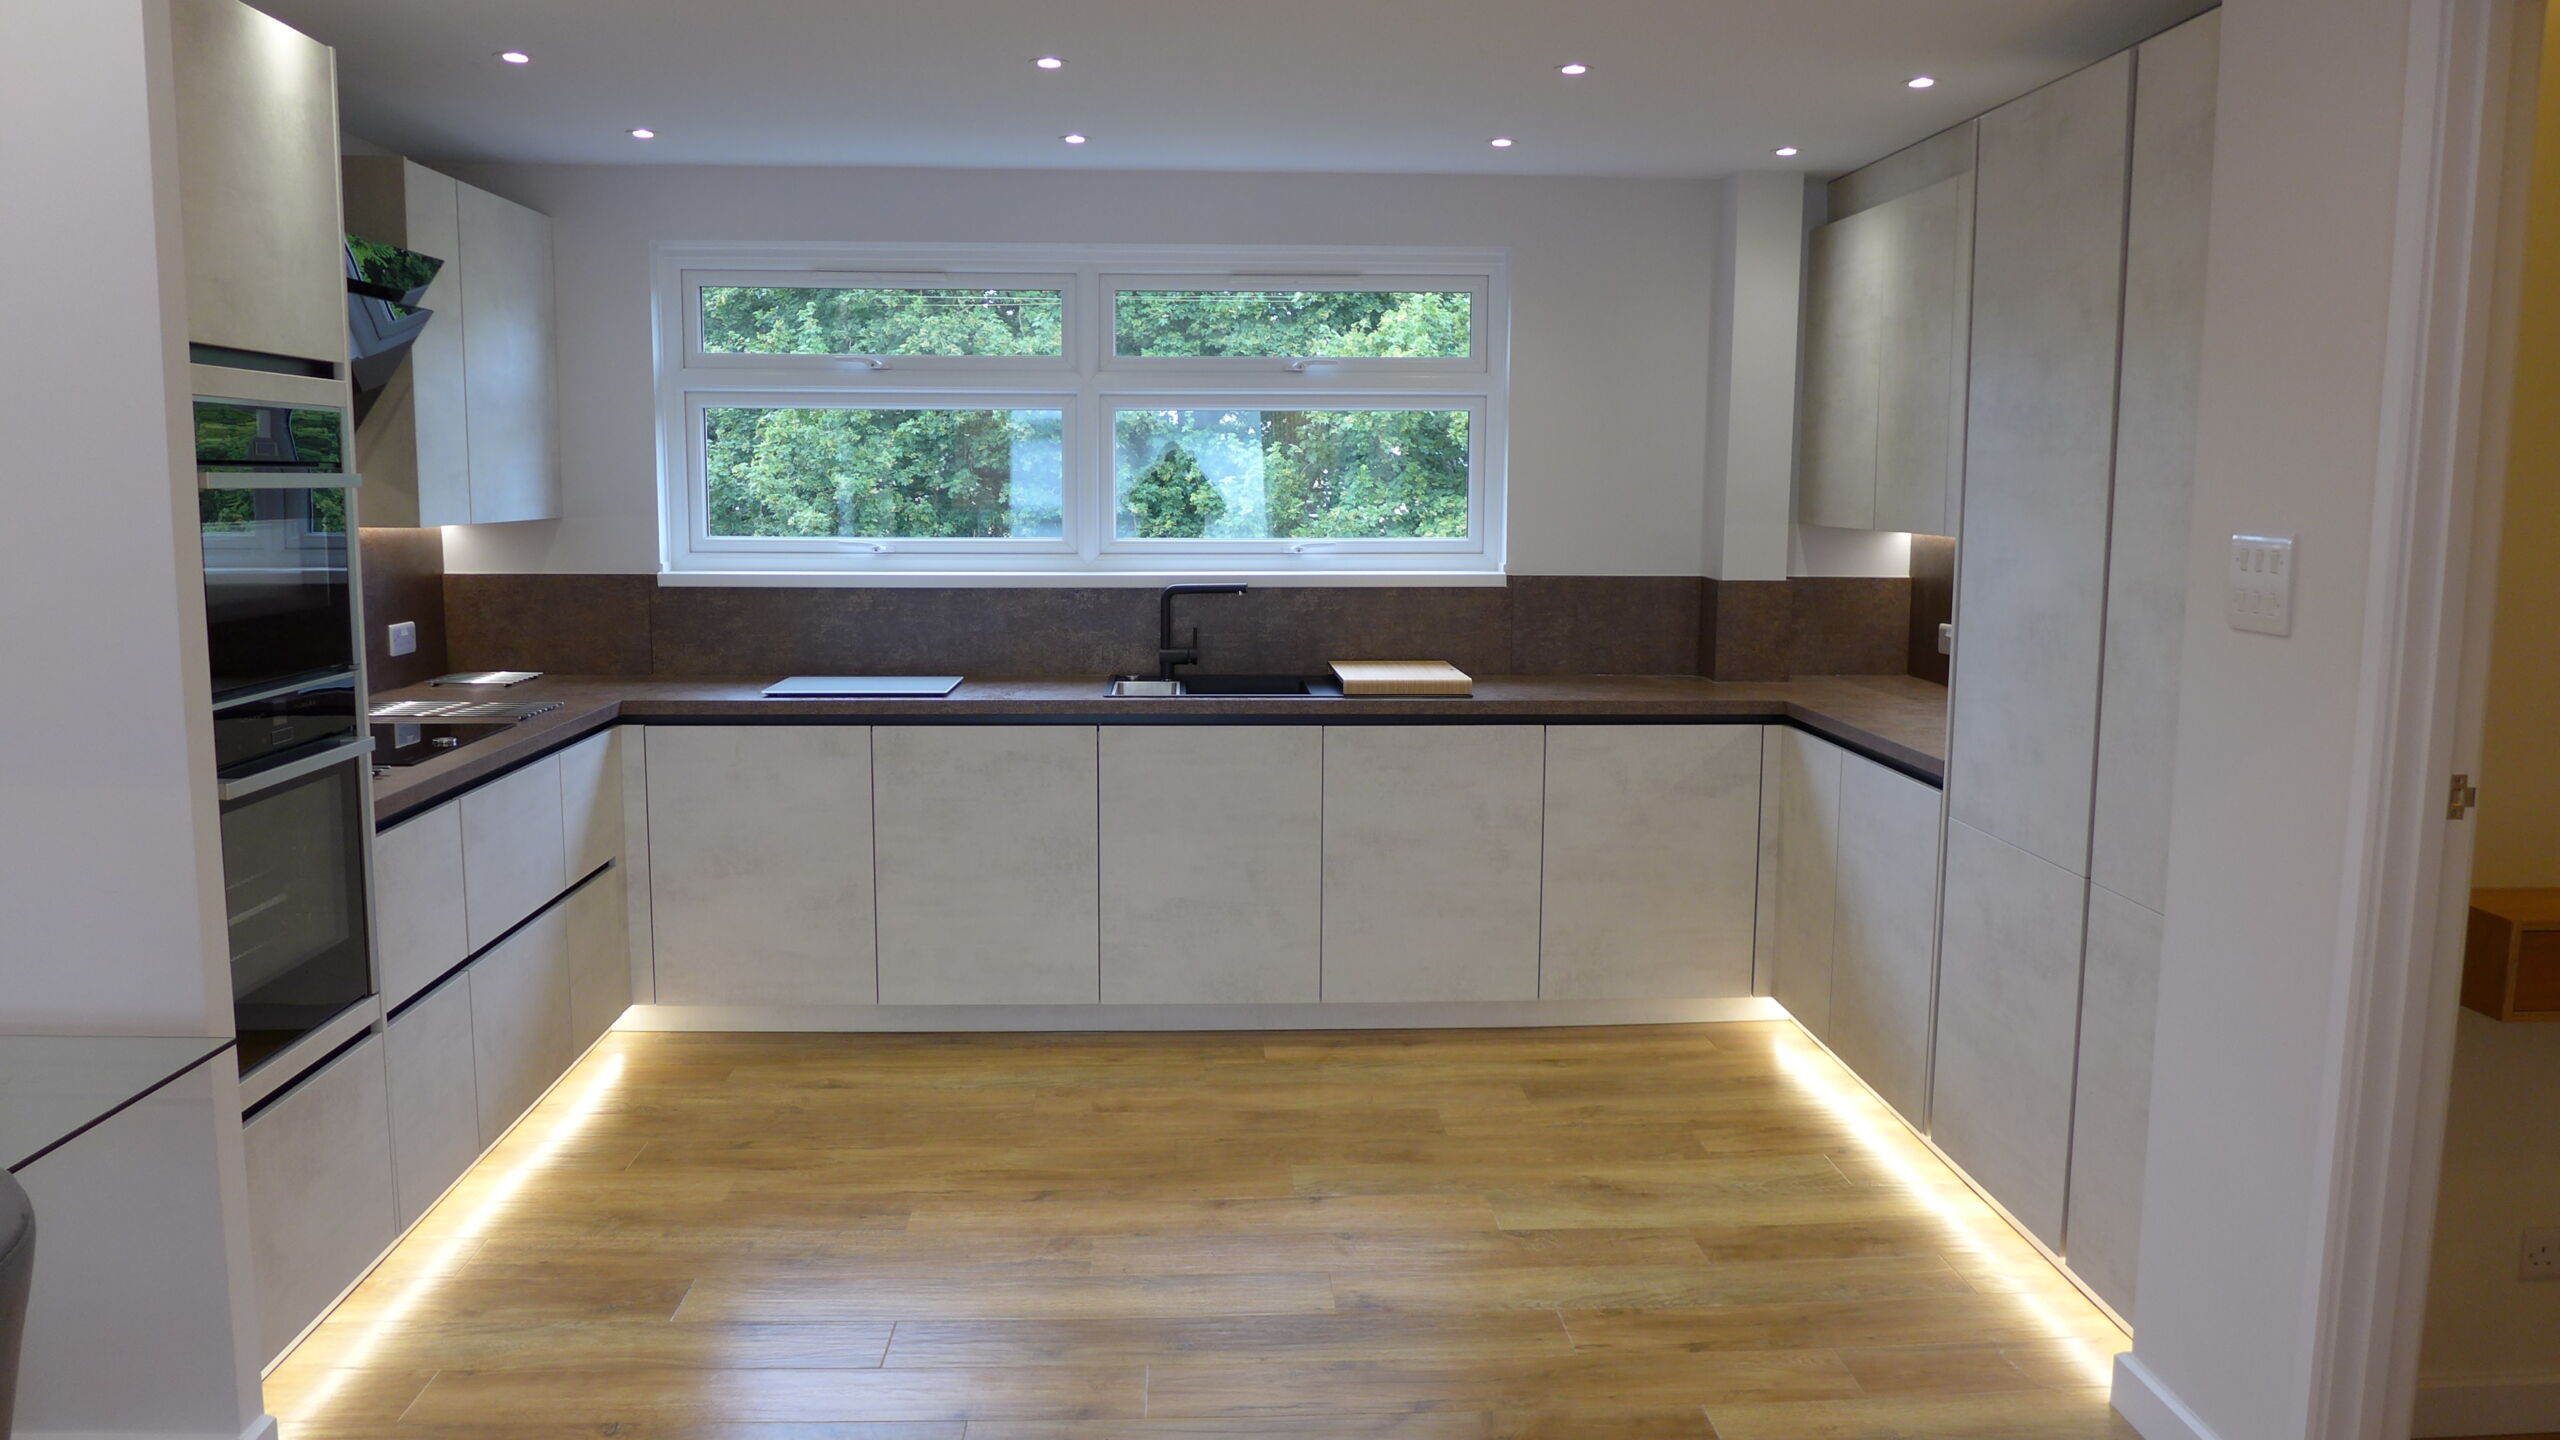
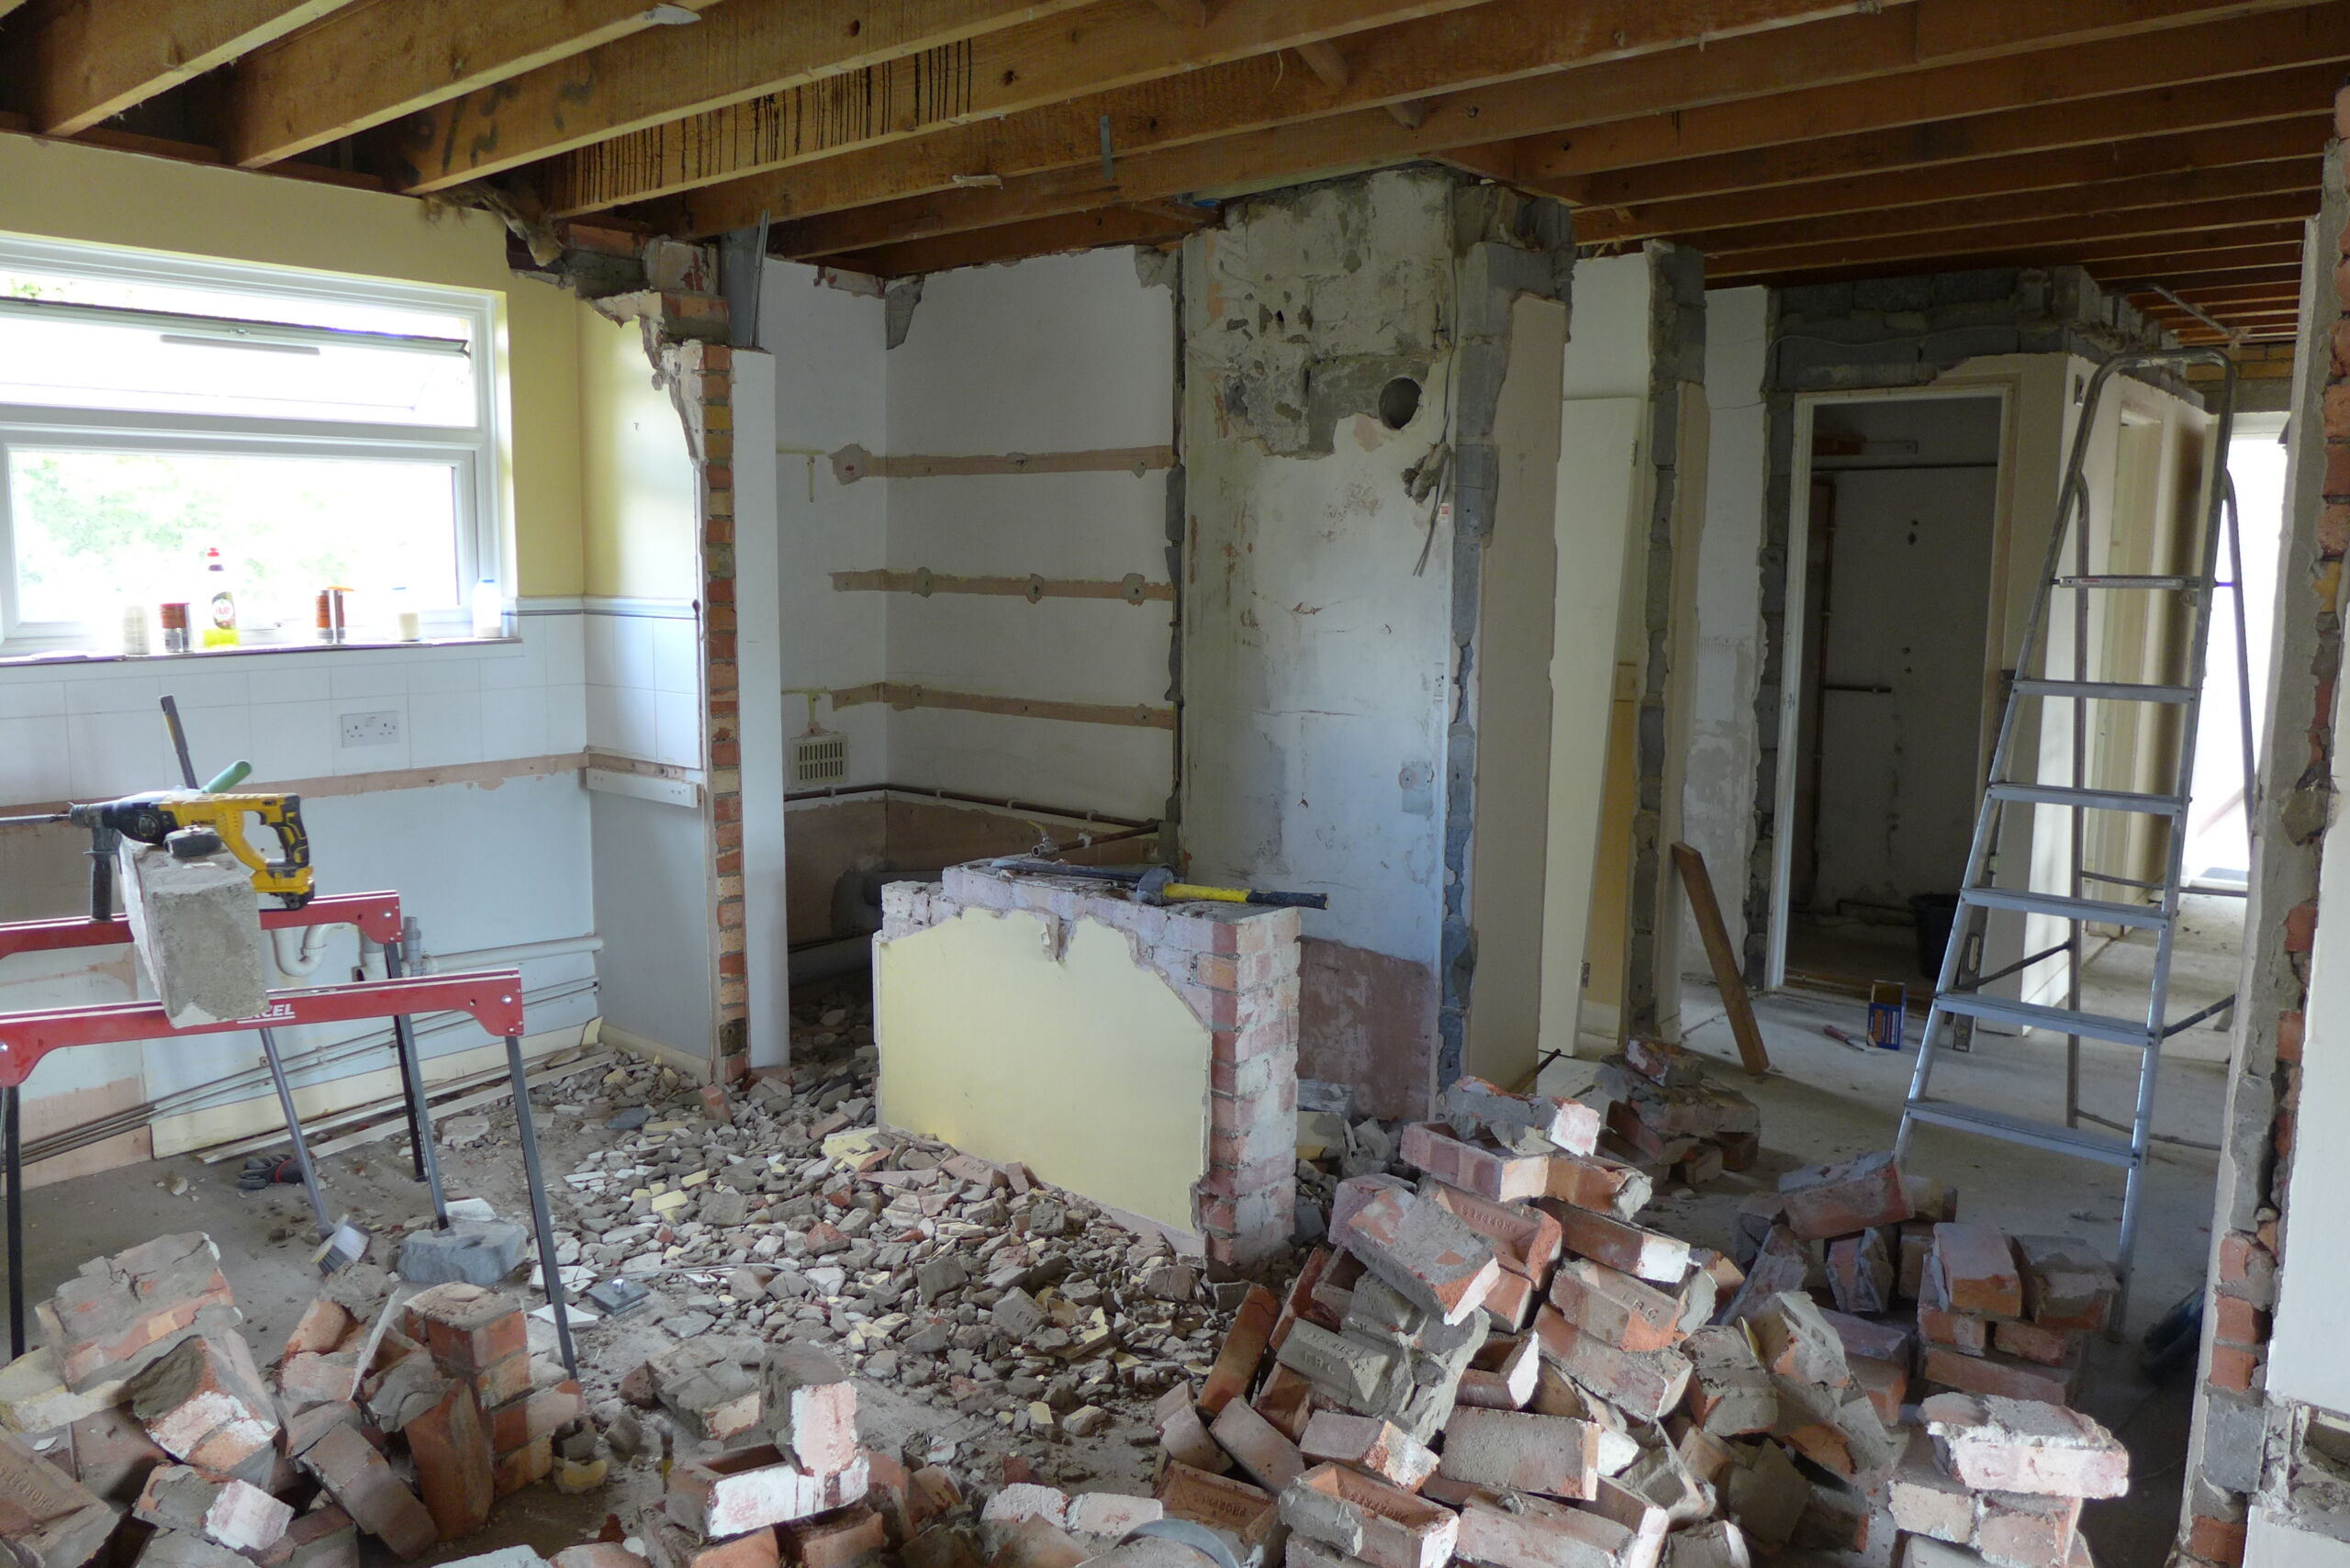
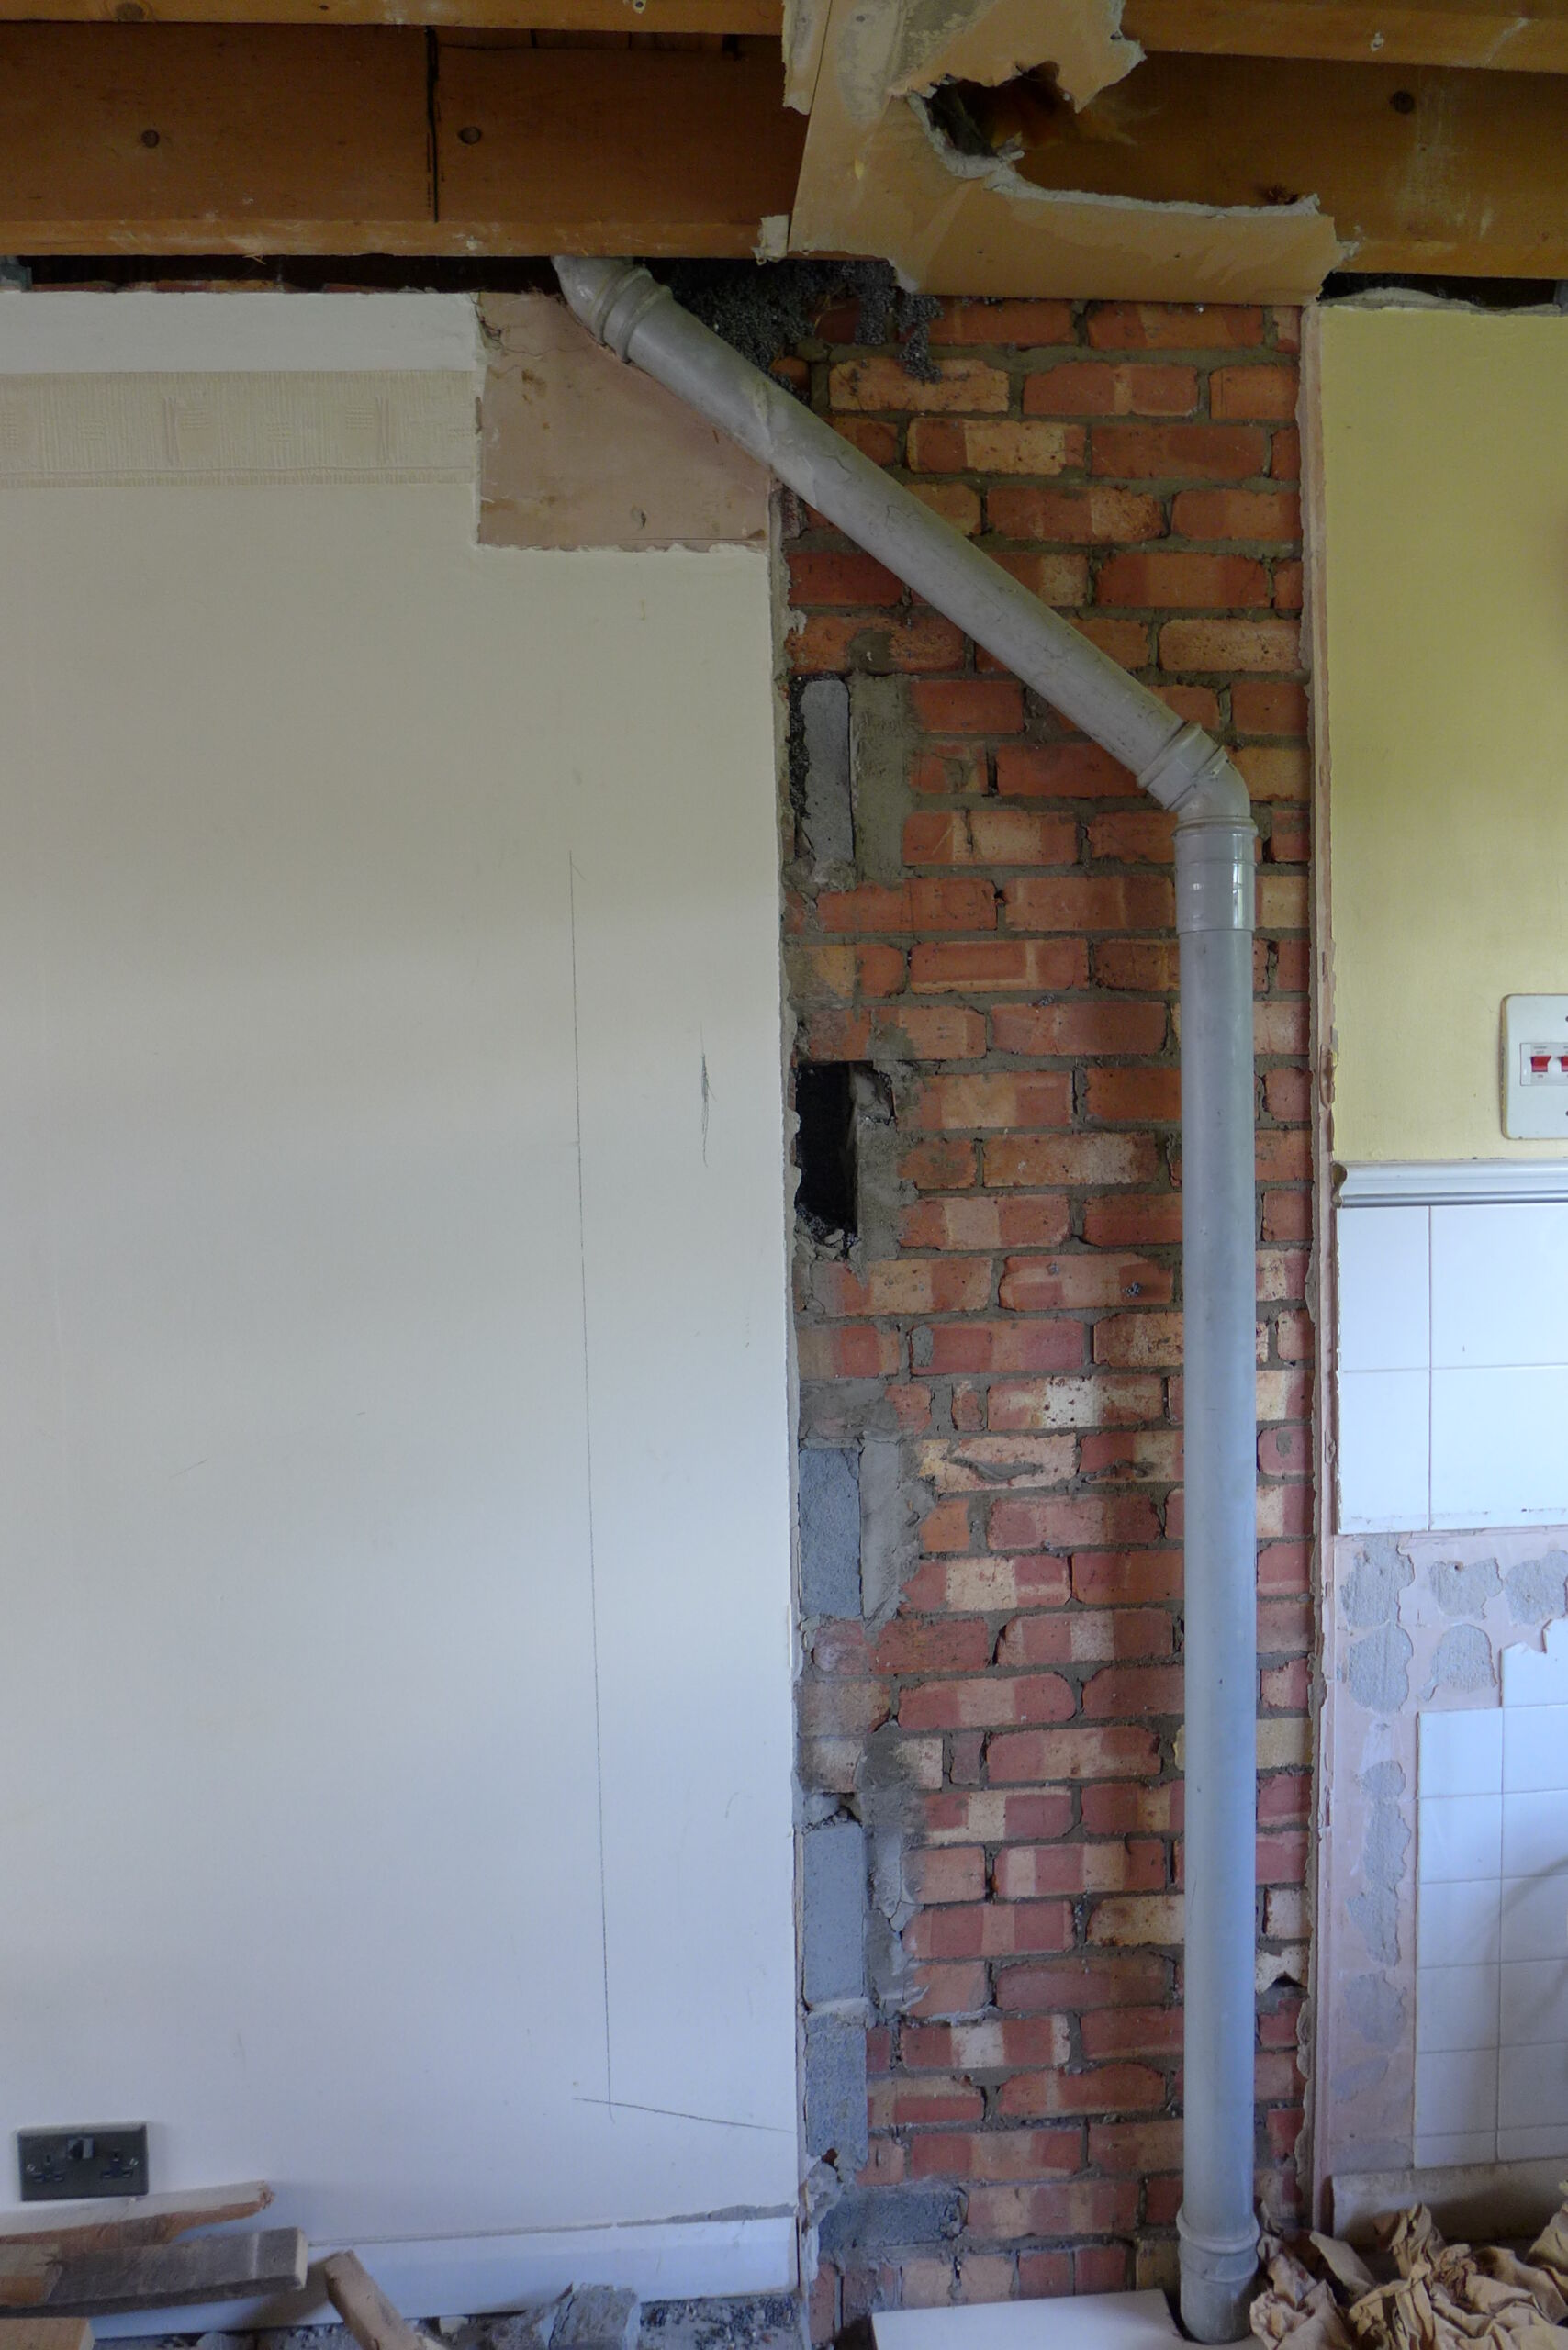
We had to work around a number of services common to the block. For instance, you can see amongst these photos the internal rainwater pipe in the following images which we re-routed to suit the kitchen. Good communication between all trades and suppliers helped to overcome a number of these extra challenges. It’s always helpful to hear range of views.


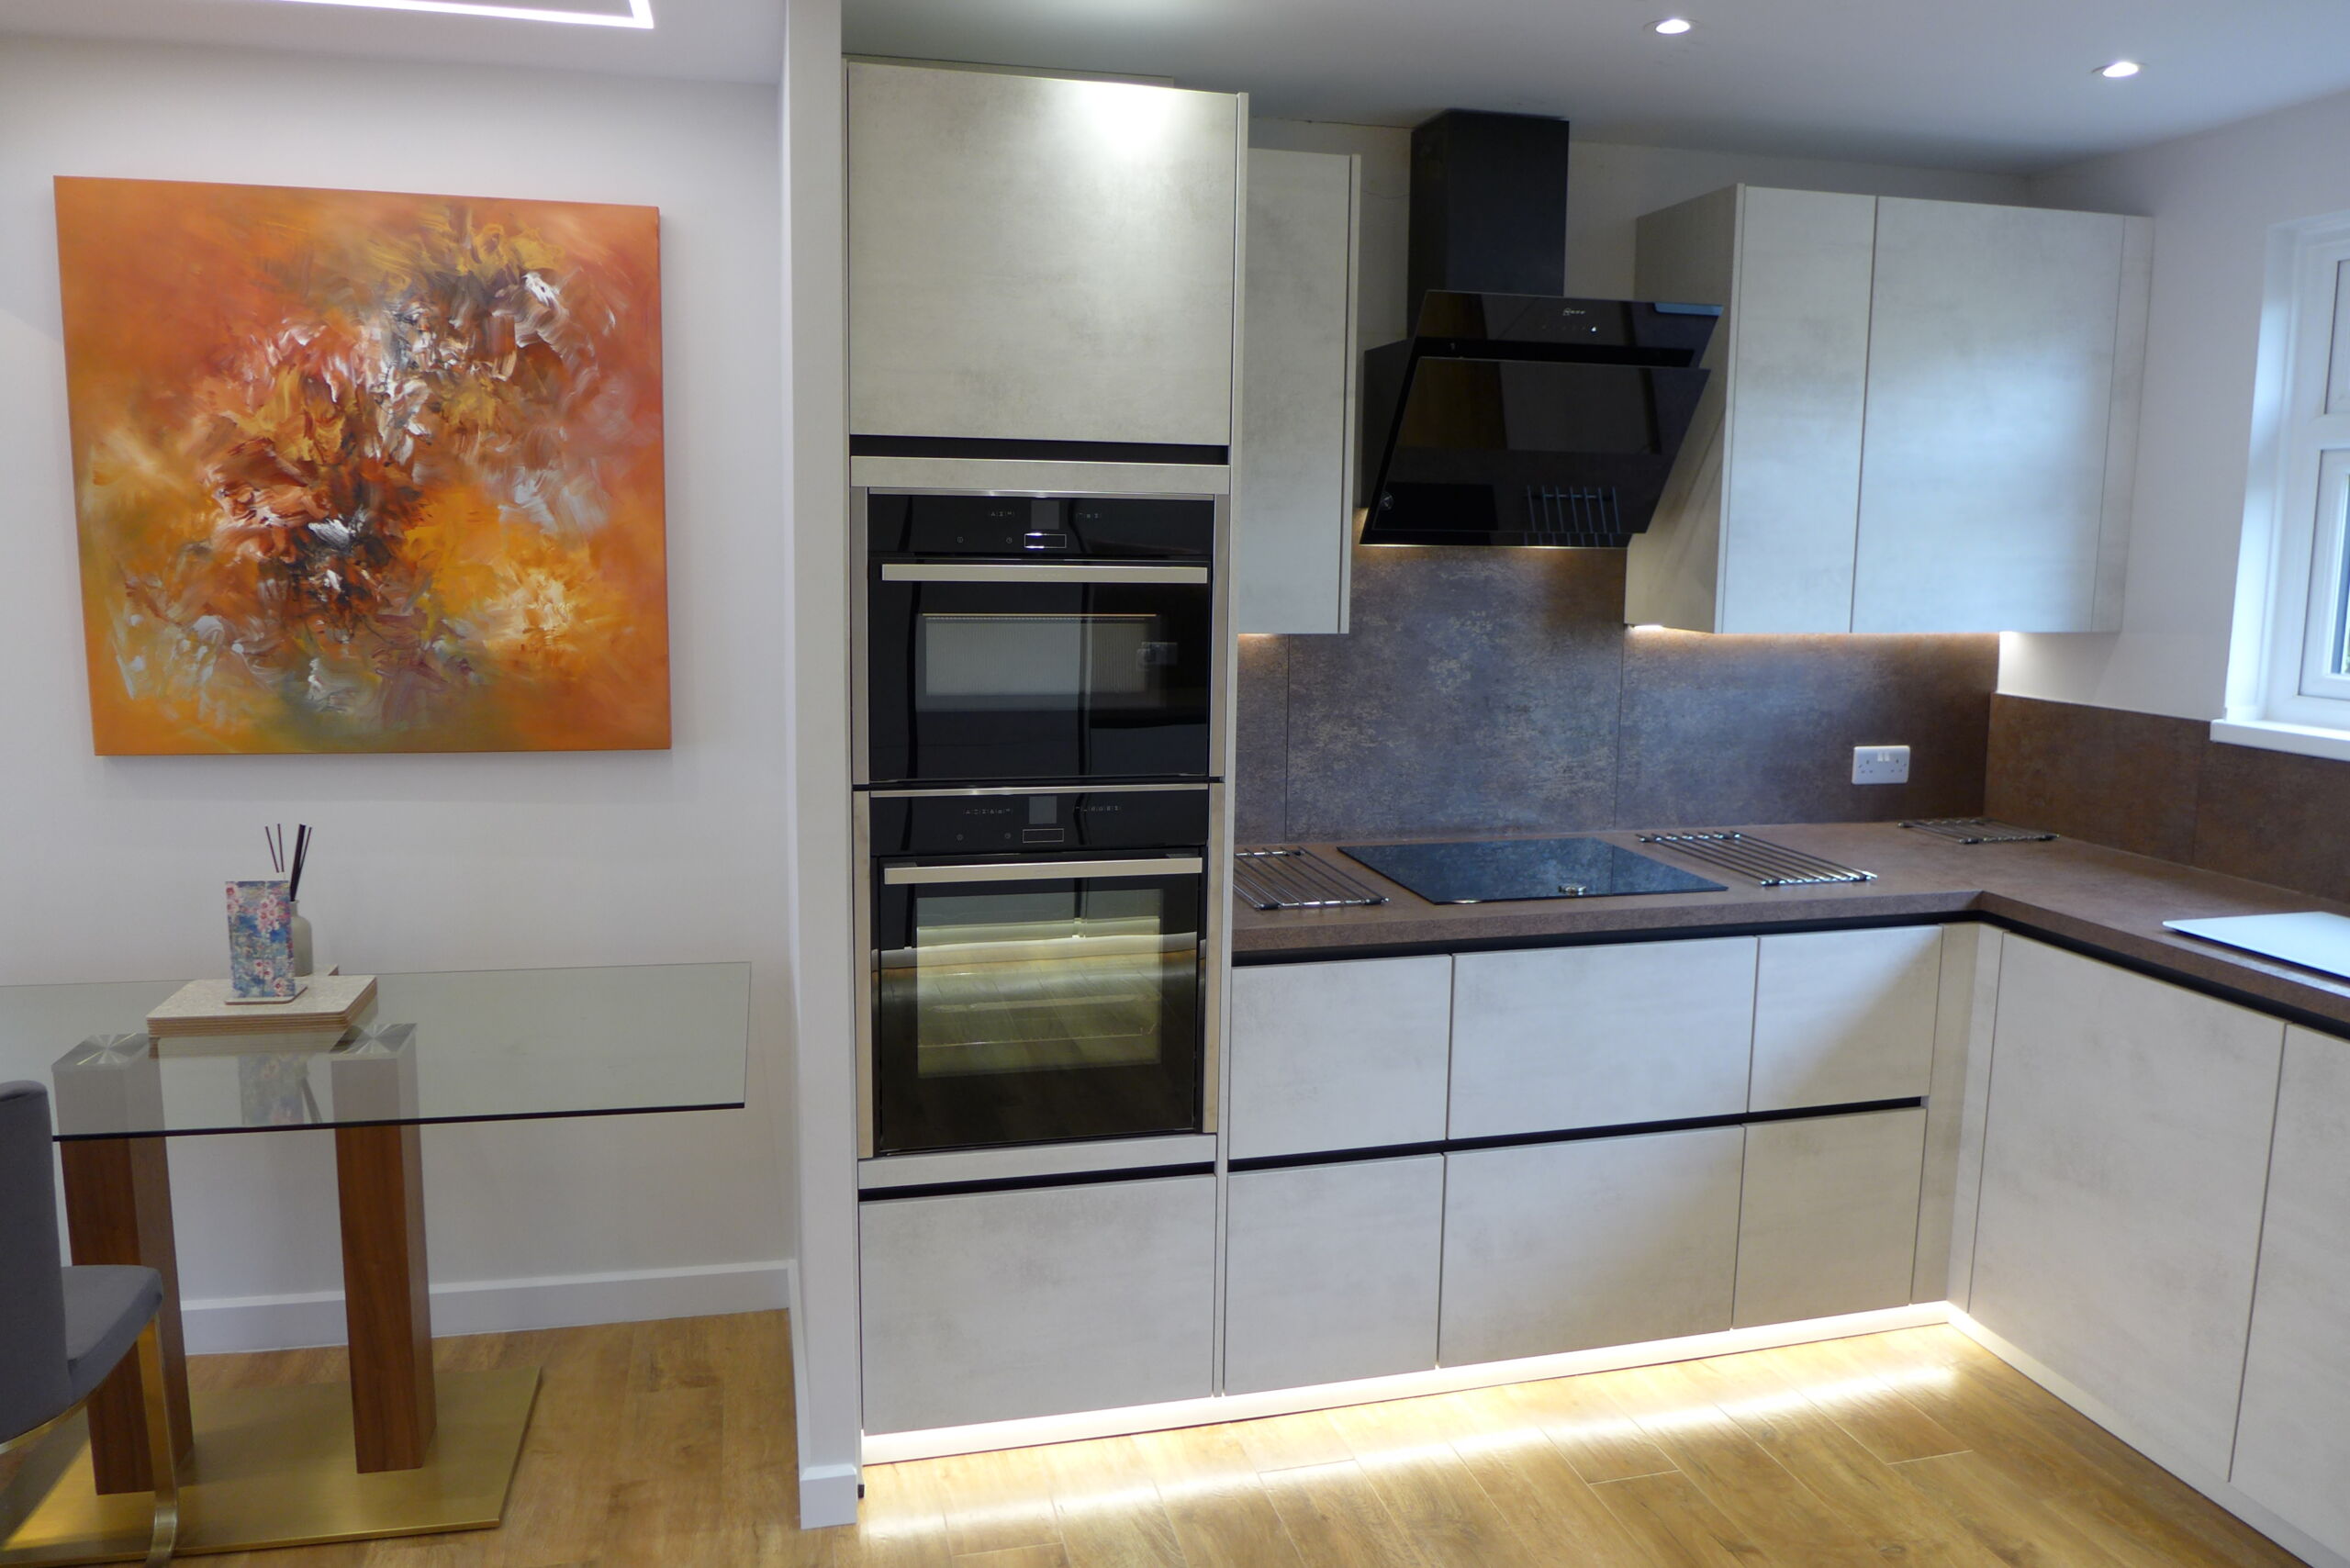
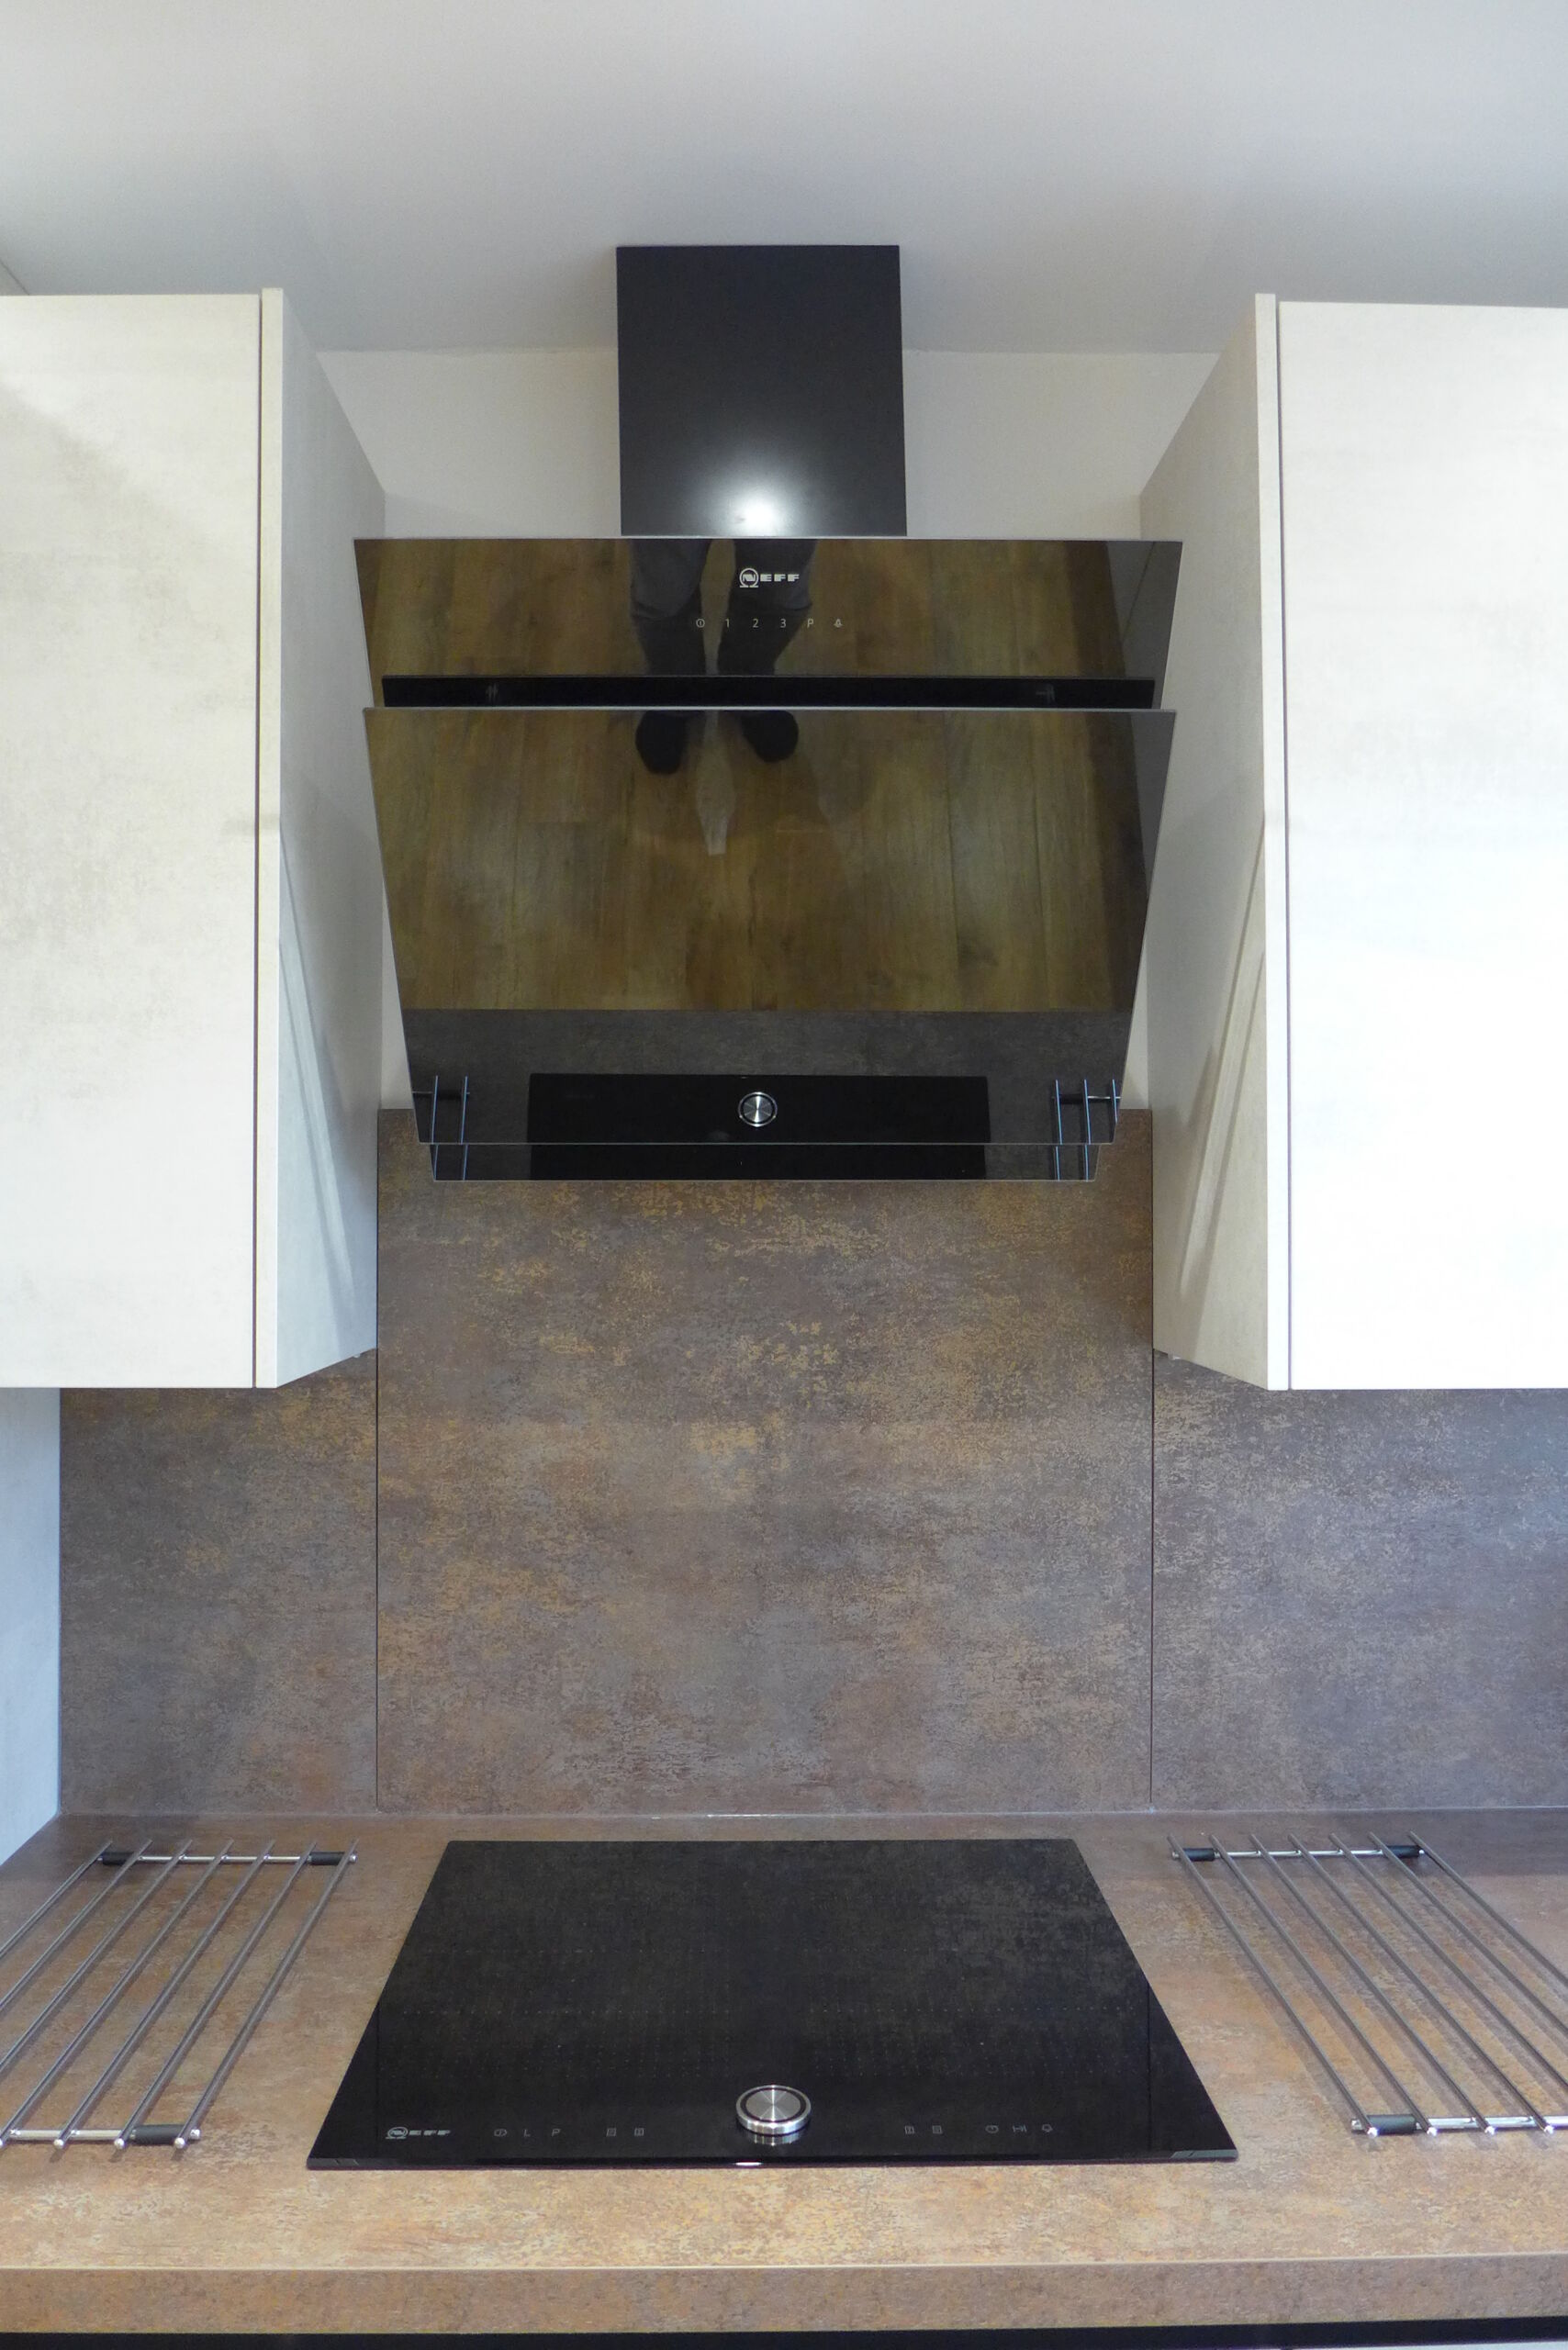
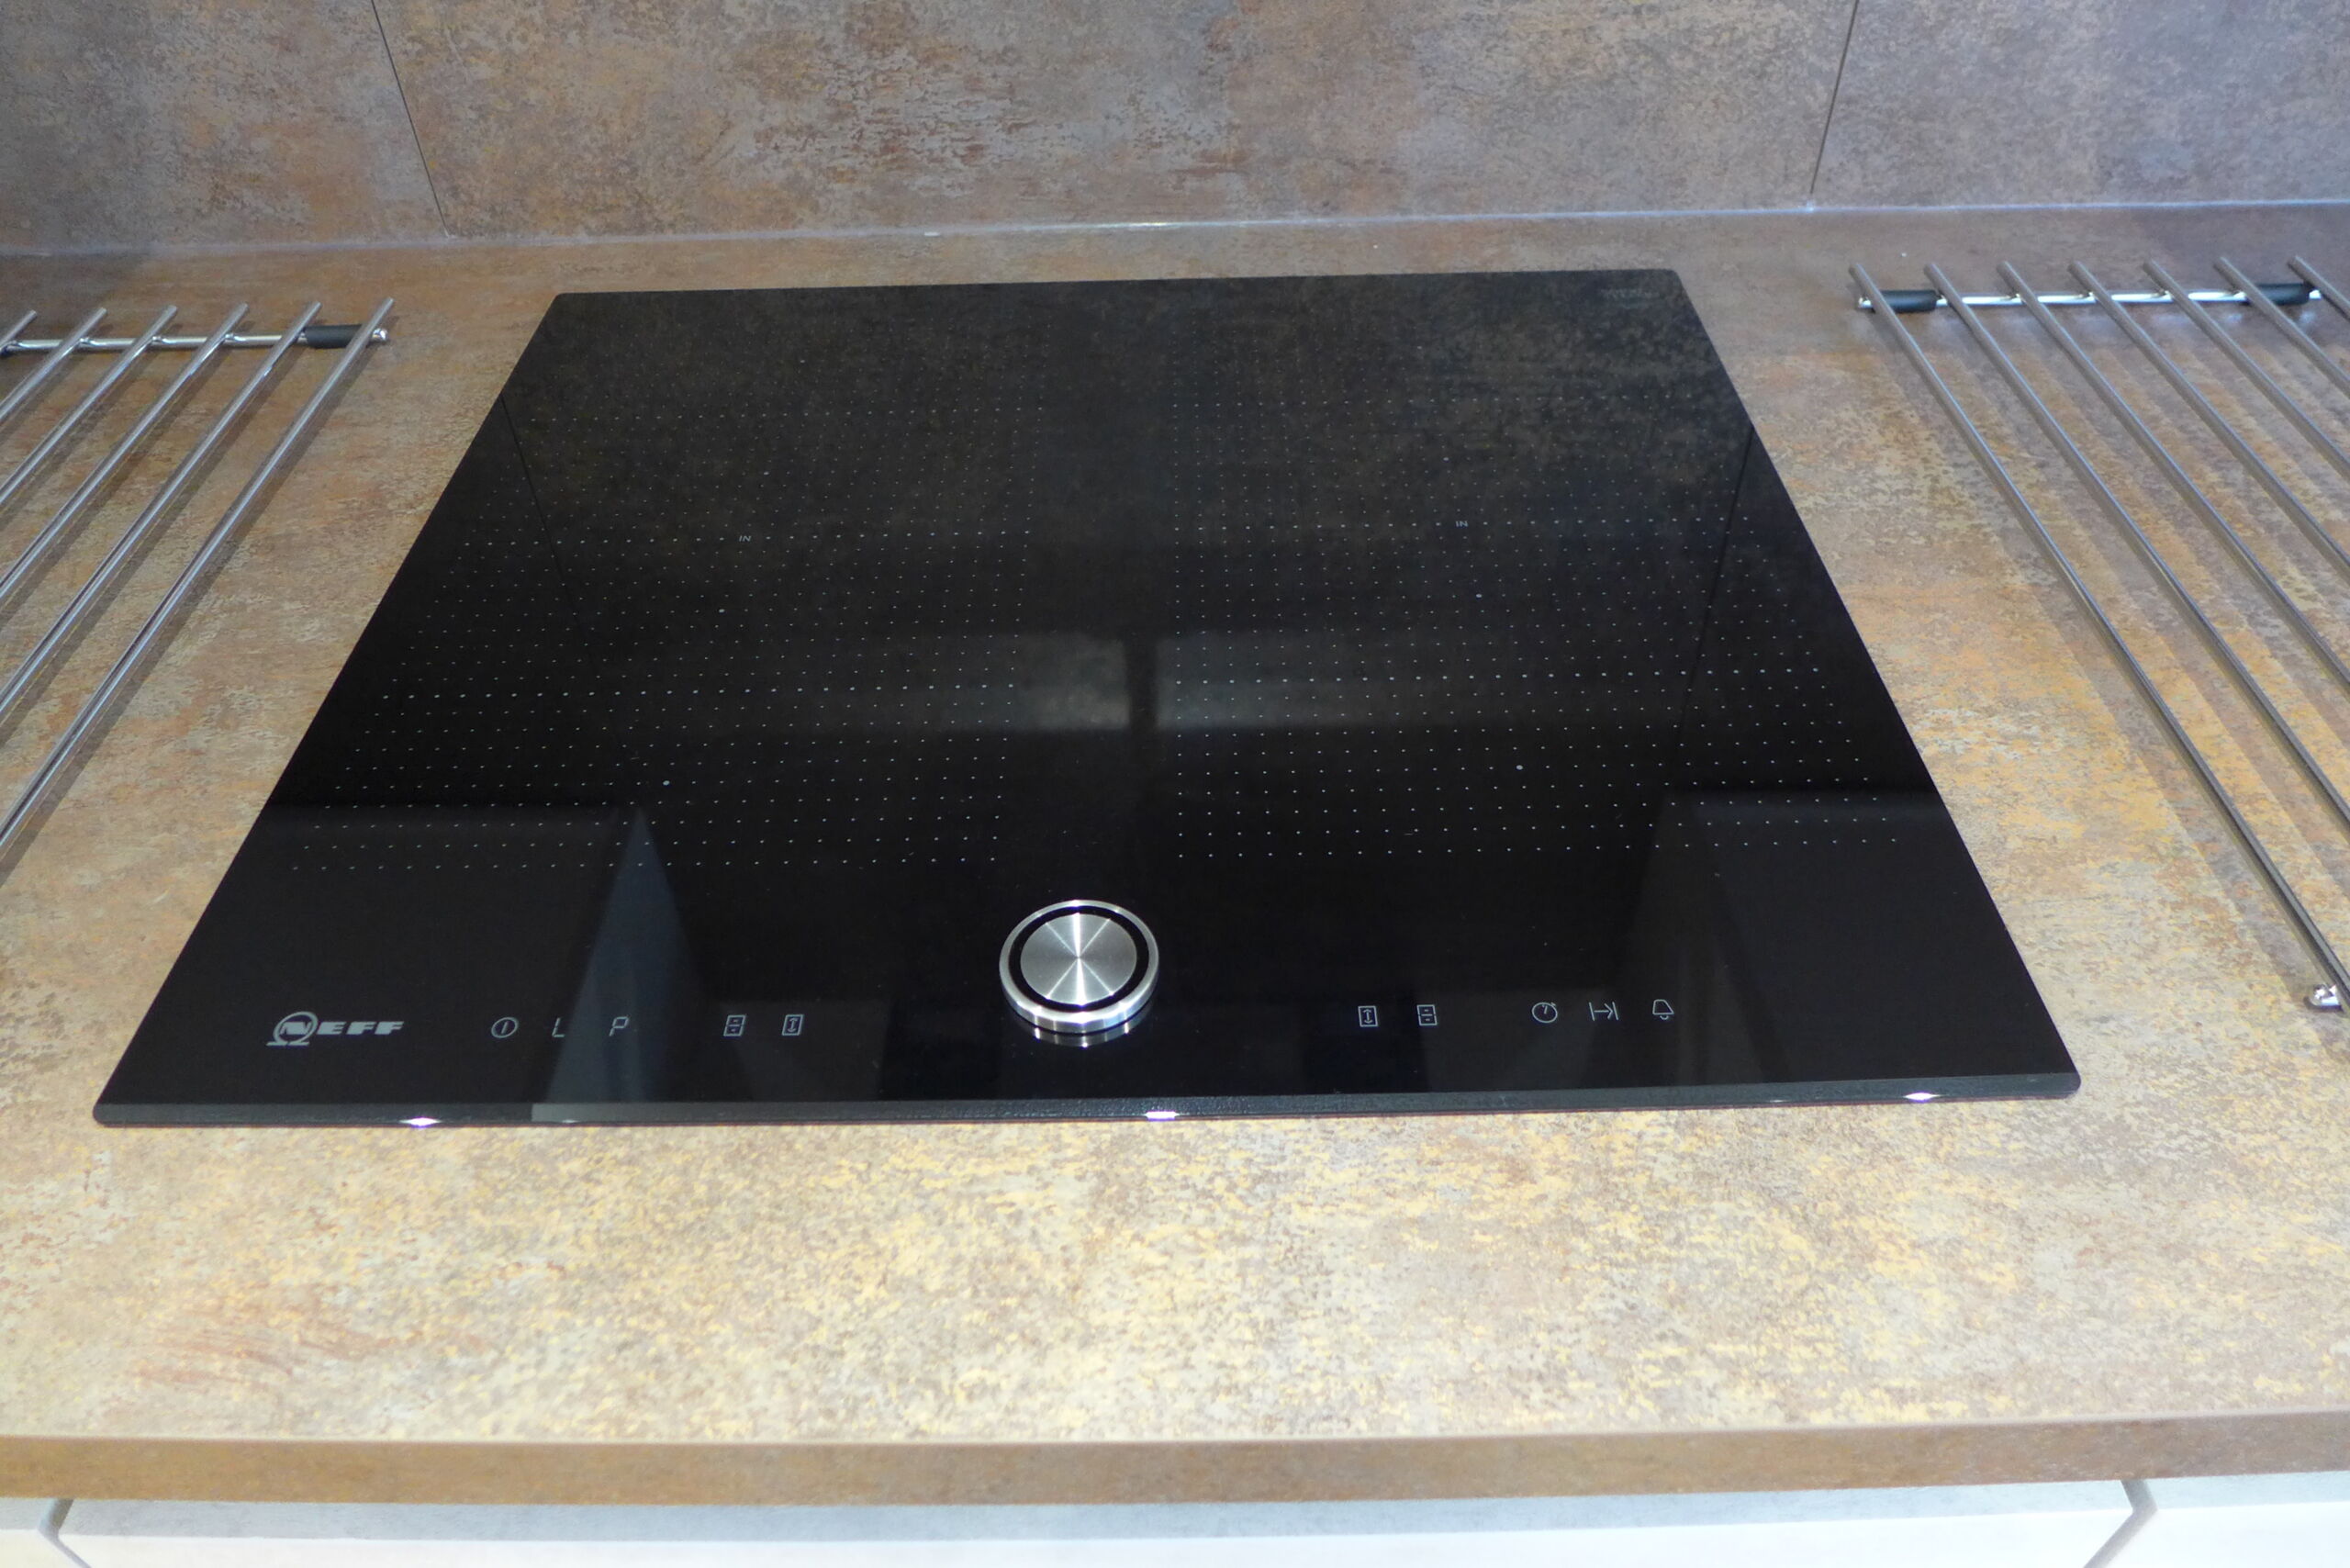
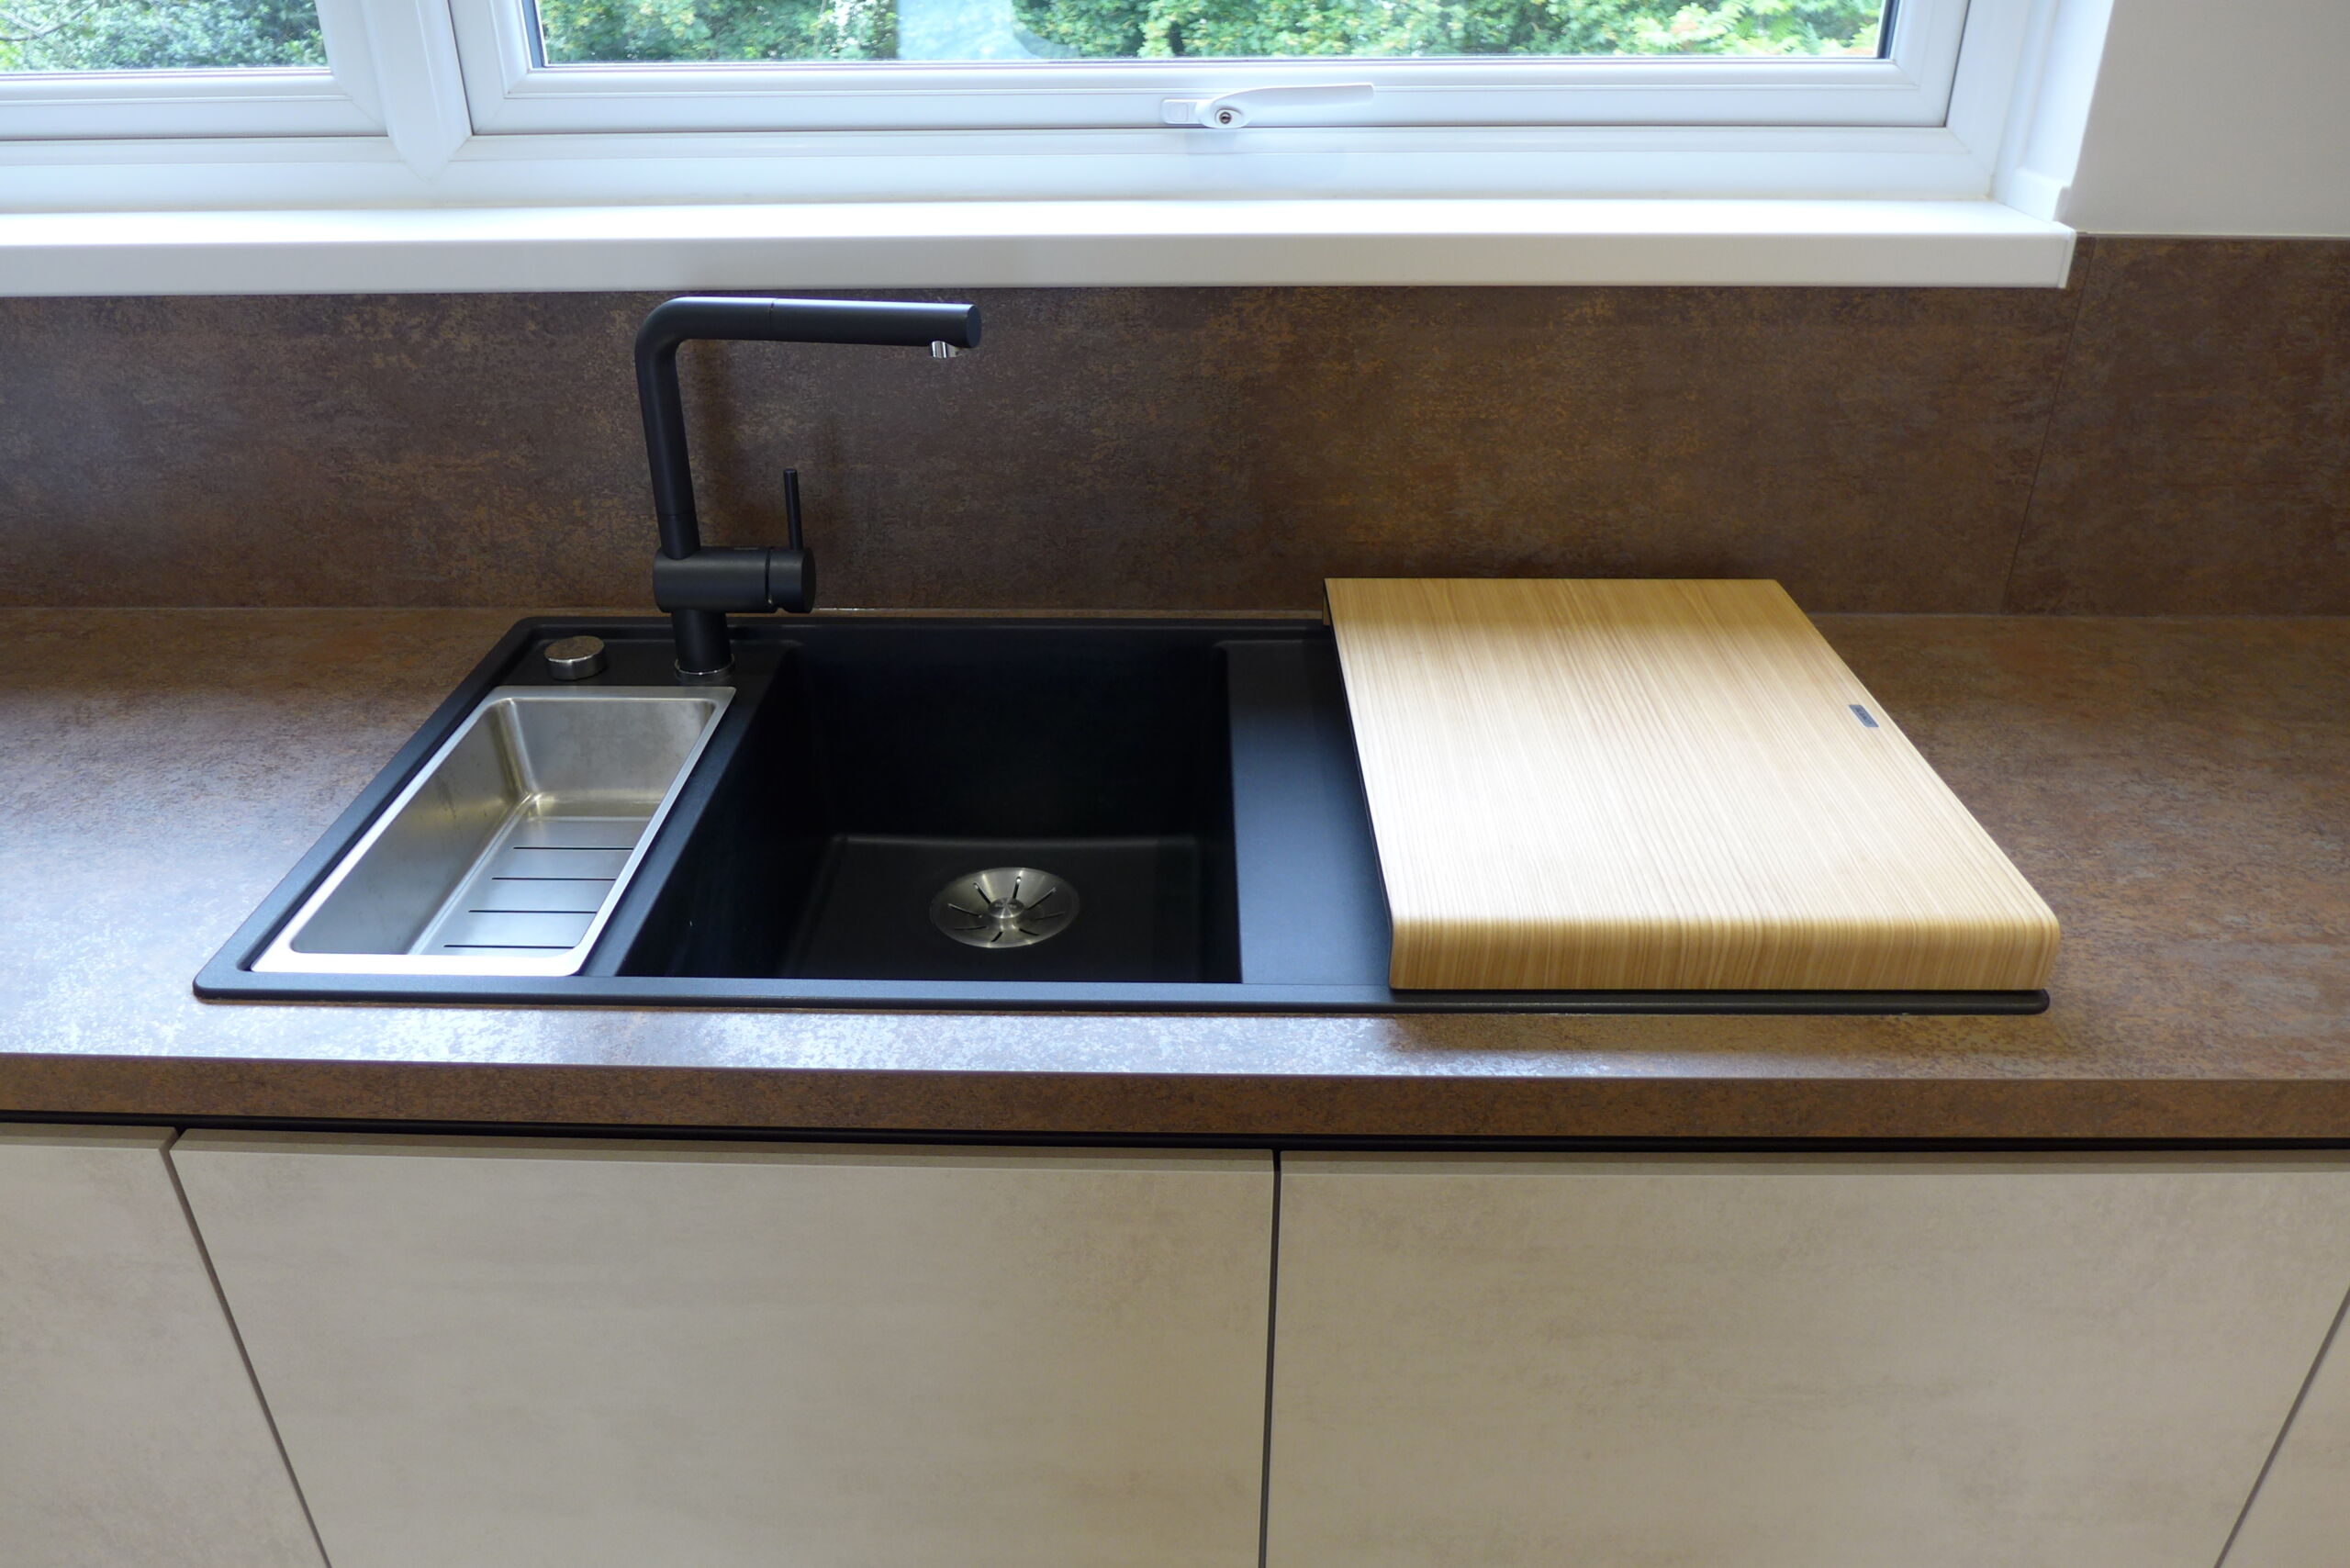

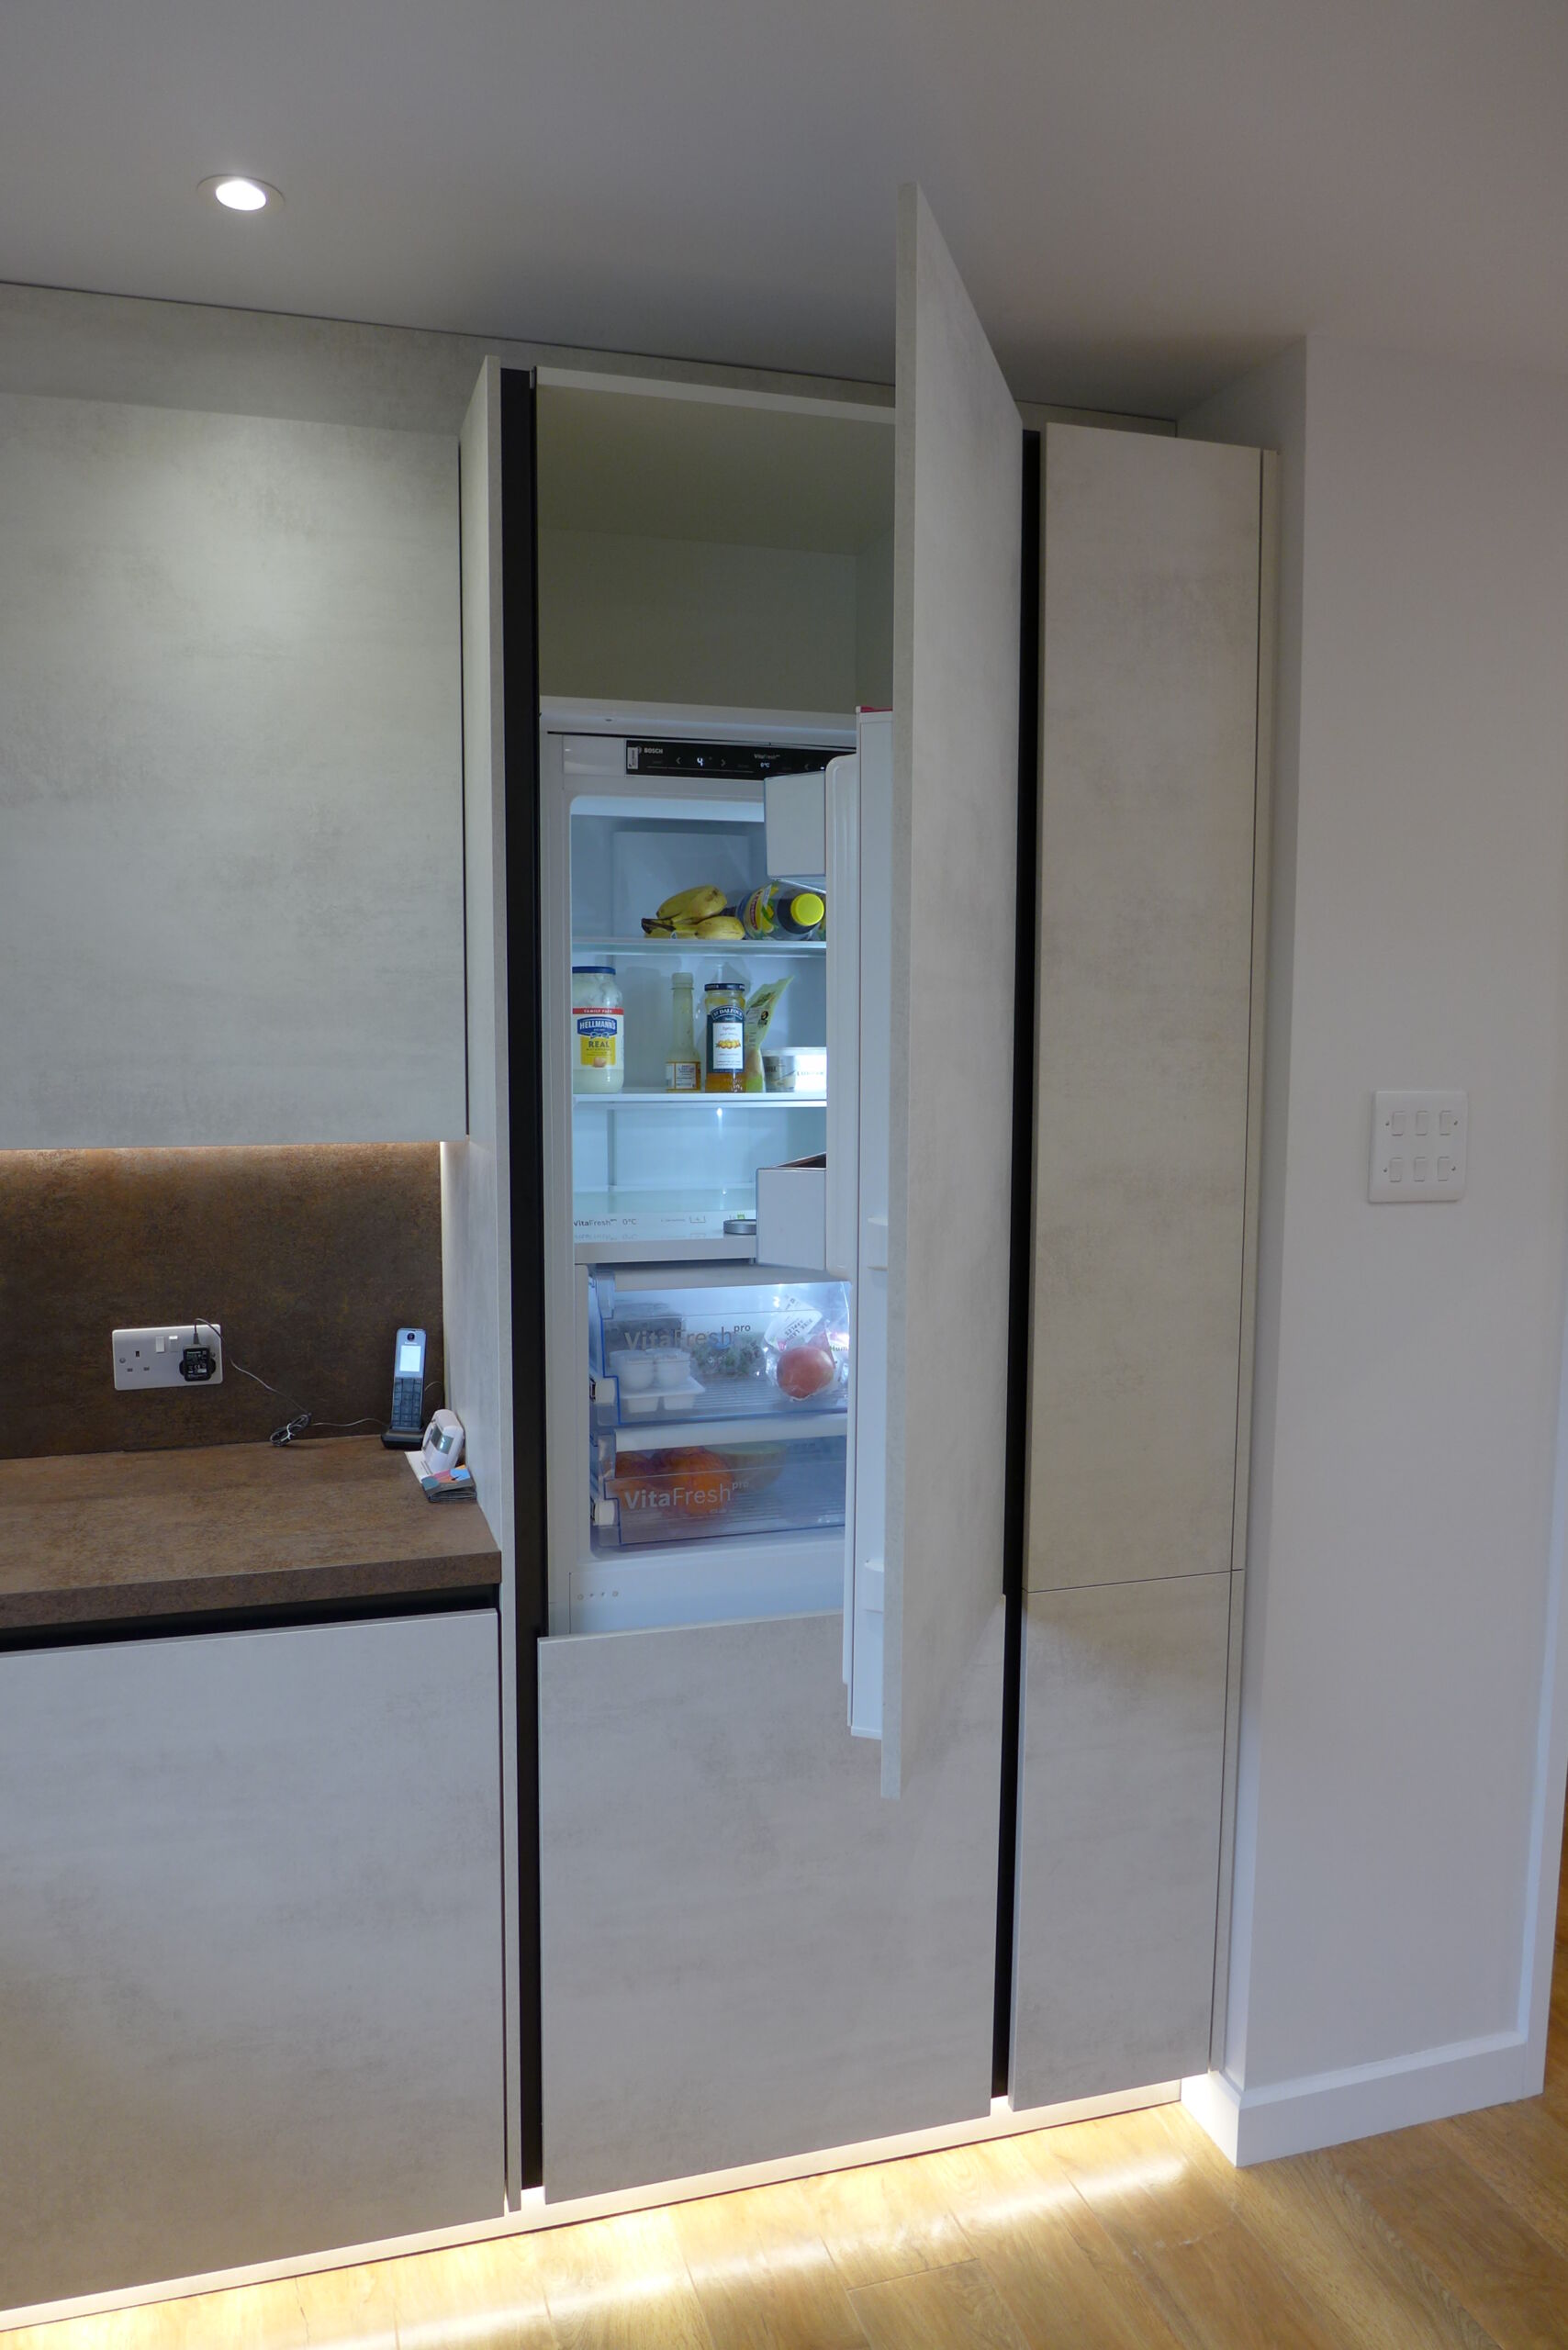
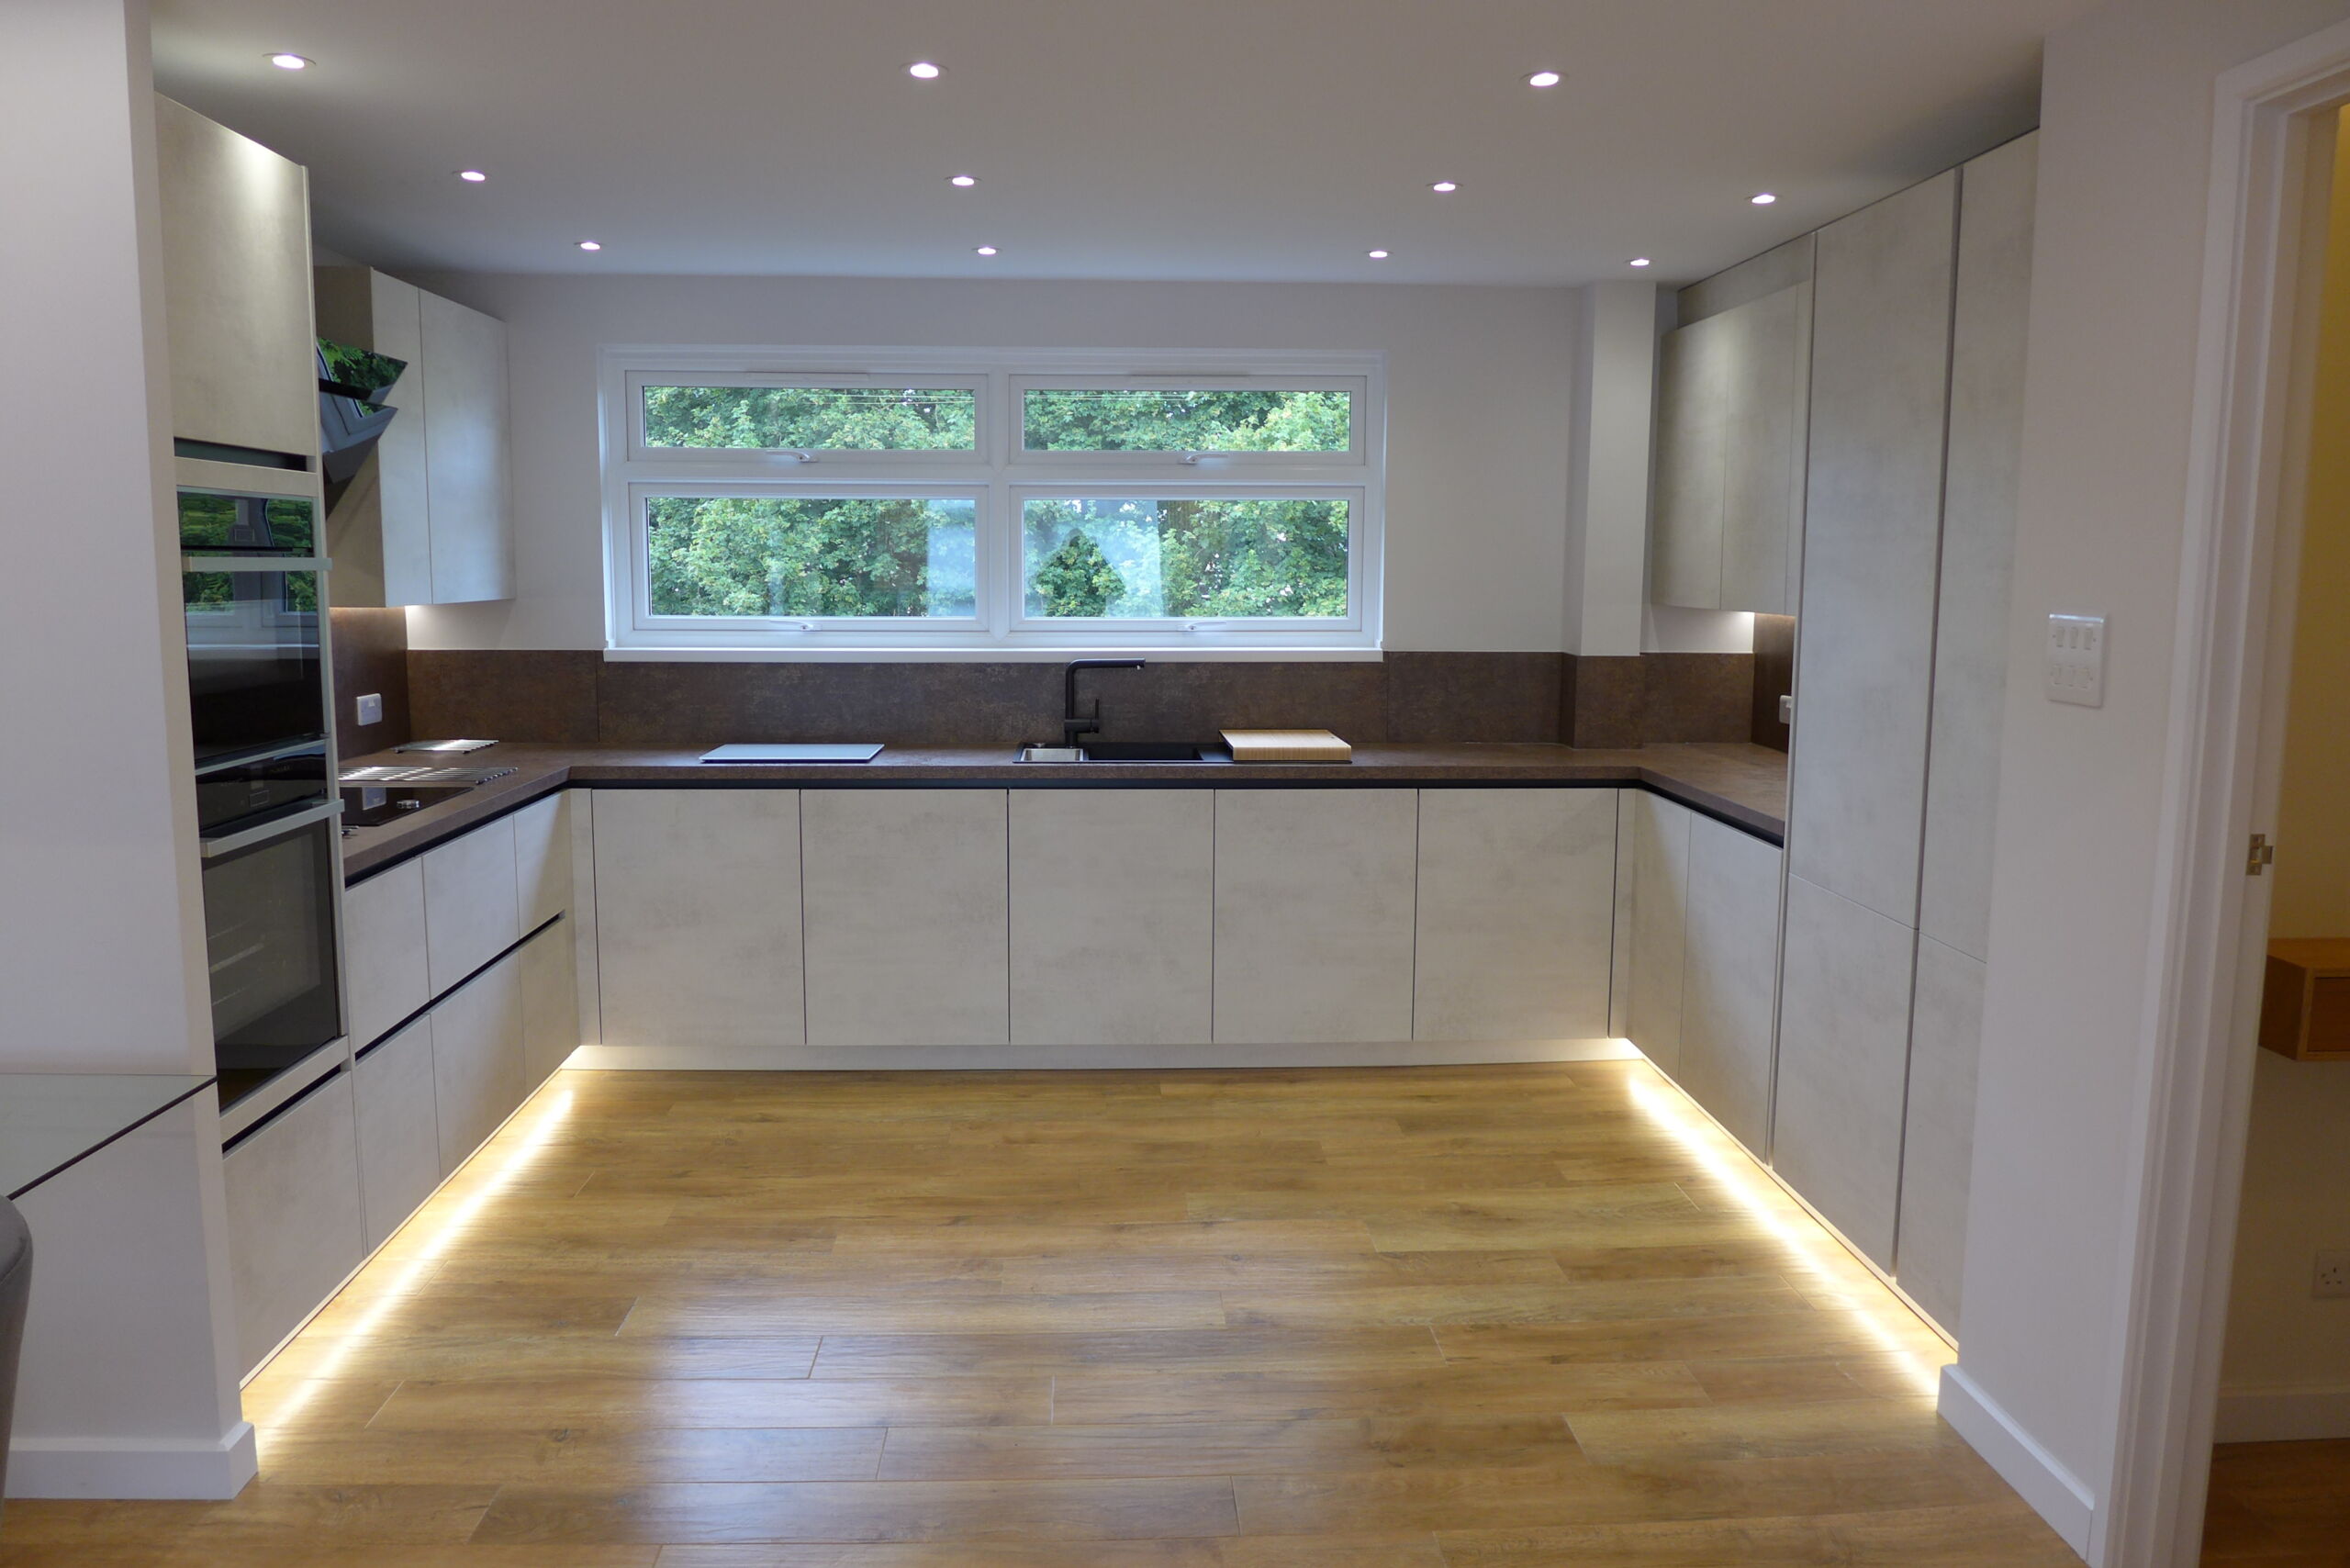
Our client was particularly tall, so we chose an angled cooker hood – we don’t want anyone to bump their head. The induction hob has a nifty magnetic controller which you can simply lift off to clean the surface. The black sink and tap is very on-trend, and pull-out larders are always popular. In terms of lighting, we fitted an LED strip to the plinths, with pelmet lighting and ceiling downlighters – all on separate circuits. Needless to say, there’s plenty of light when the kitchen is occupied, and subtle, accent lighting at other times.
Renovating the bathroom
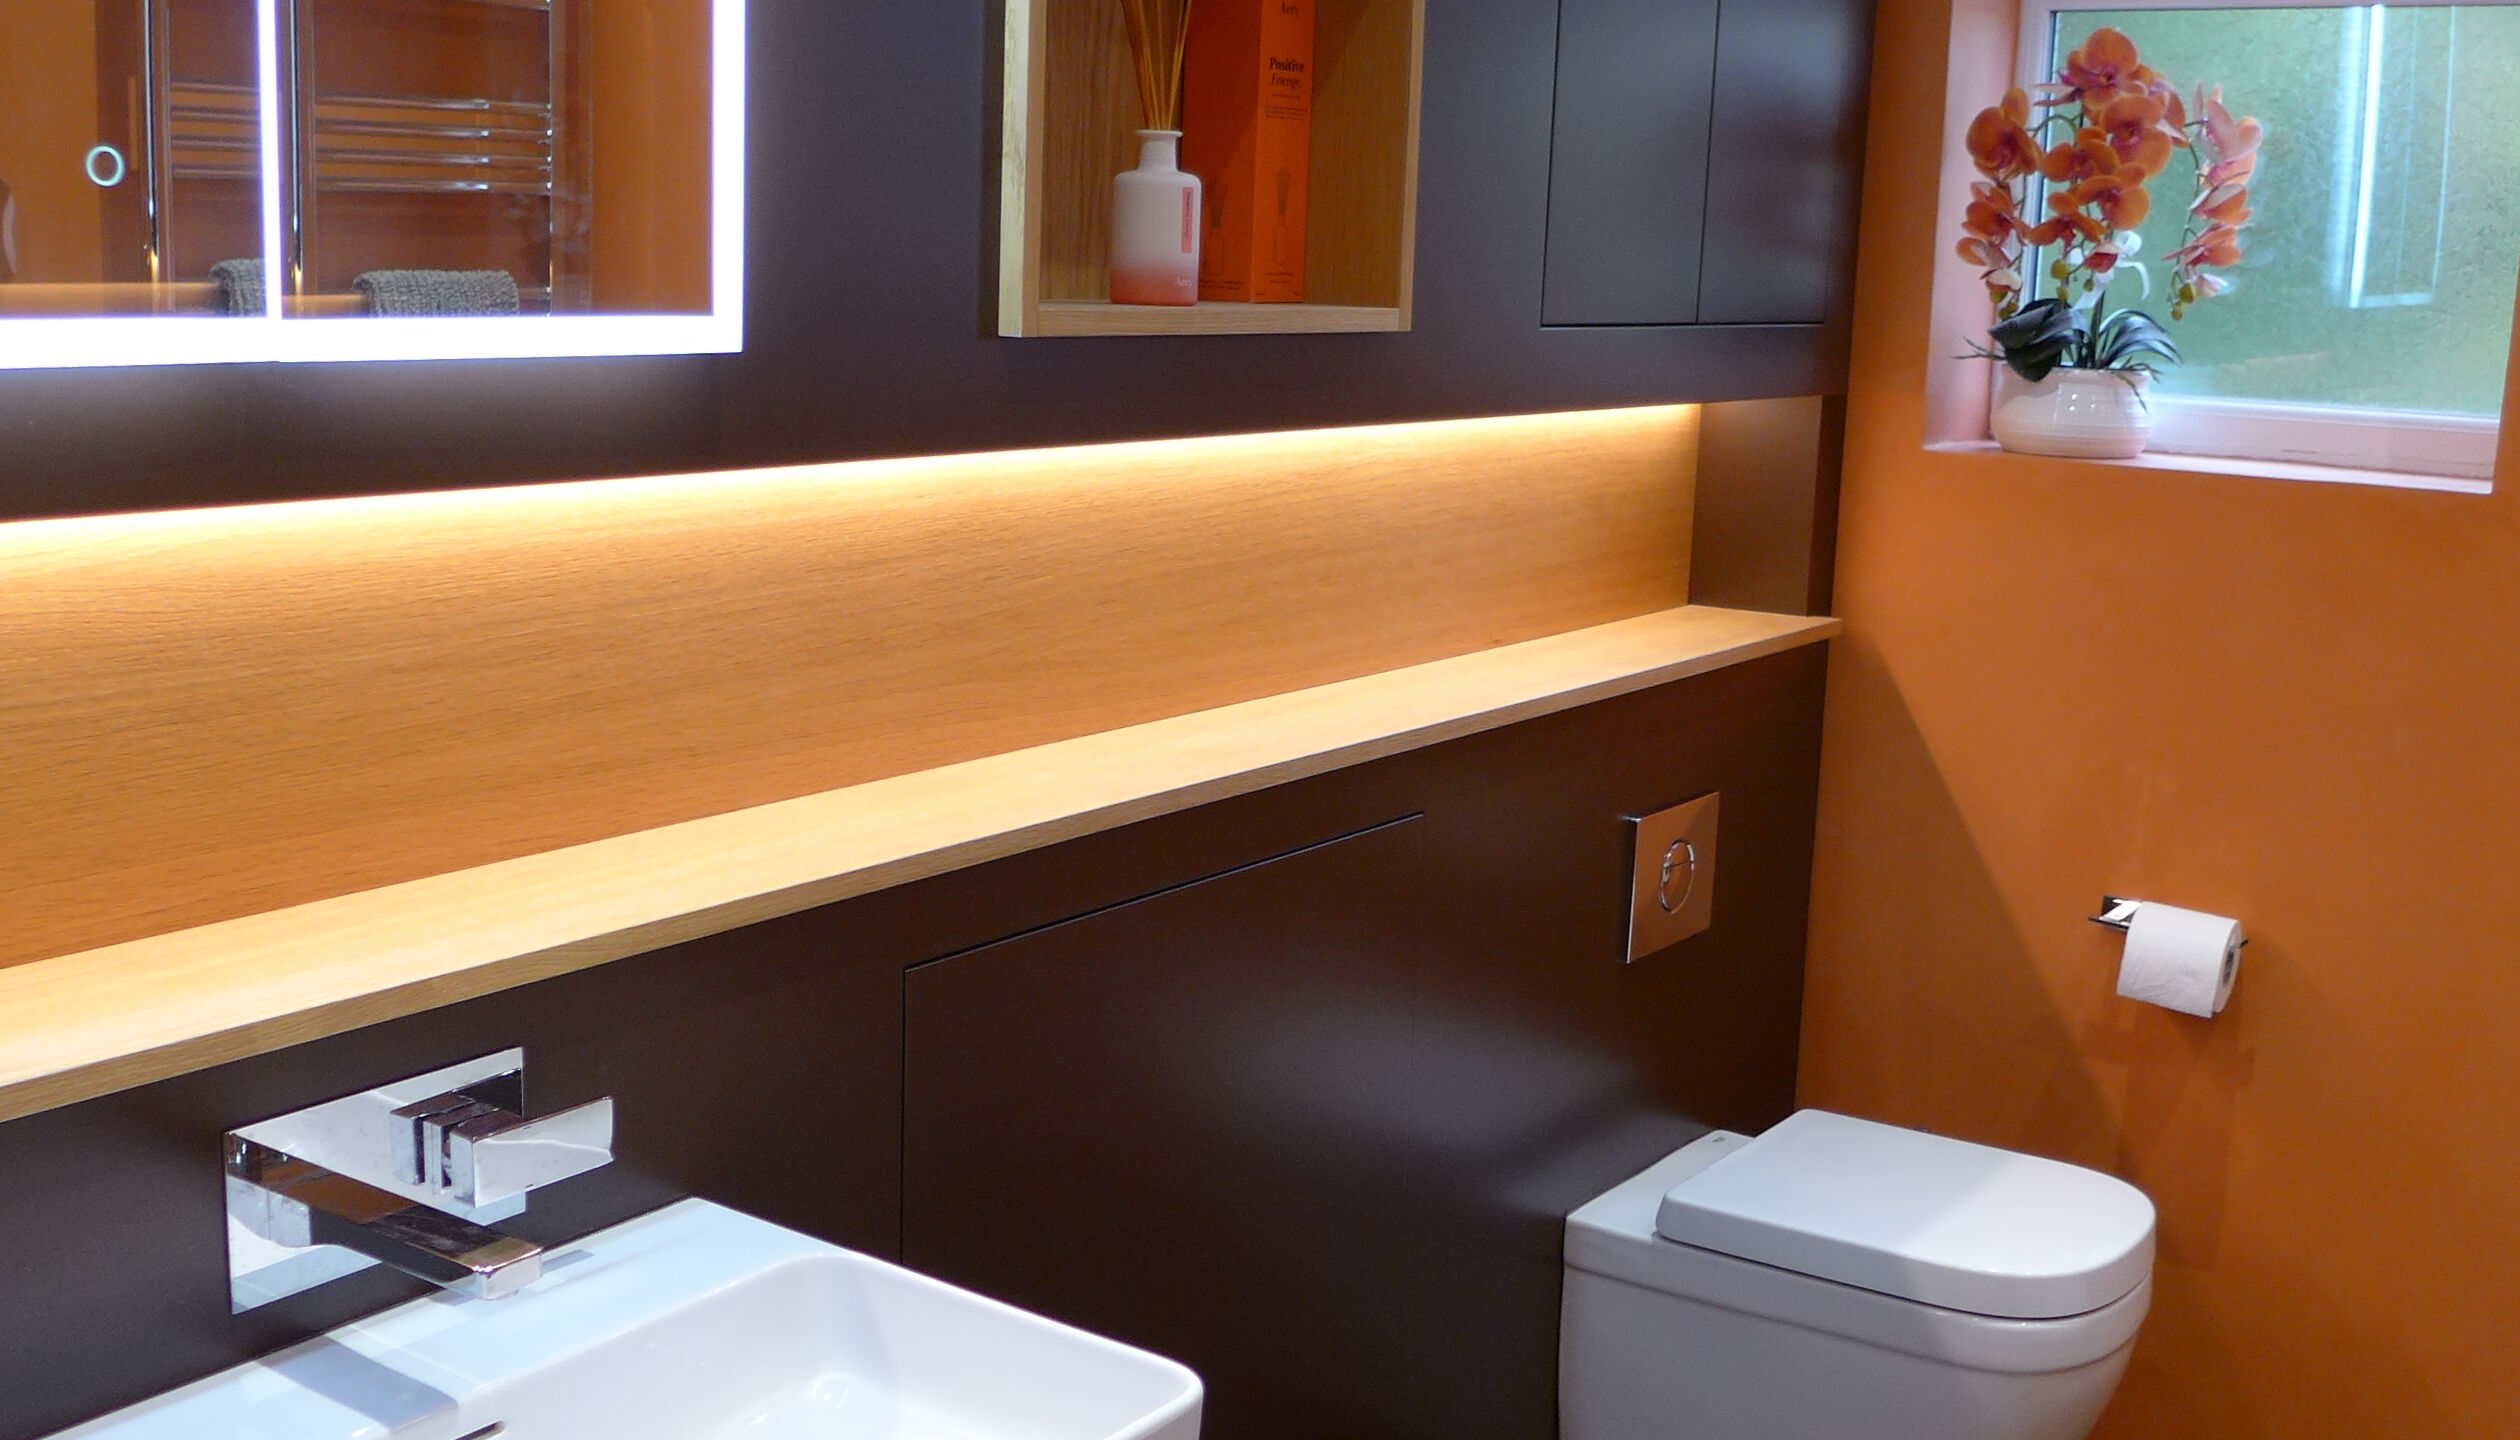
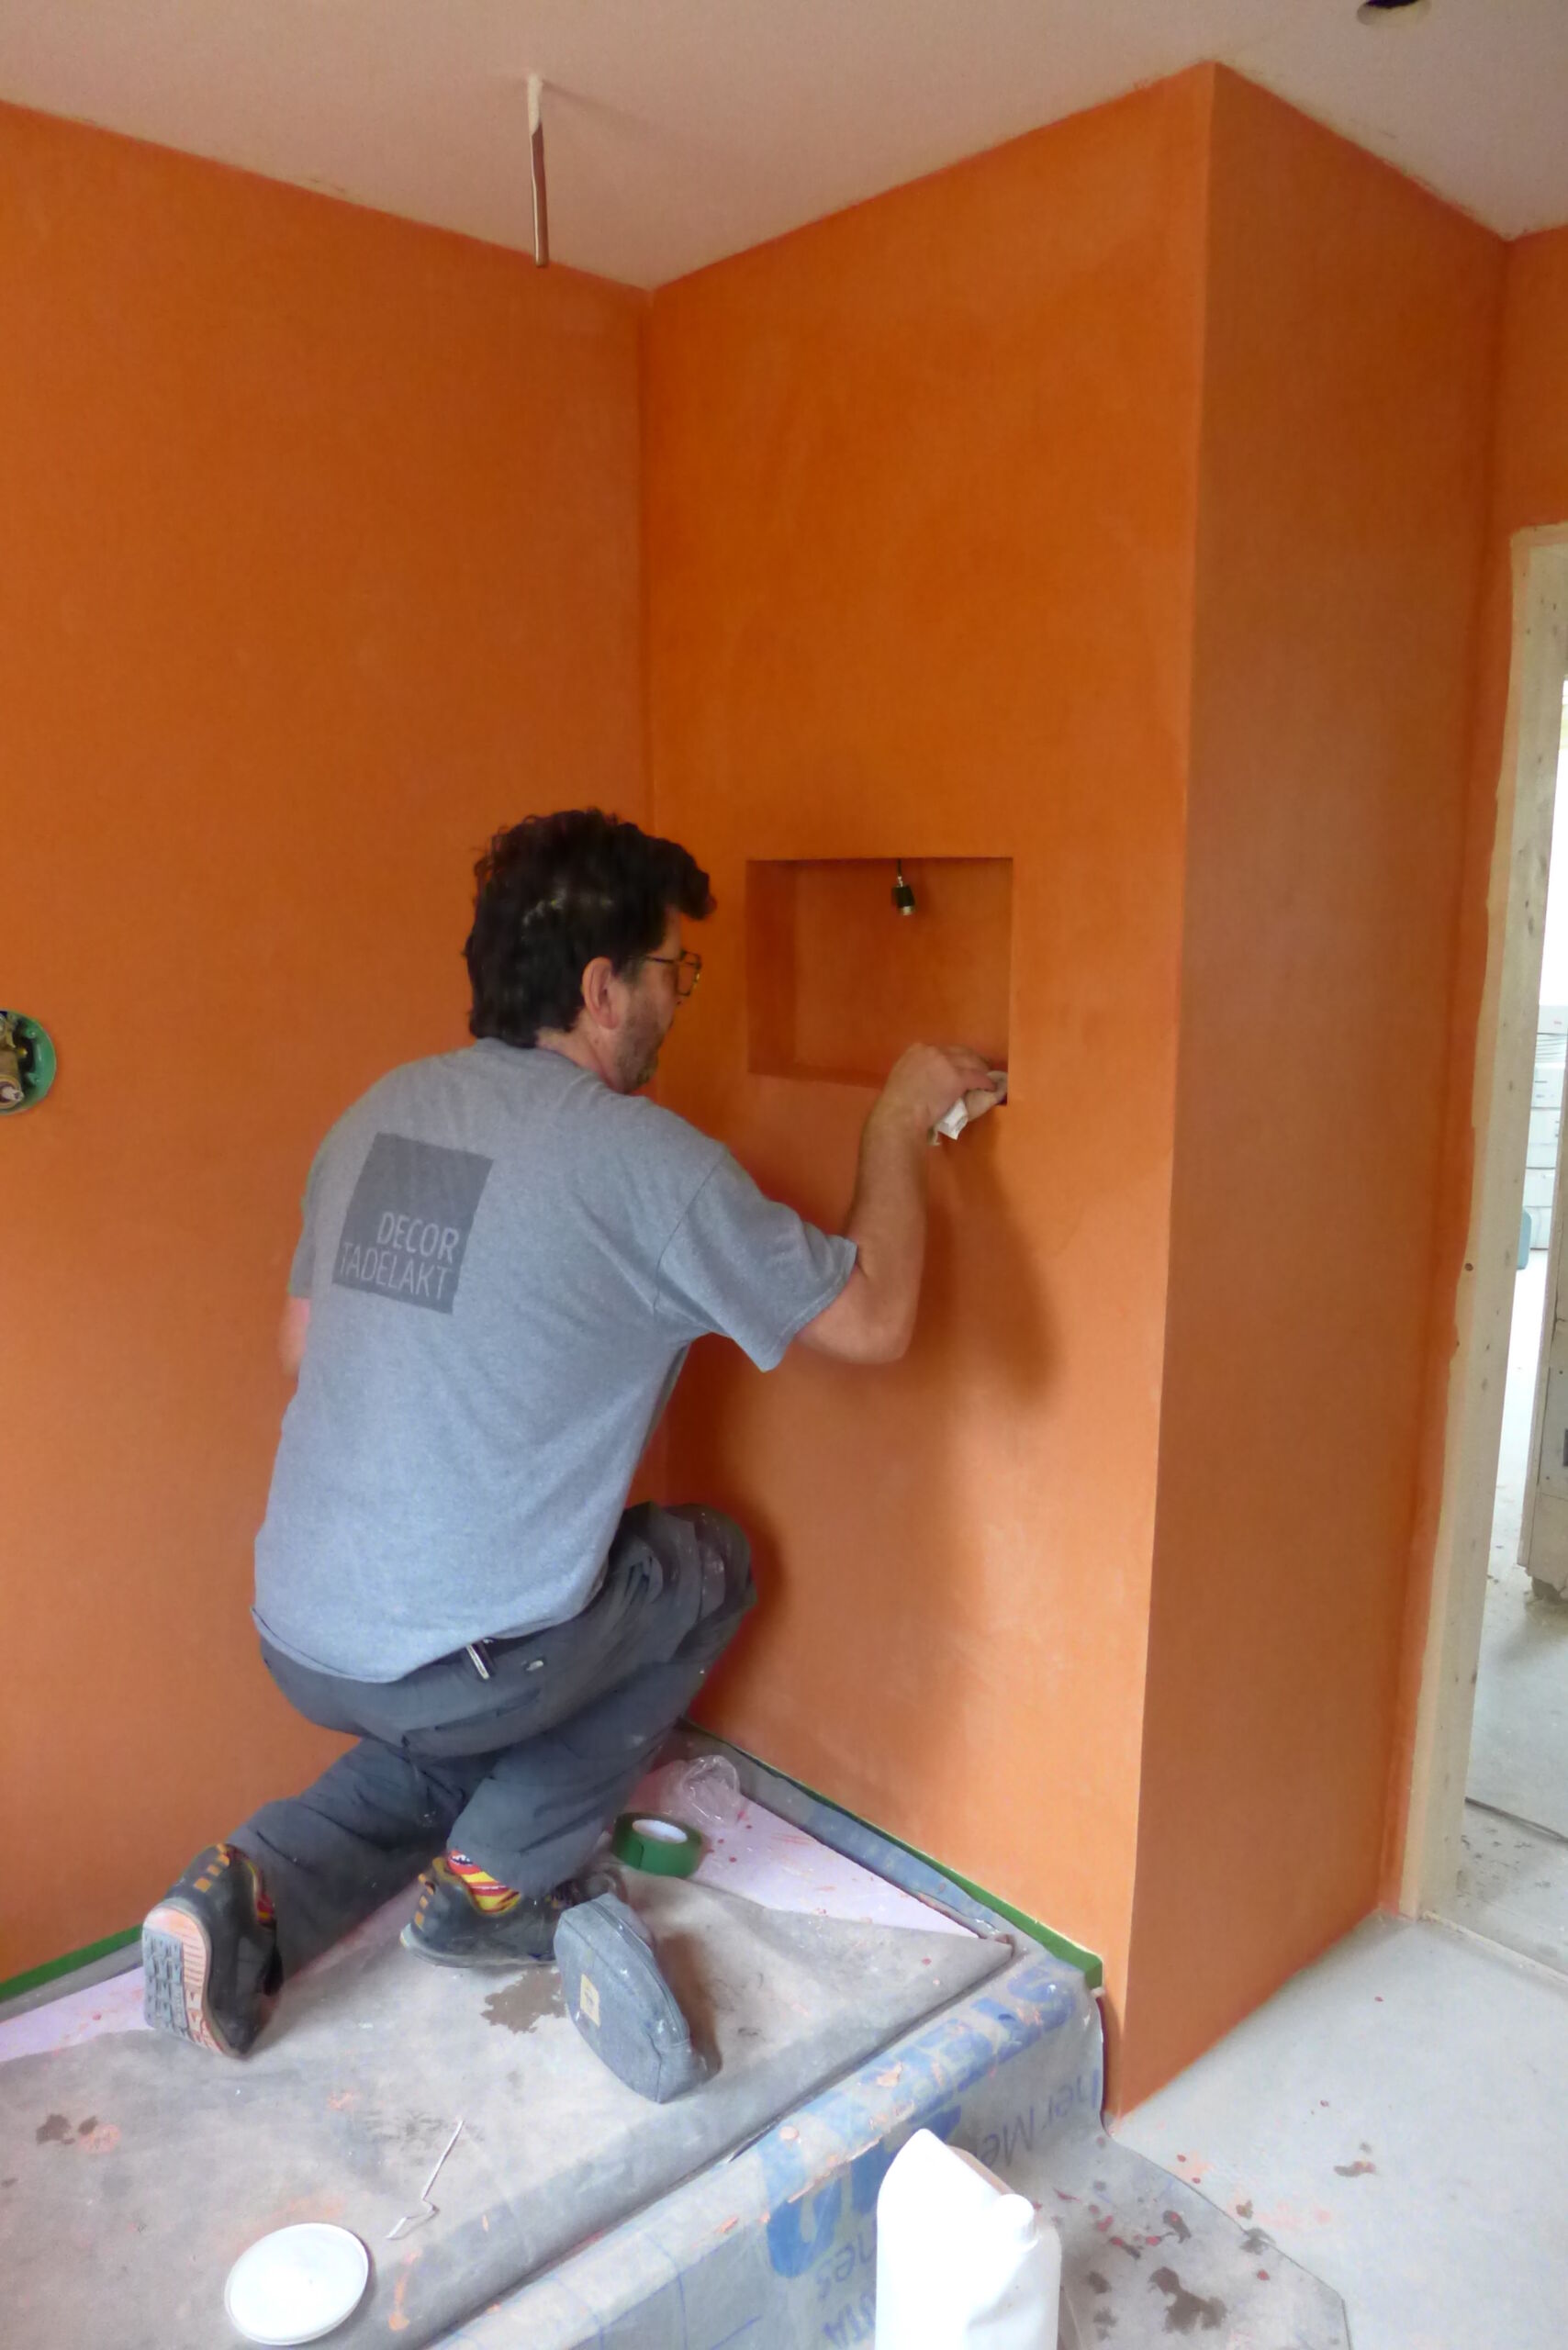
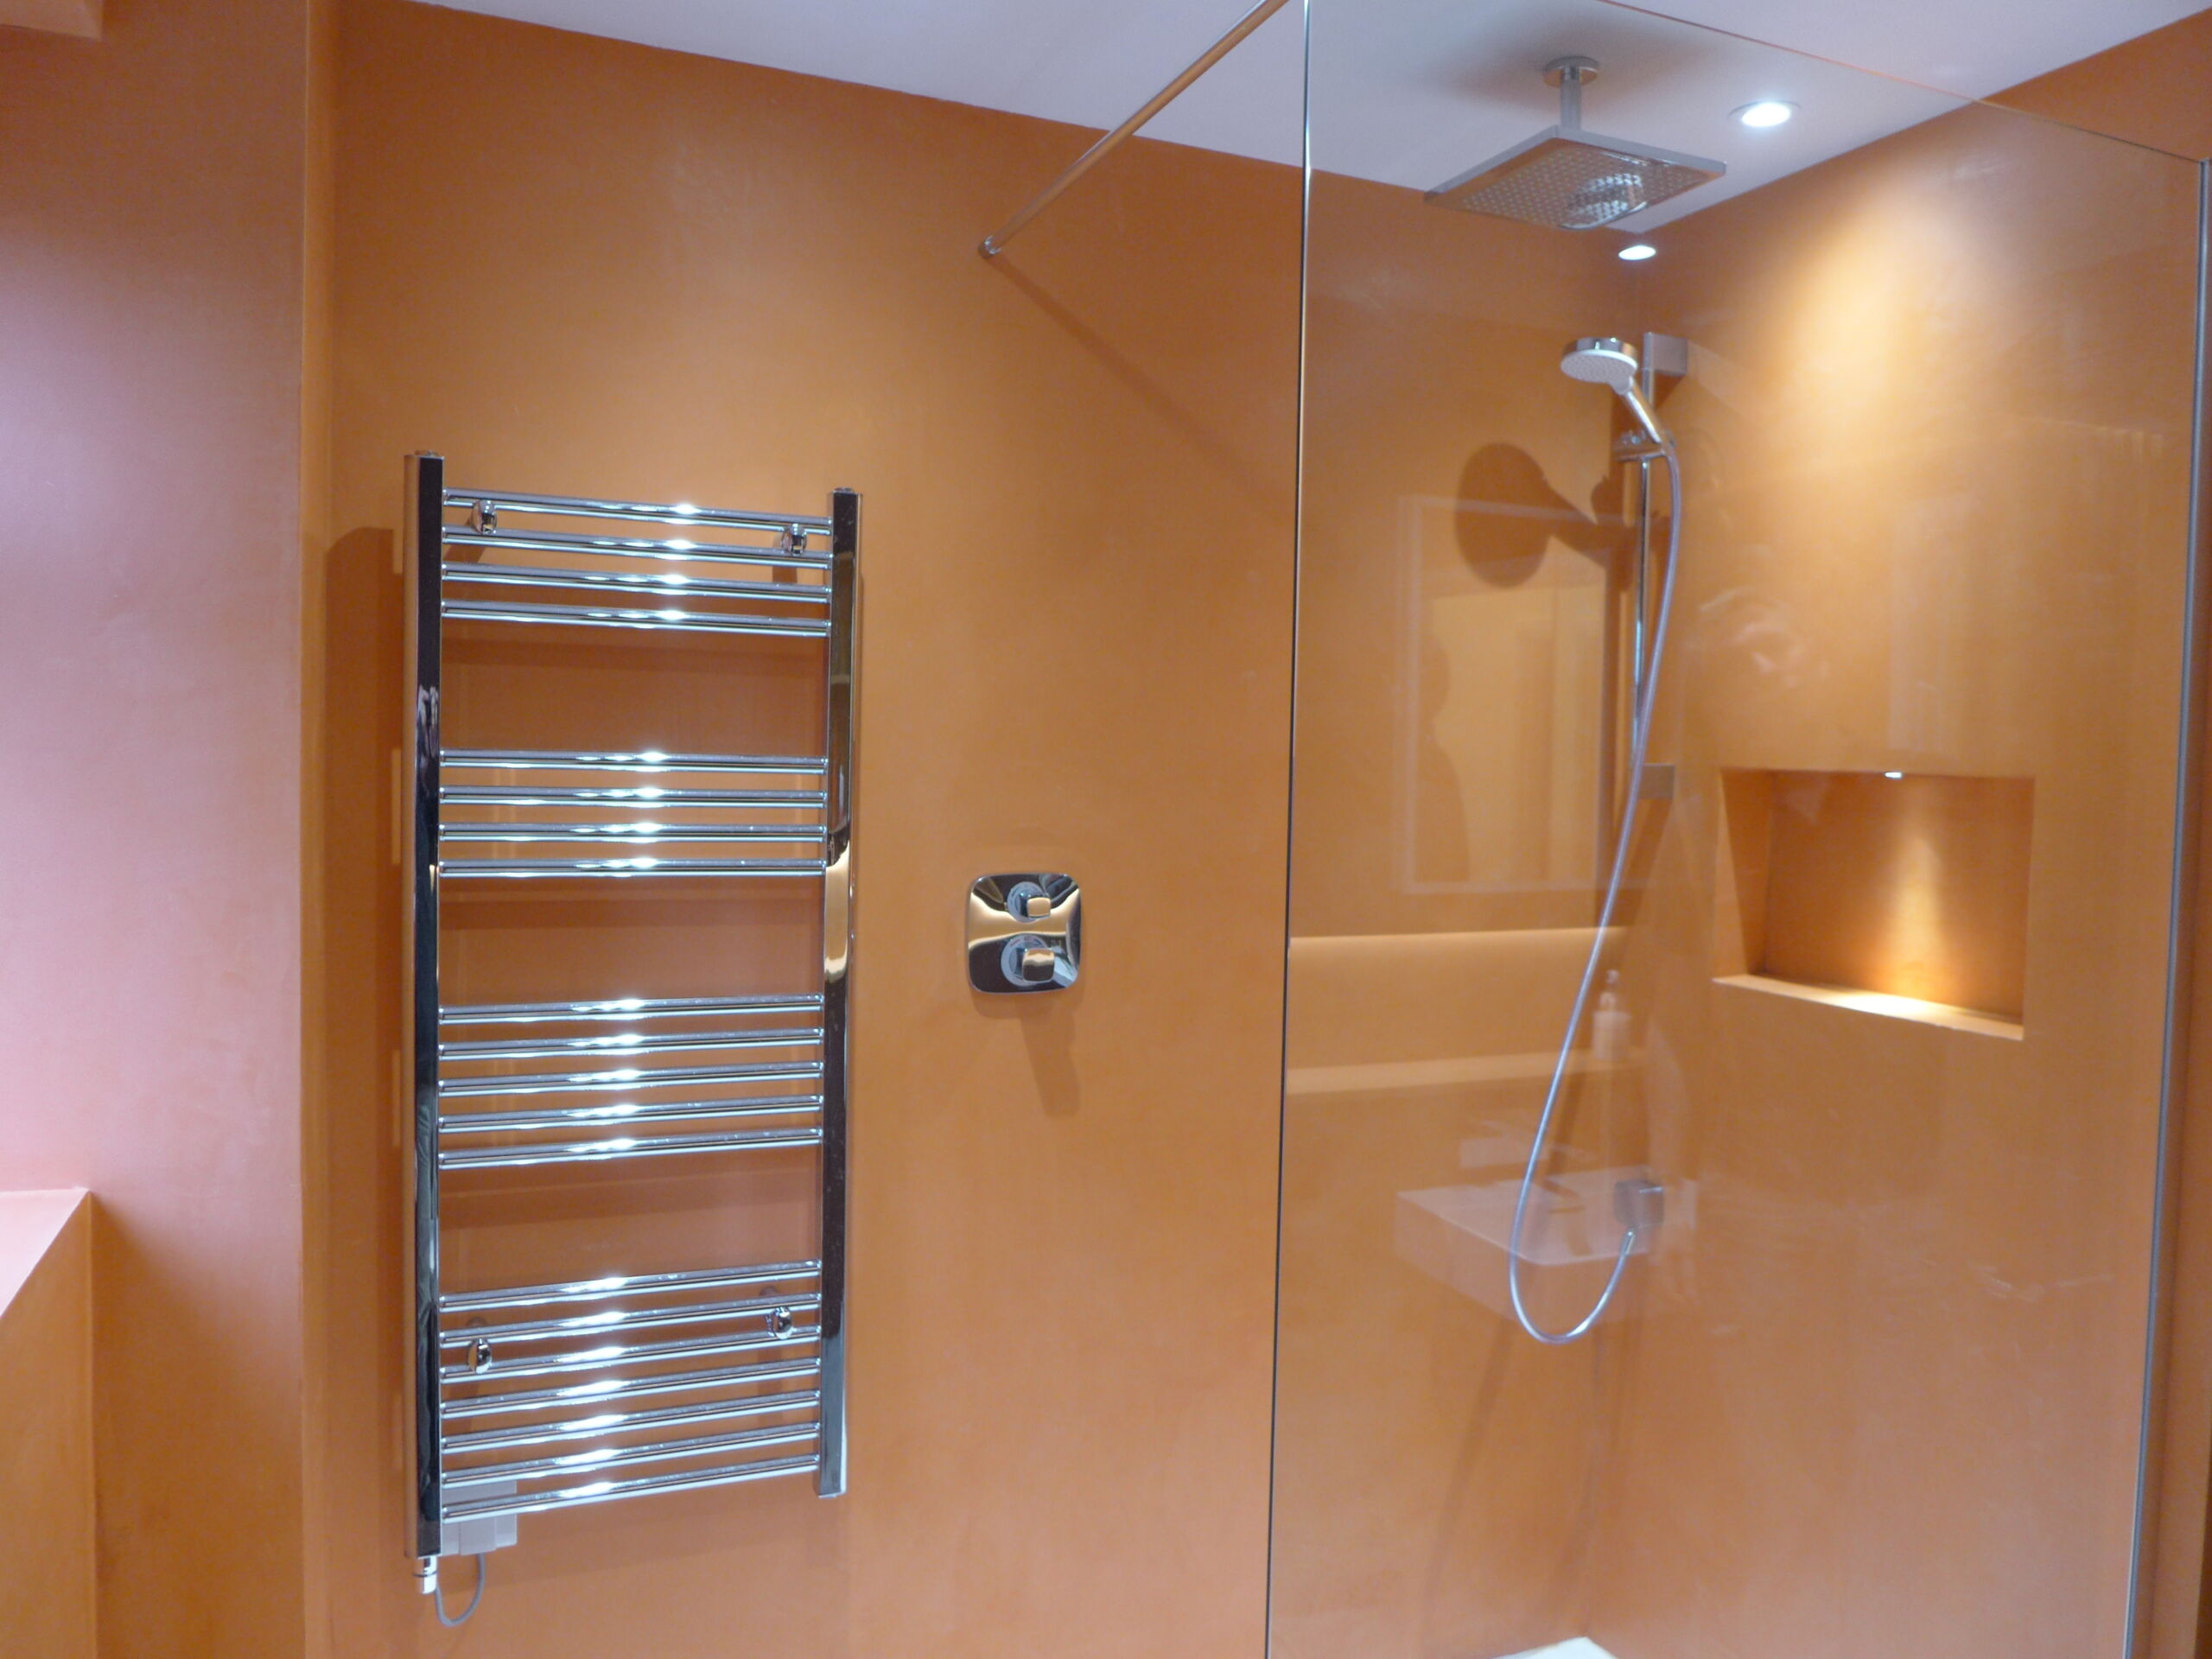
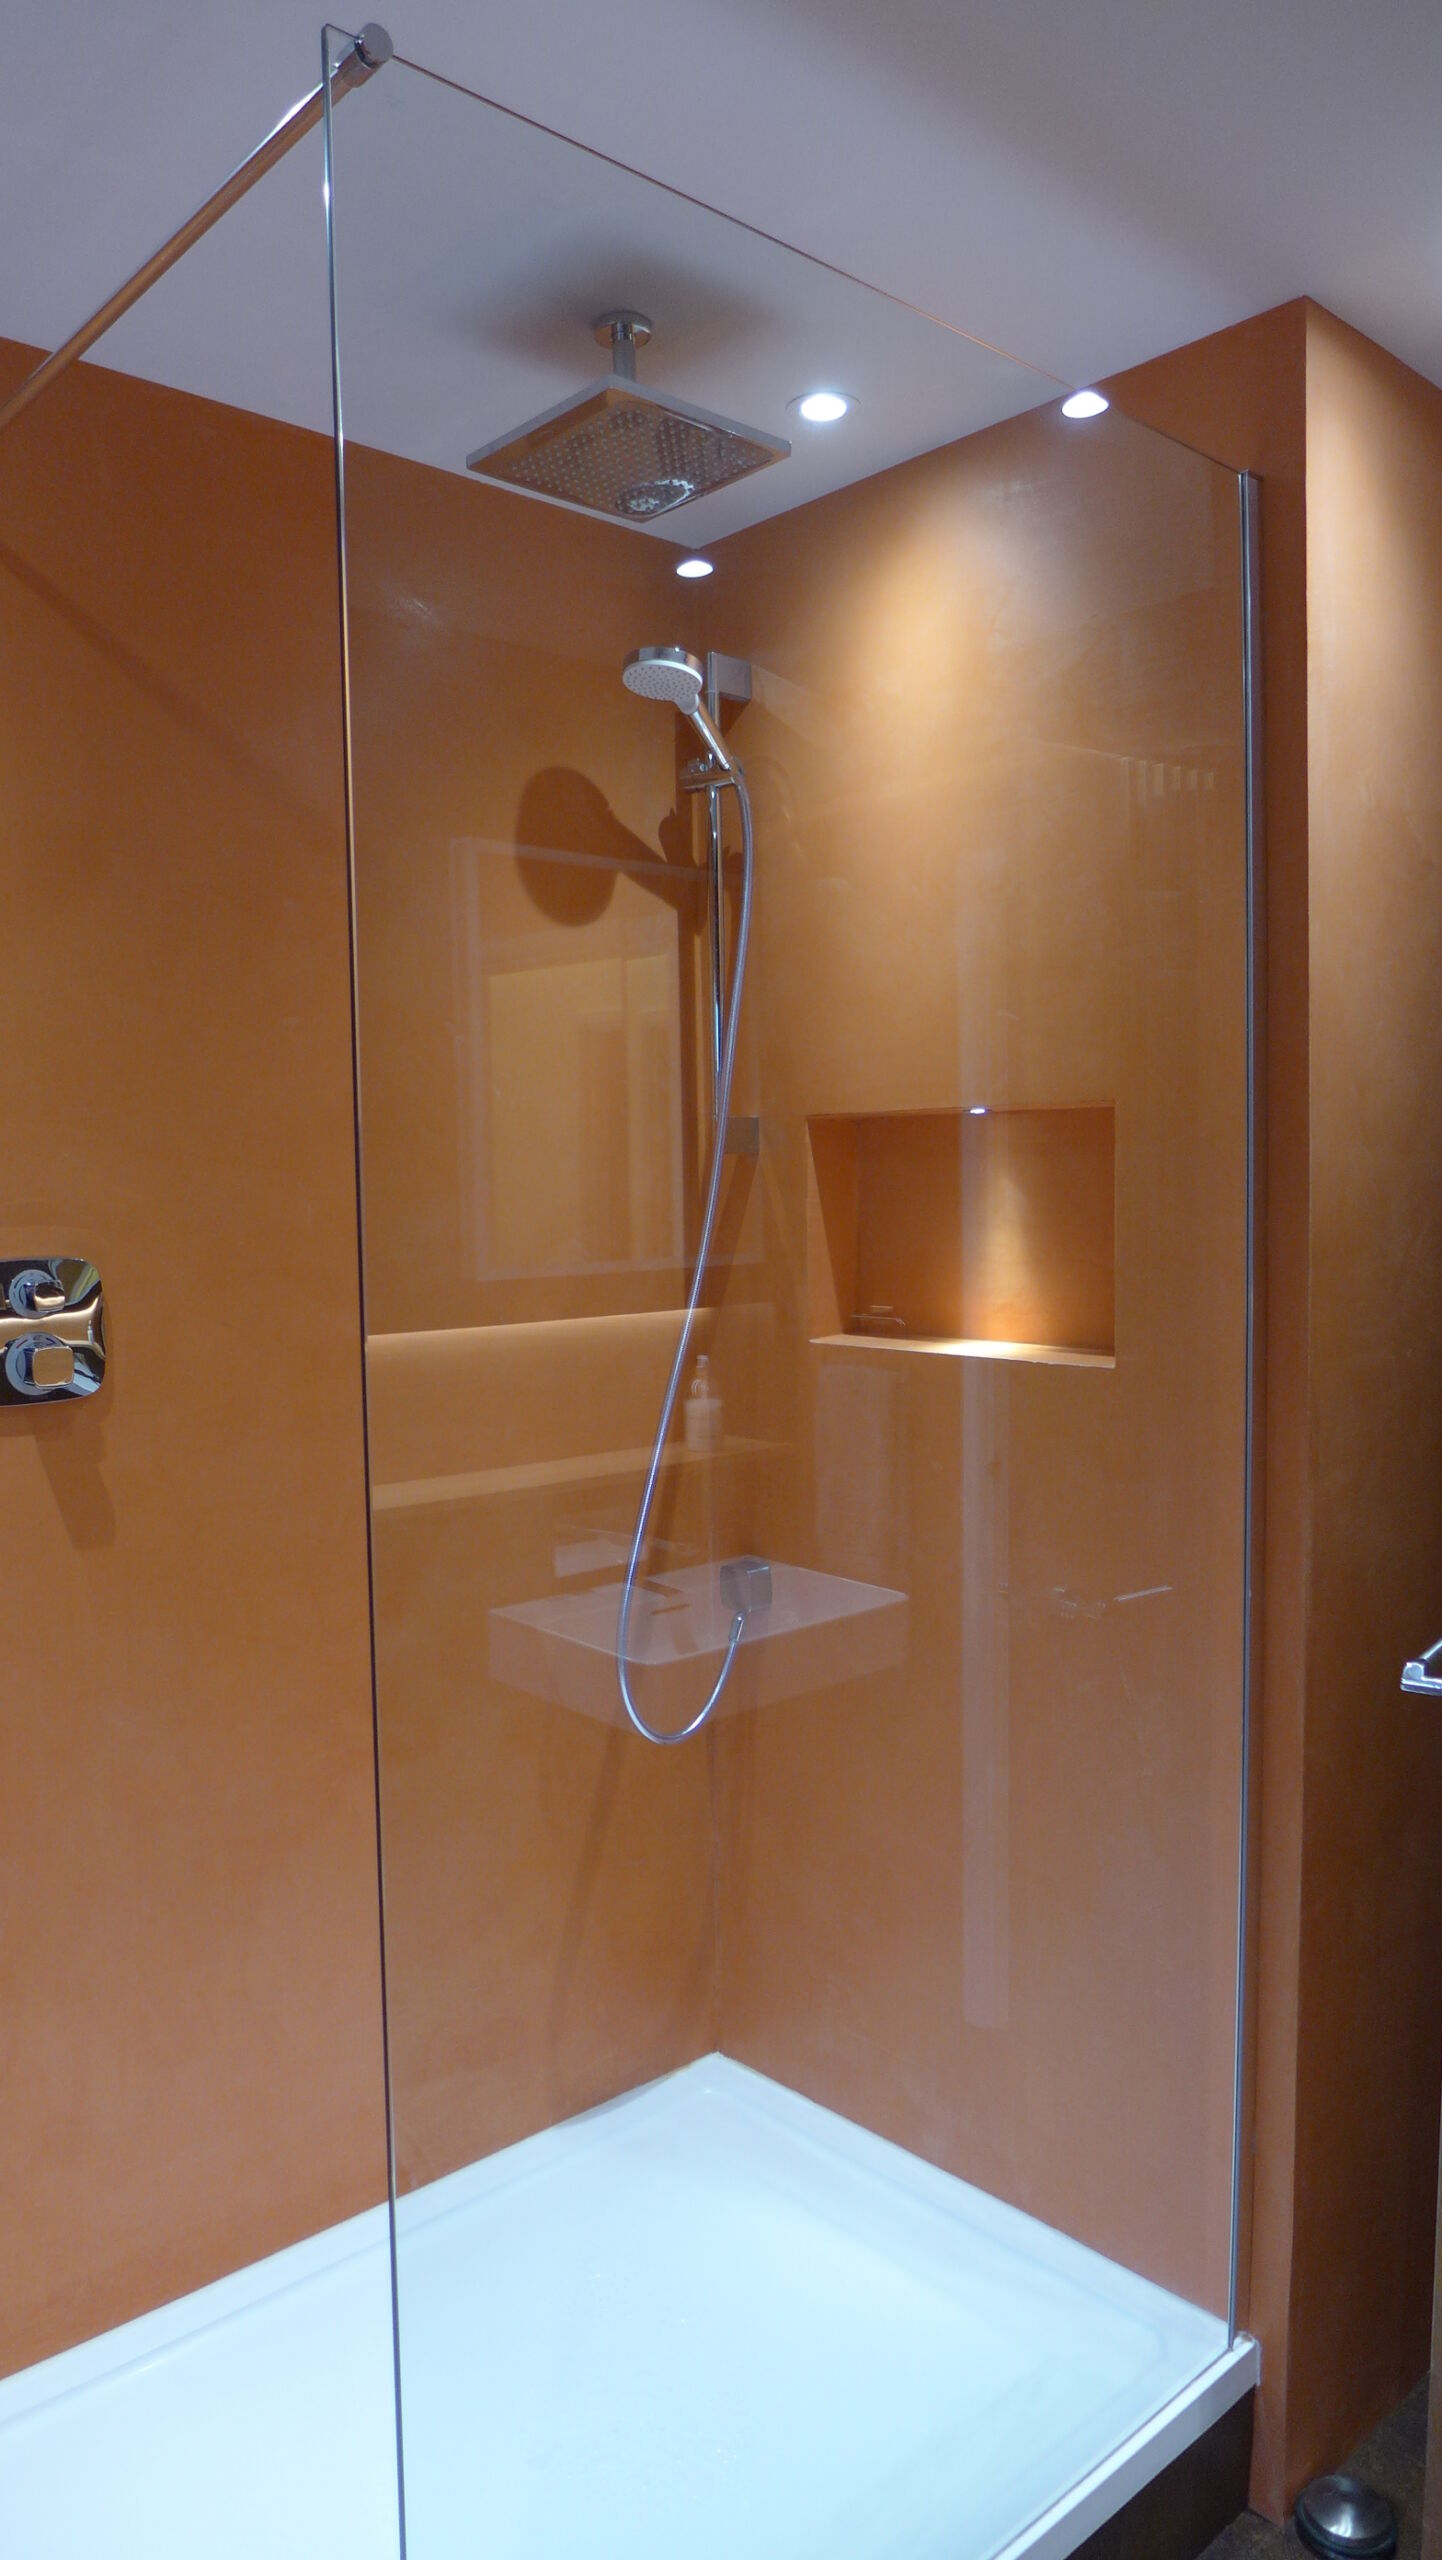
The flat had a small bathroom with separate wc. We knocked through to create a contemporary shower room with wall-hung suite. Probably unique to a seventies flat, we engaged a Tadelakt specialist to plaster the shower area and adjacent walls. Tadelakt is a waterproof plaster, available in a selection of colours. We chose orange, partly because it is authentic to Morocco, from where it originated. But also because orange complements the chocolate spray-paint finish to the cabinetry.
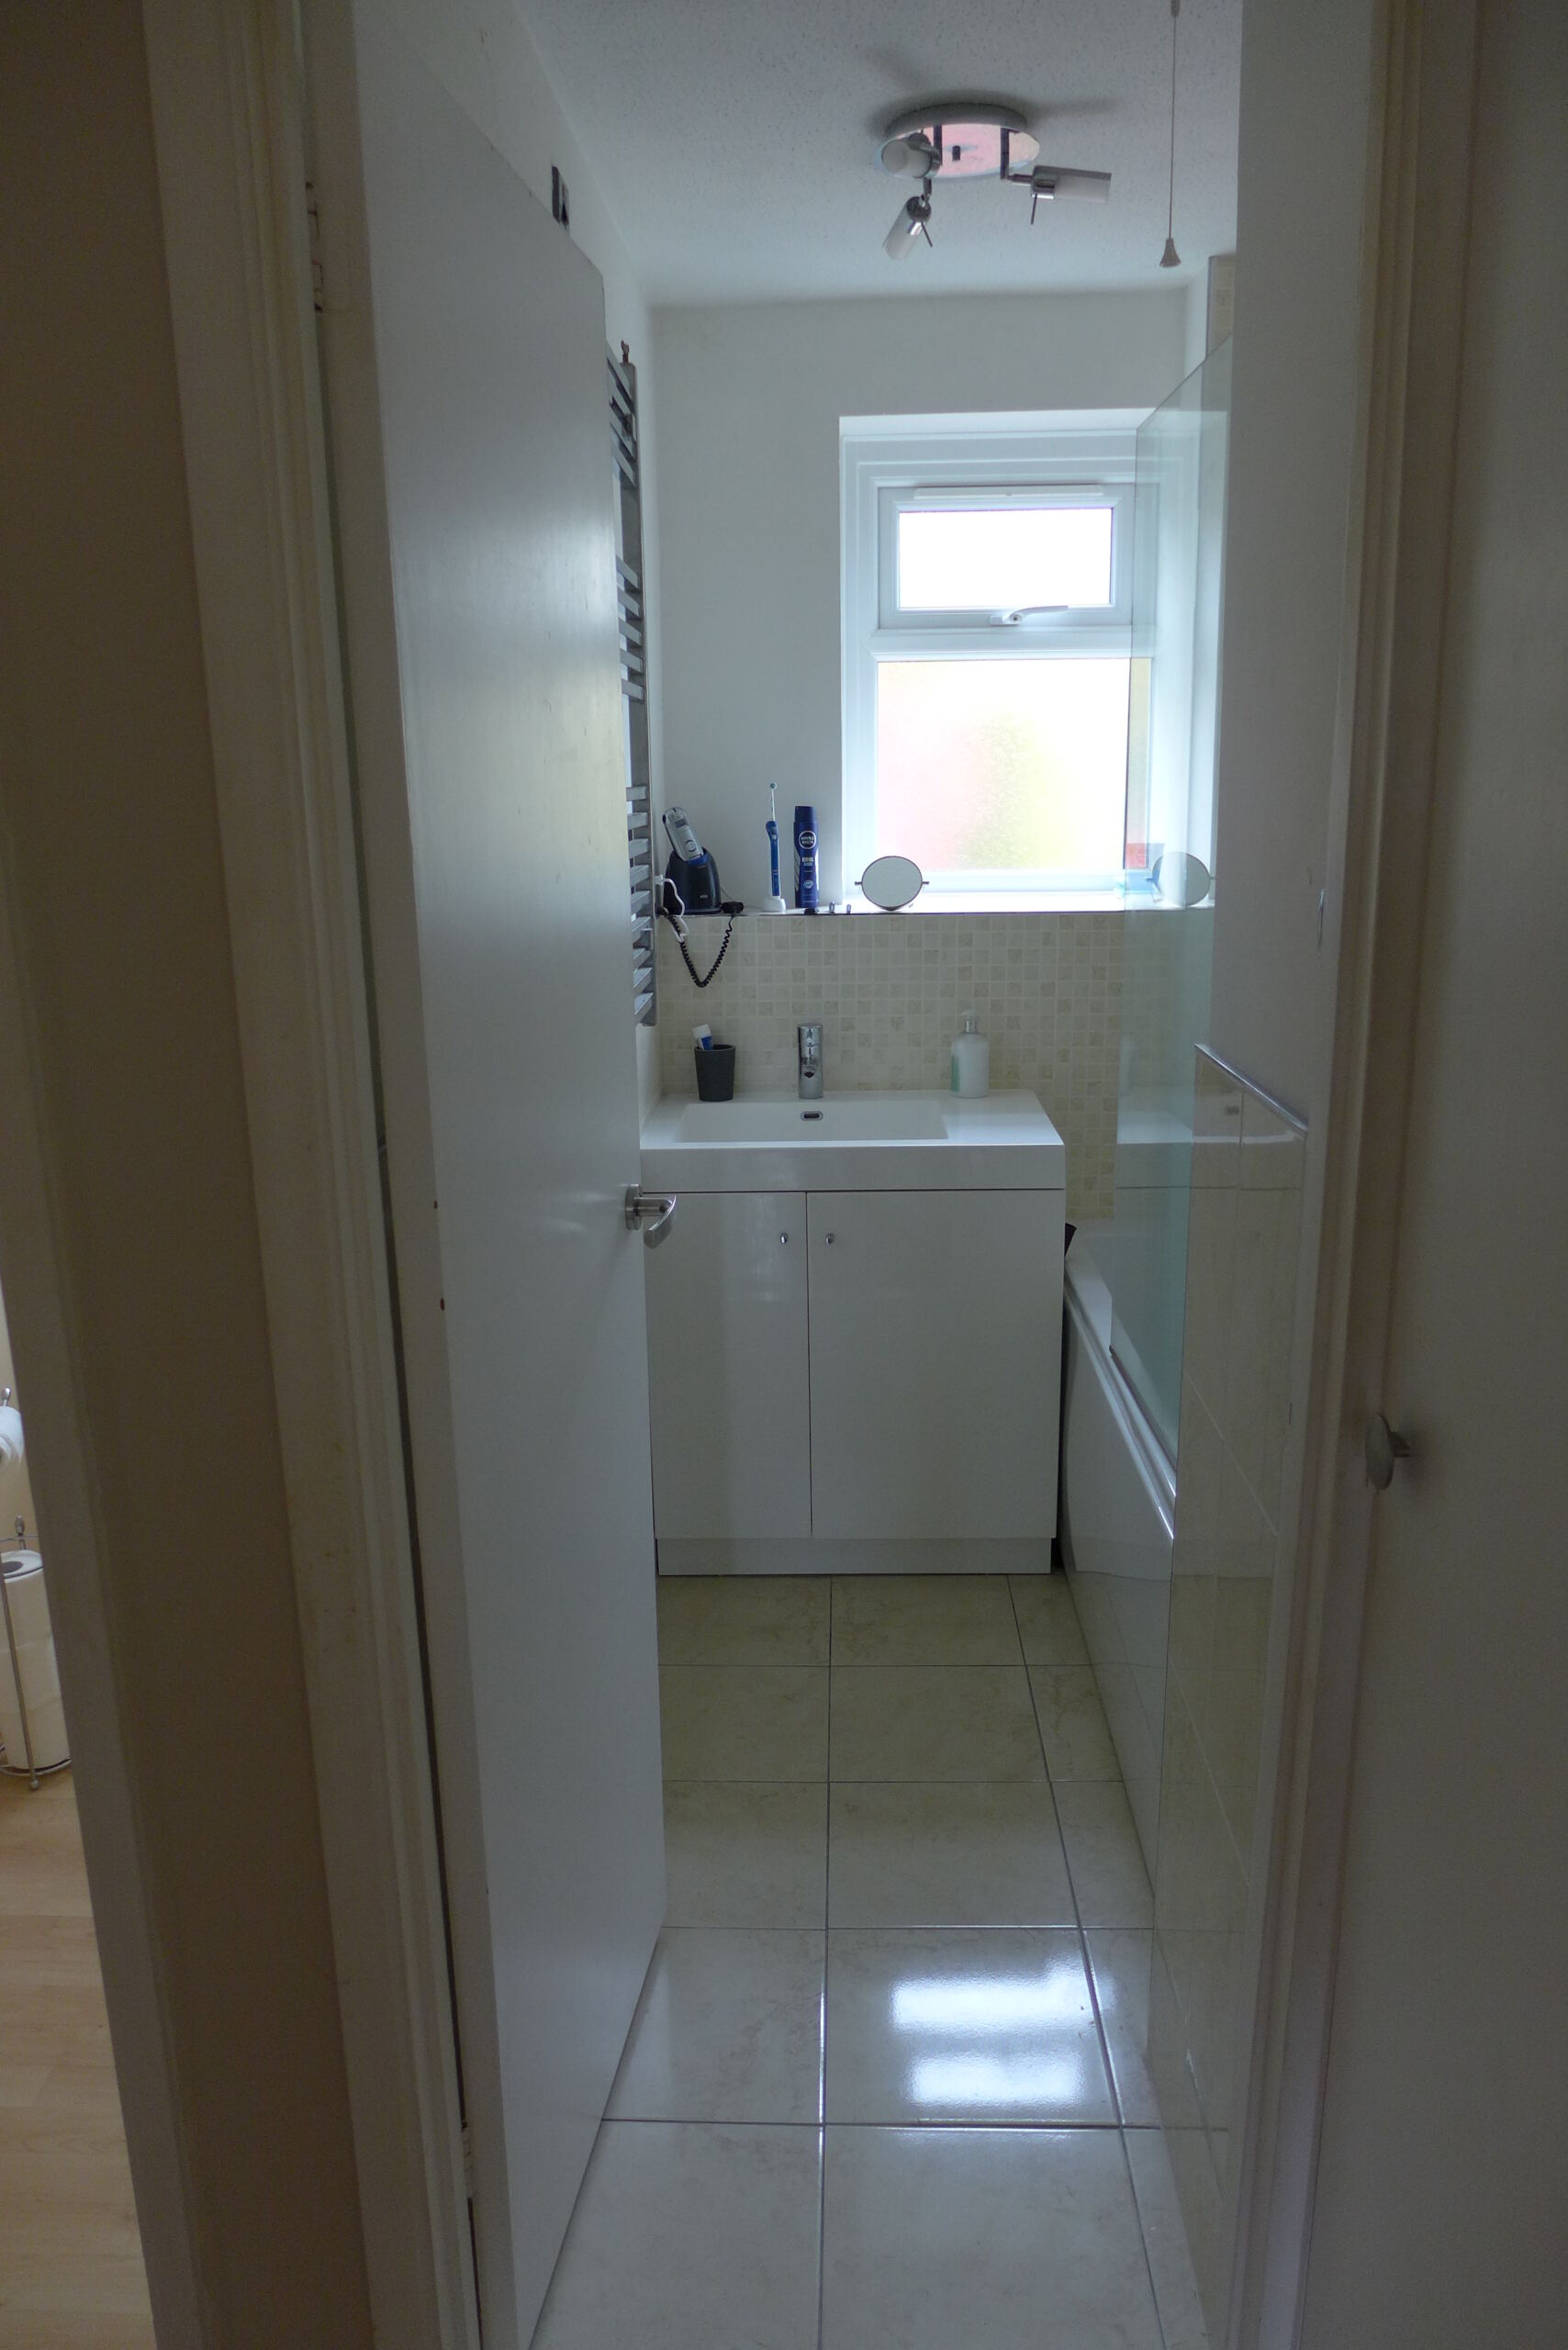

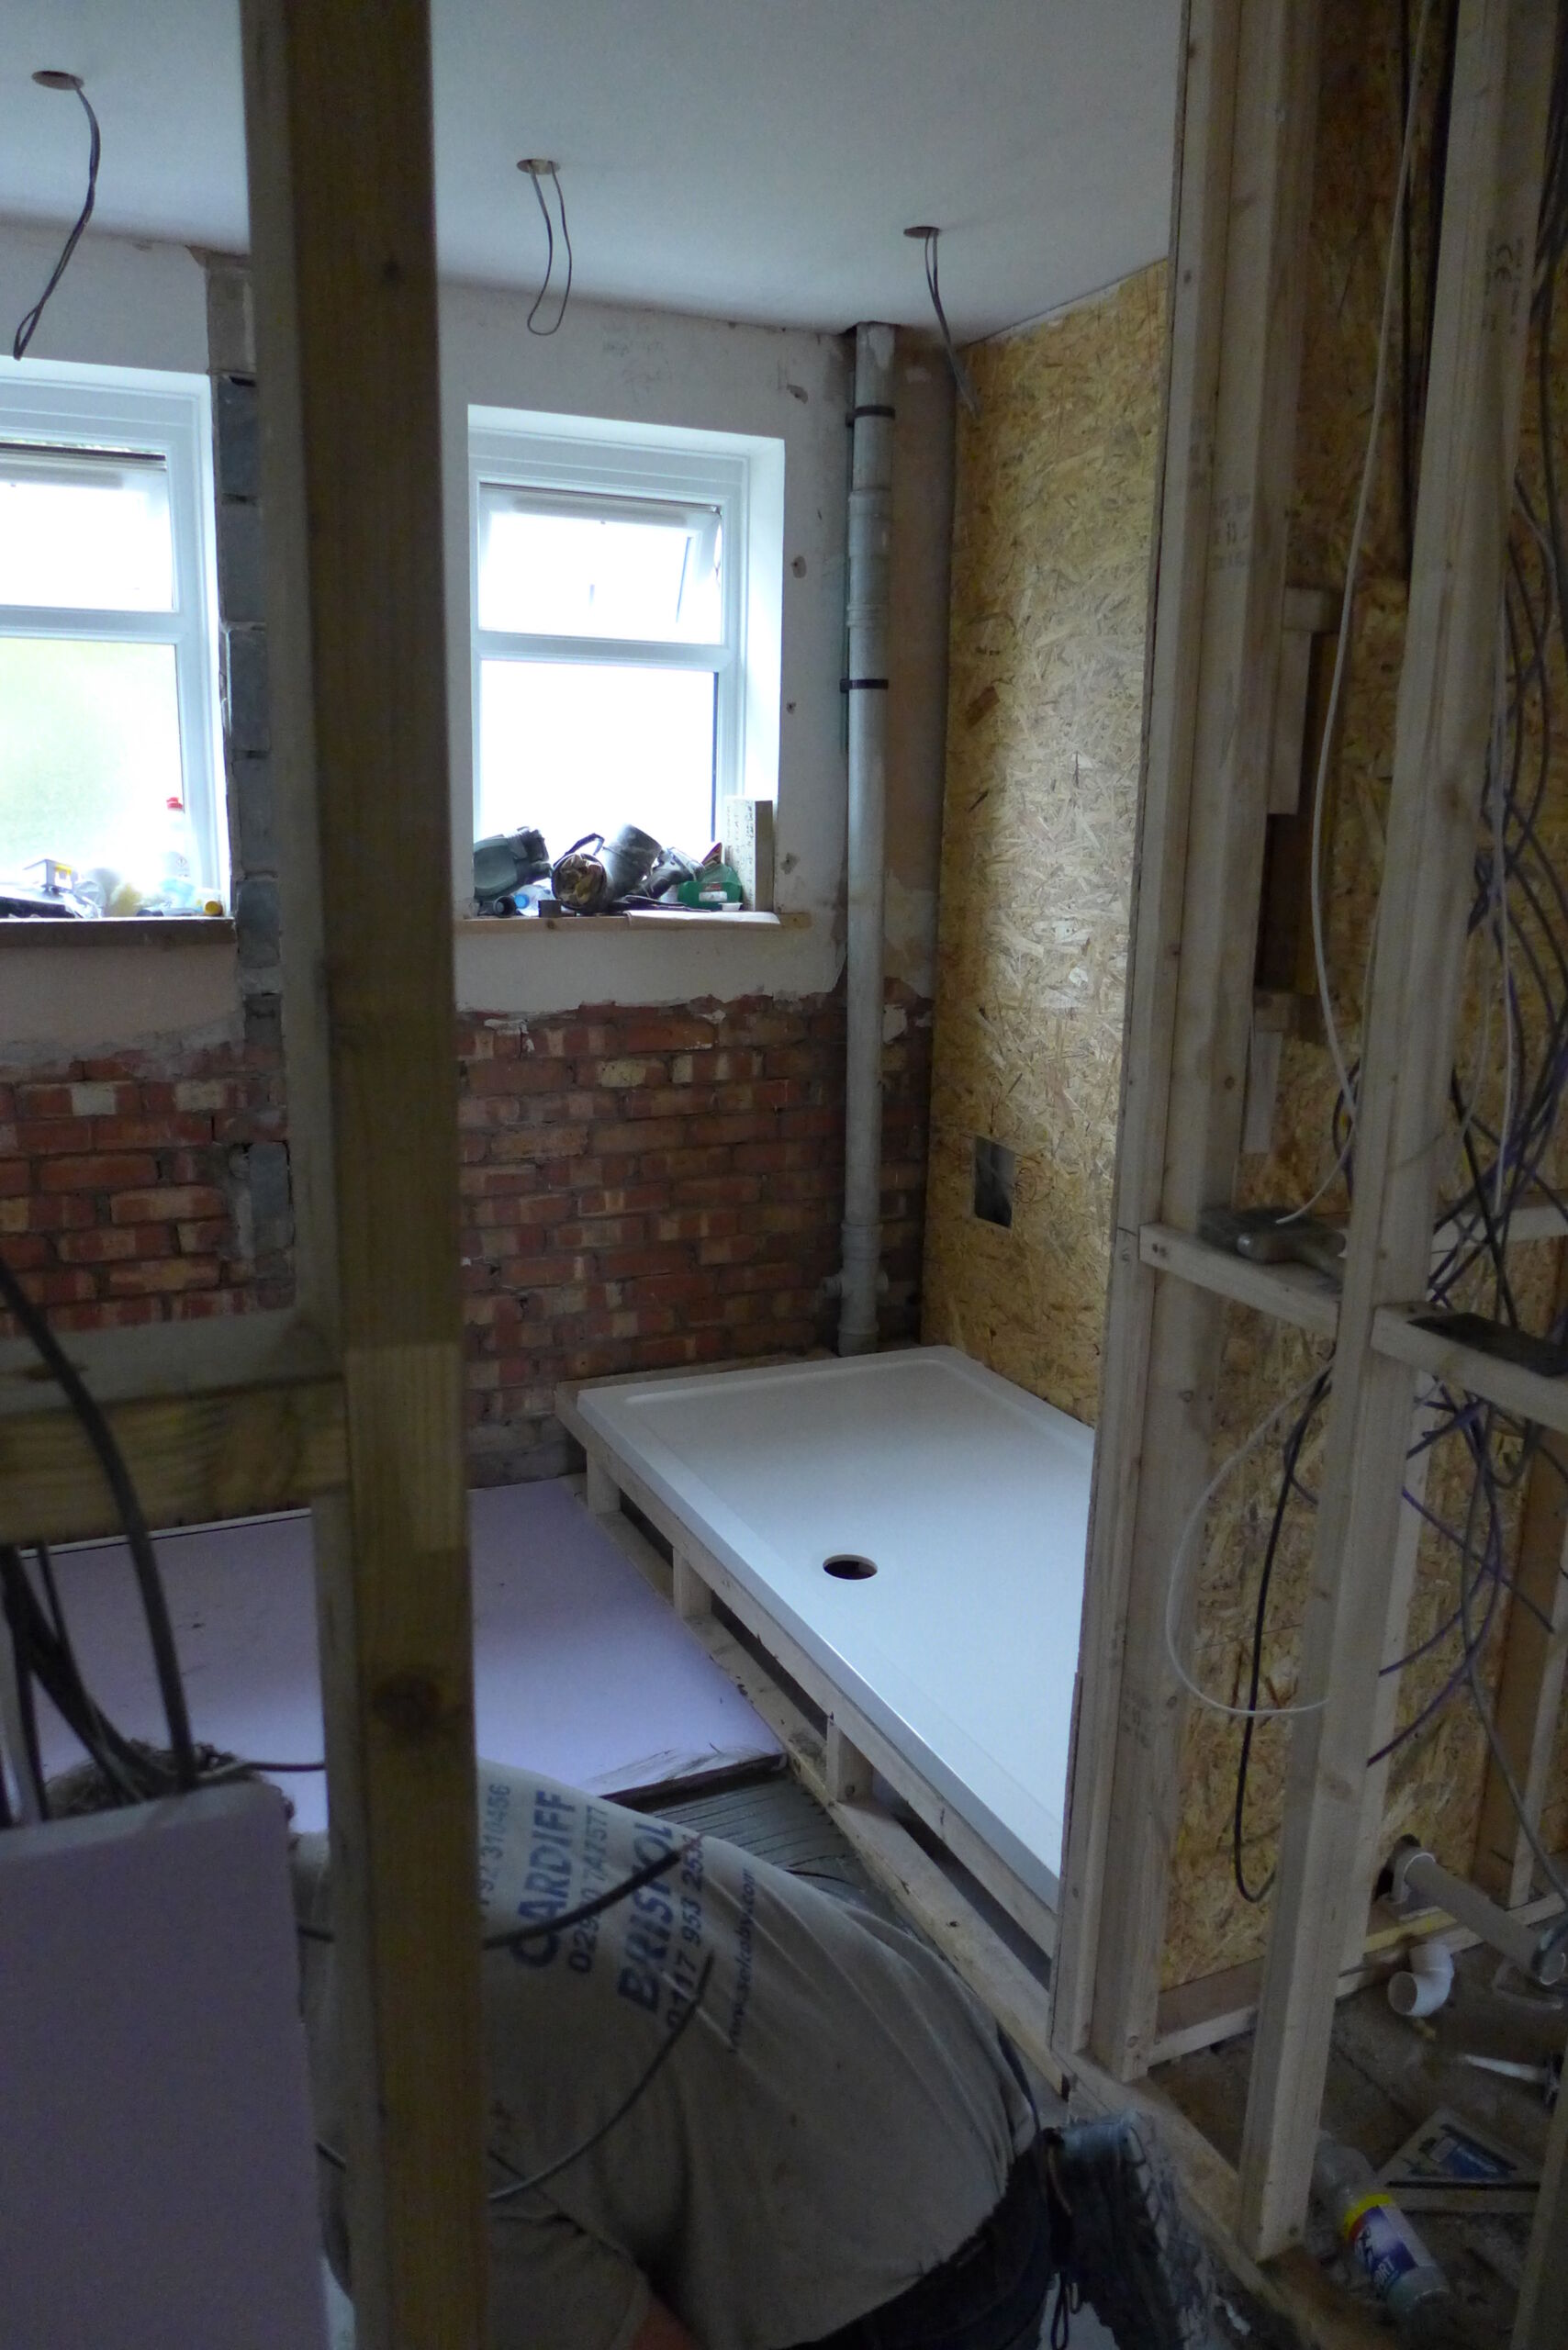
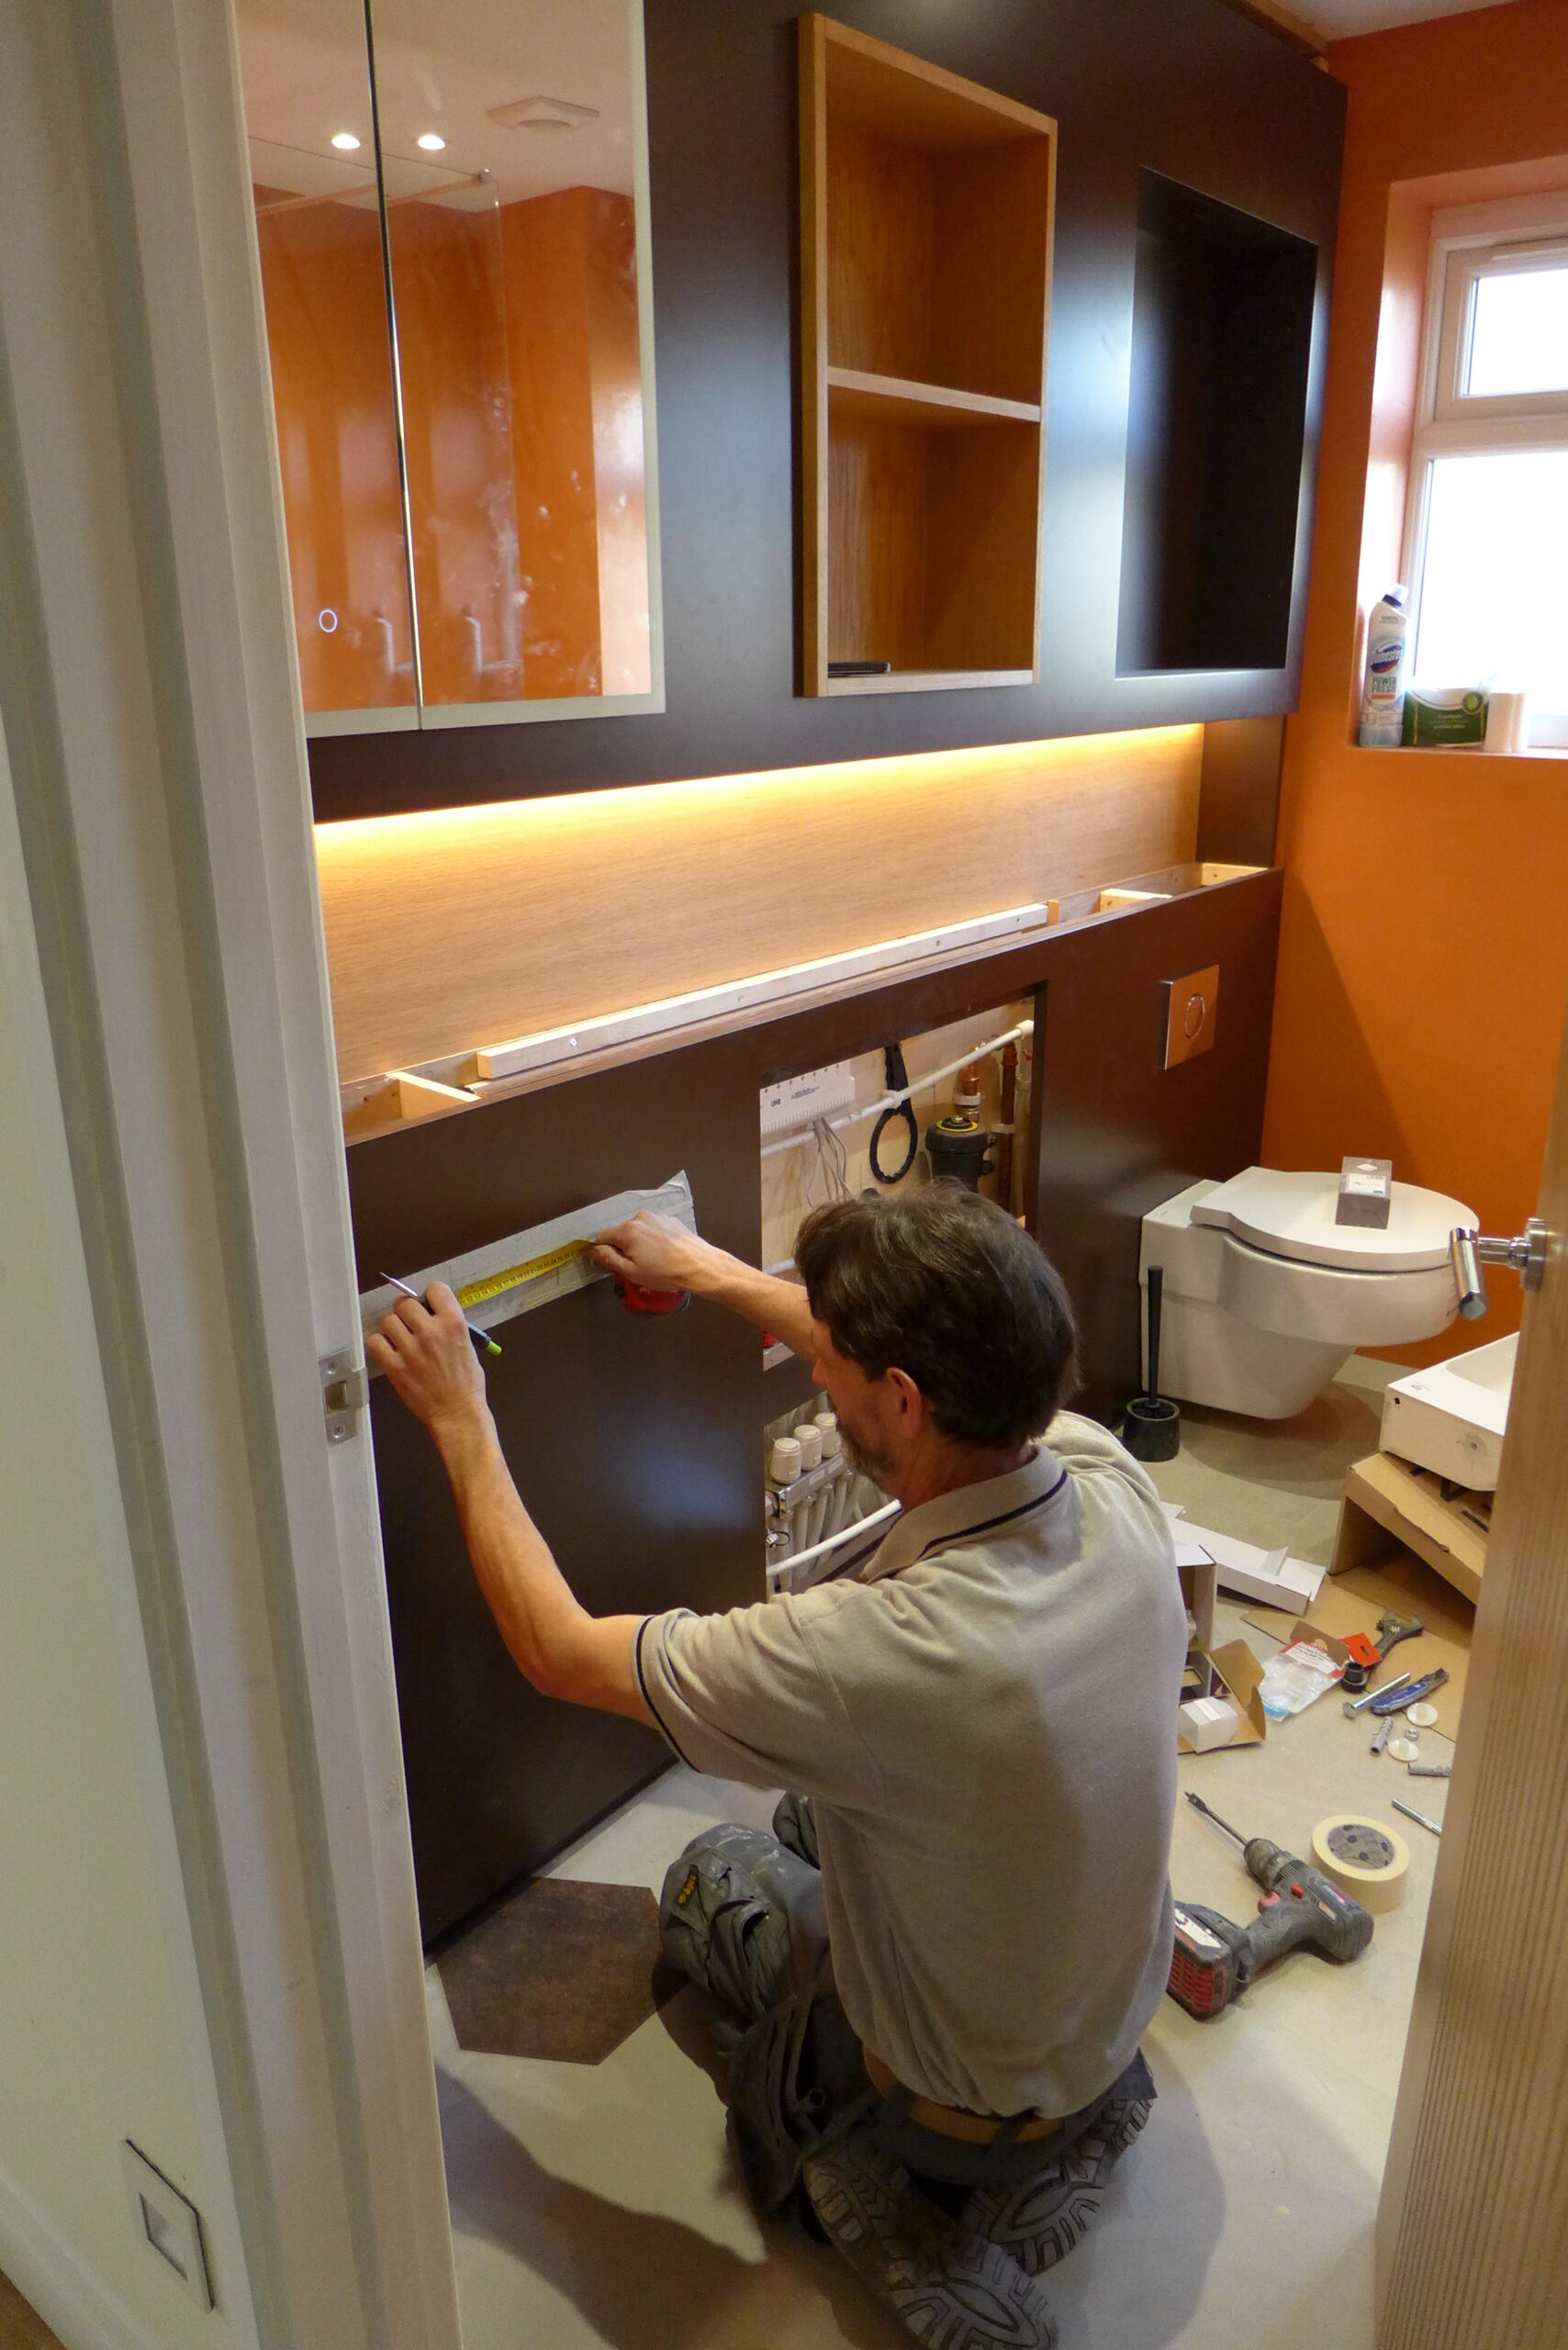
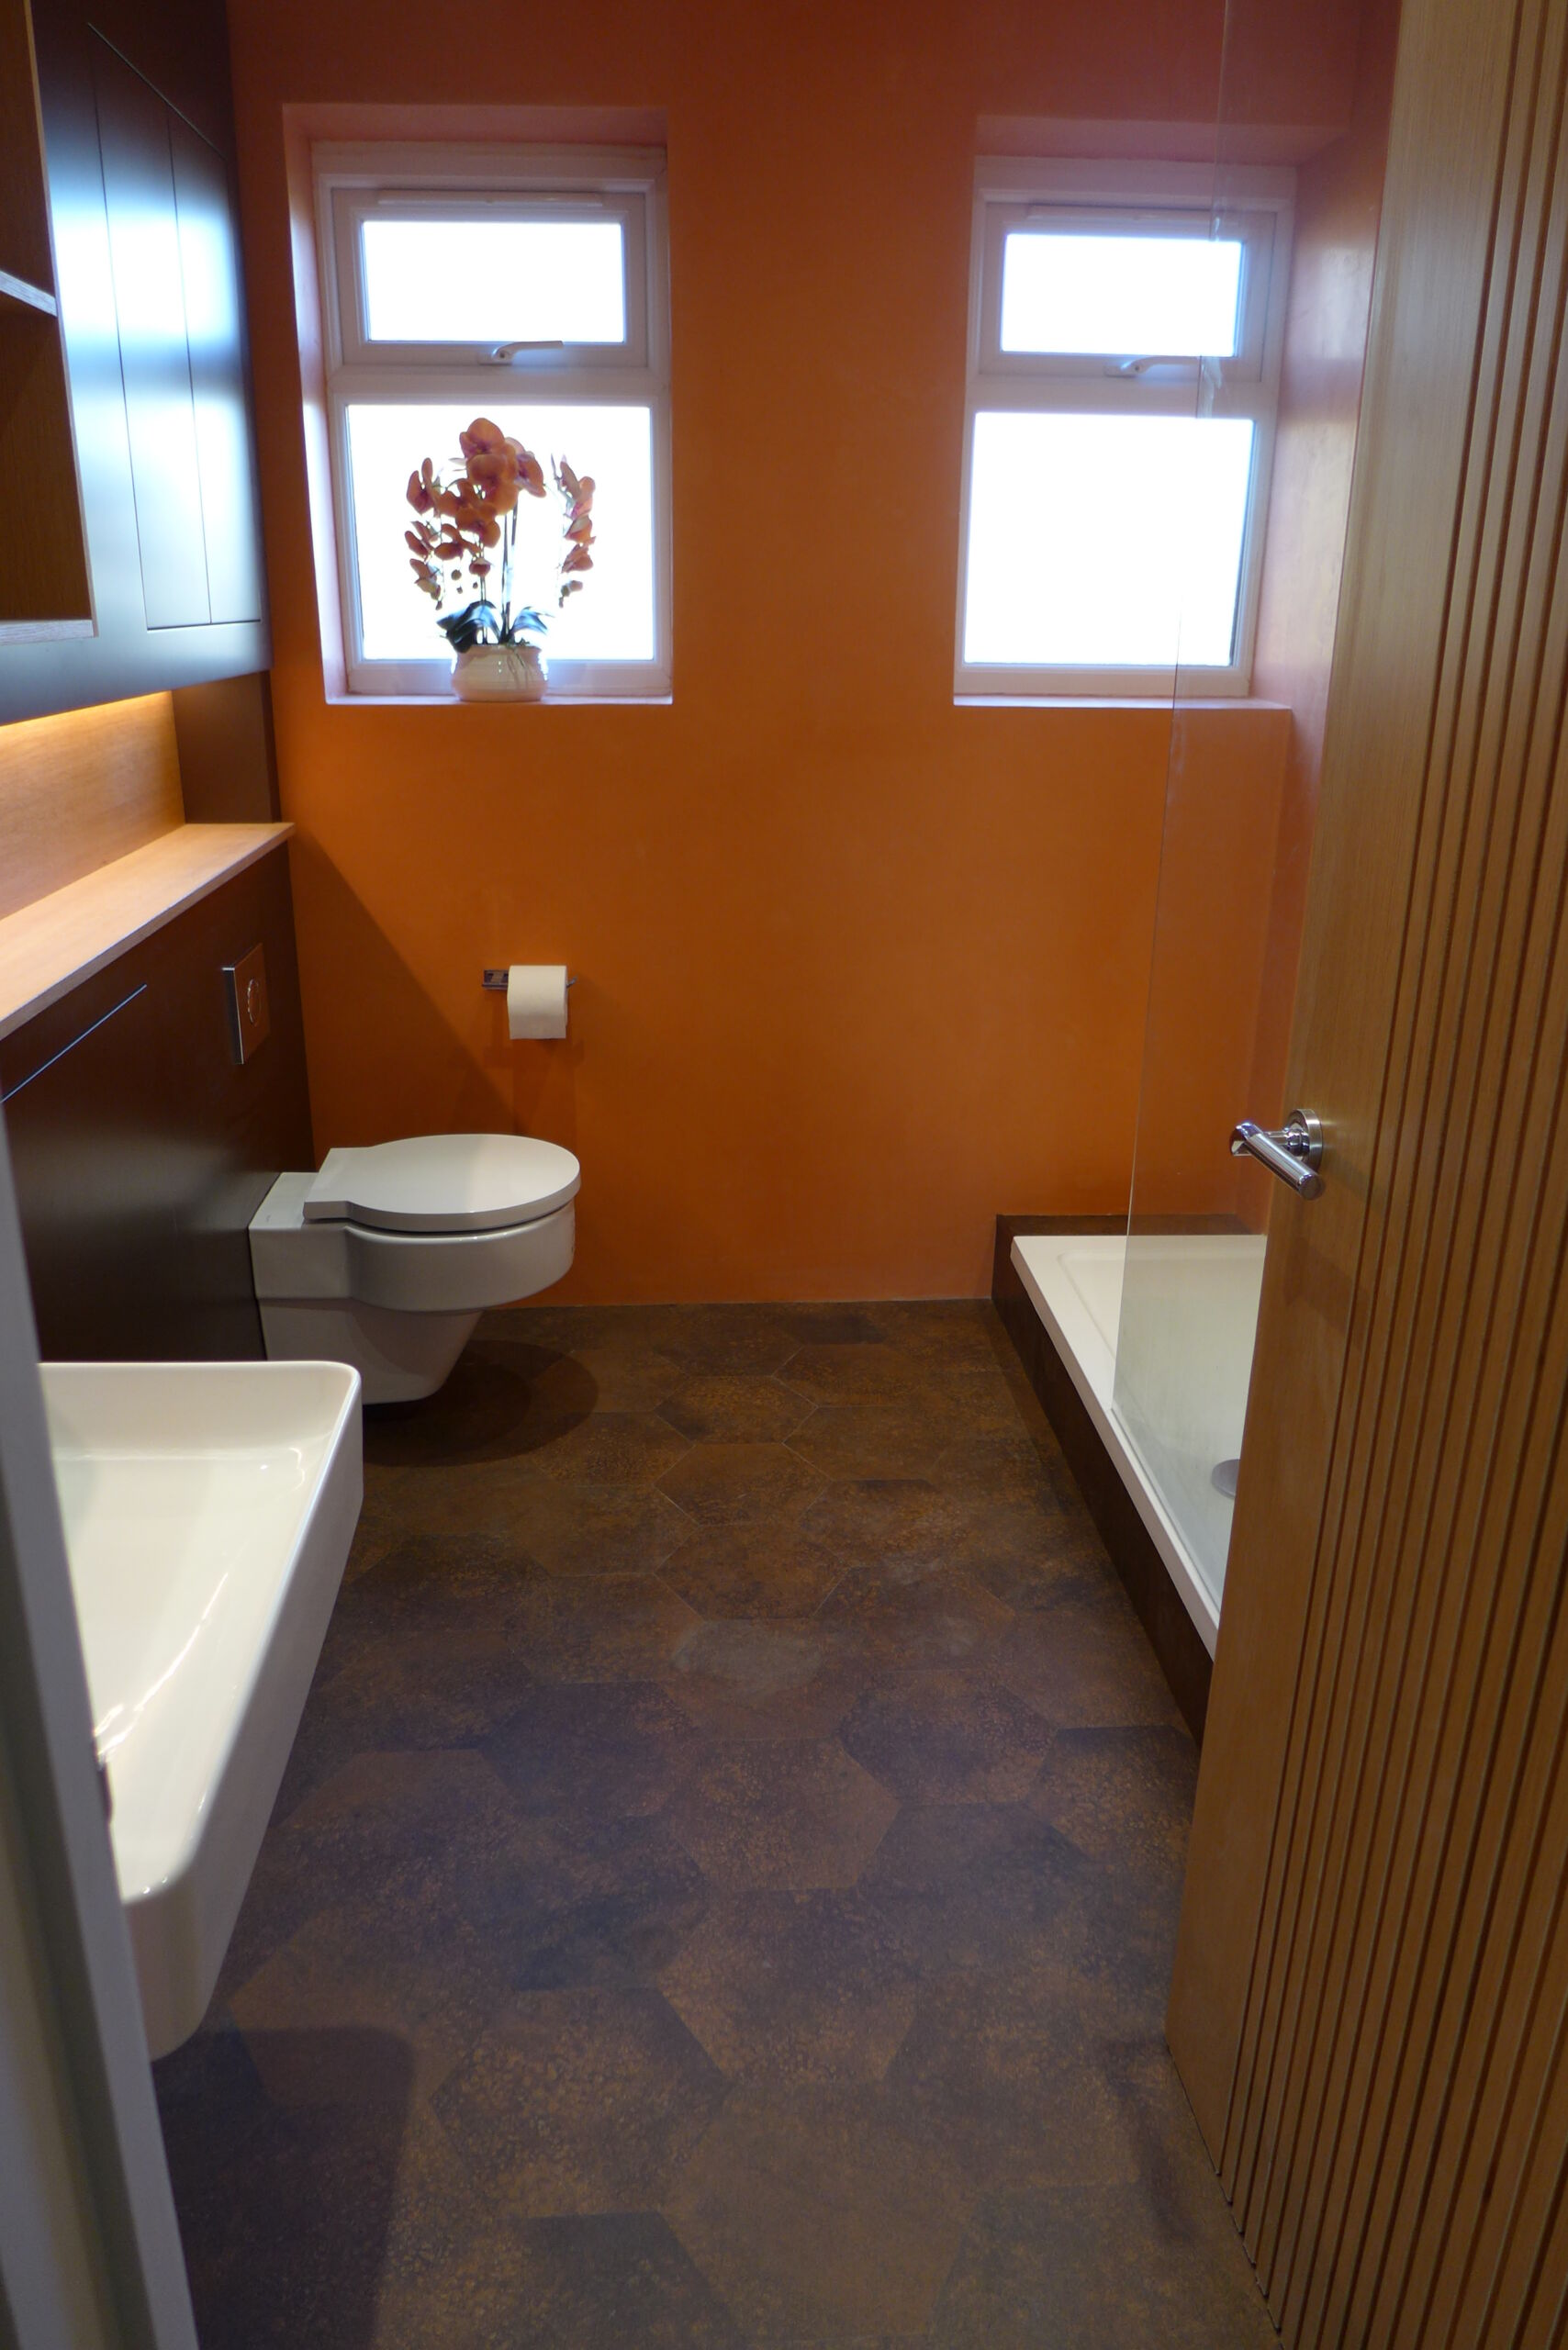

As with most of our designs, we installed a wall hung suite. The rimless wc passes water around an exposed upper rim, which then flushes down the bowl. This is much easier to clean than a standard model where flushing water flows from a slot around the bowl. The bespoke cabinetry incorporates plenty of storage picked out in oak, and features an LED tape light. For the floor, we fitted large, hexagonal LVT tiles in a rust finish to coordinate with the Tadelakt and chocolate cupboards.
Fitted bedroom
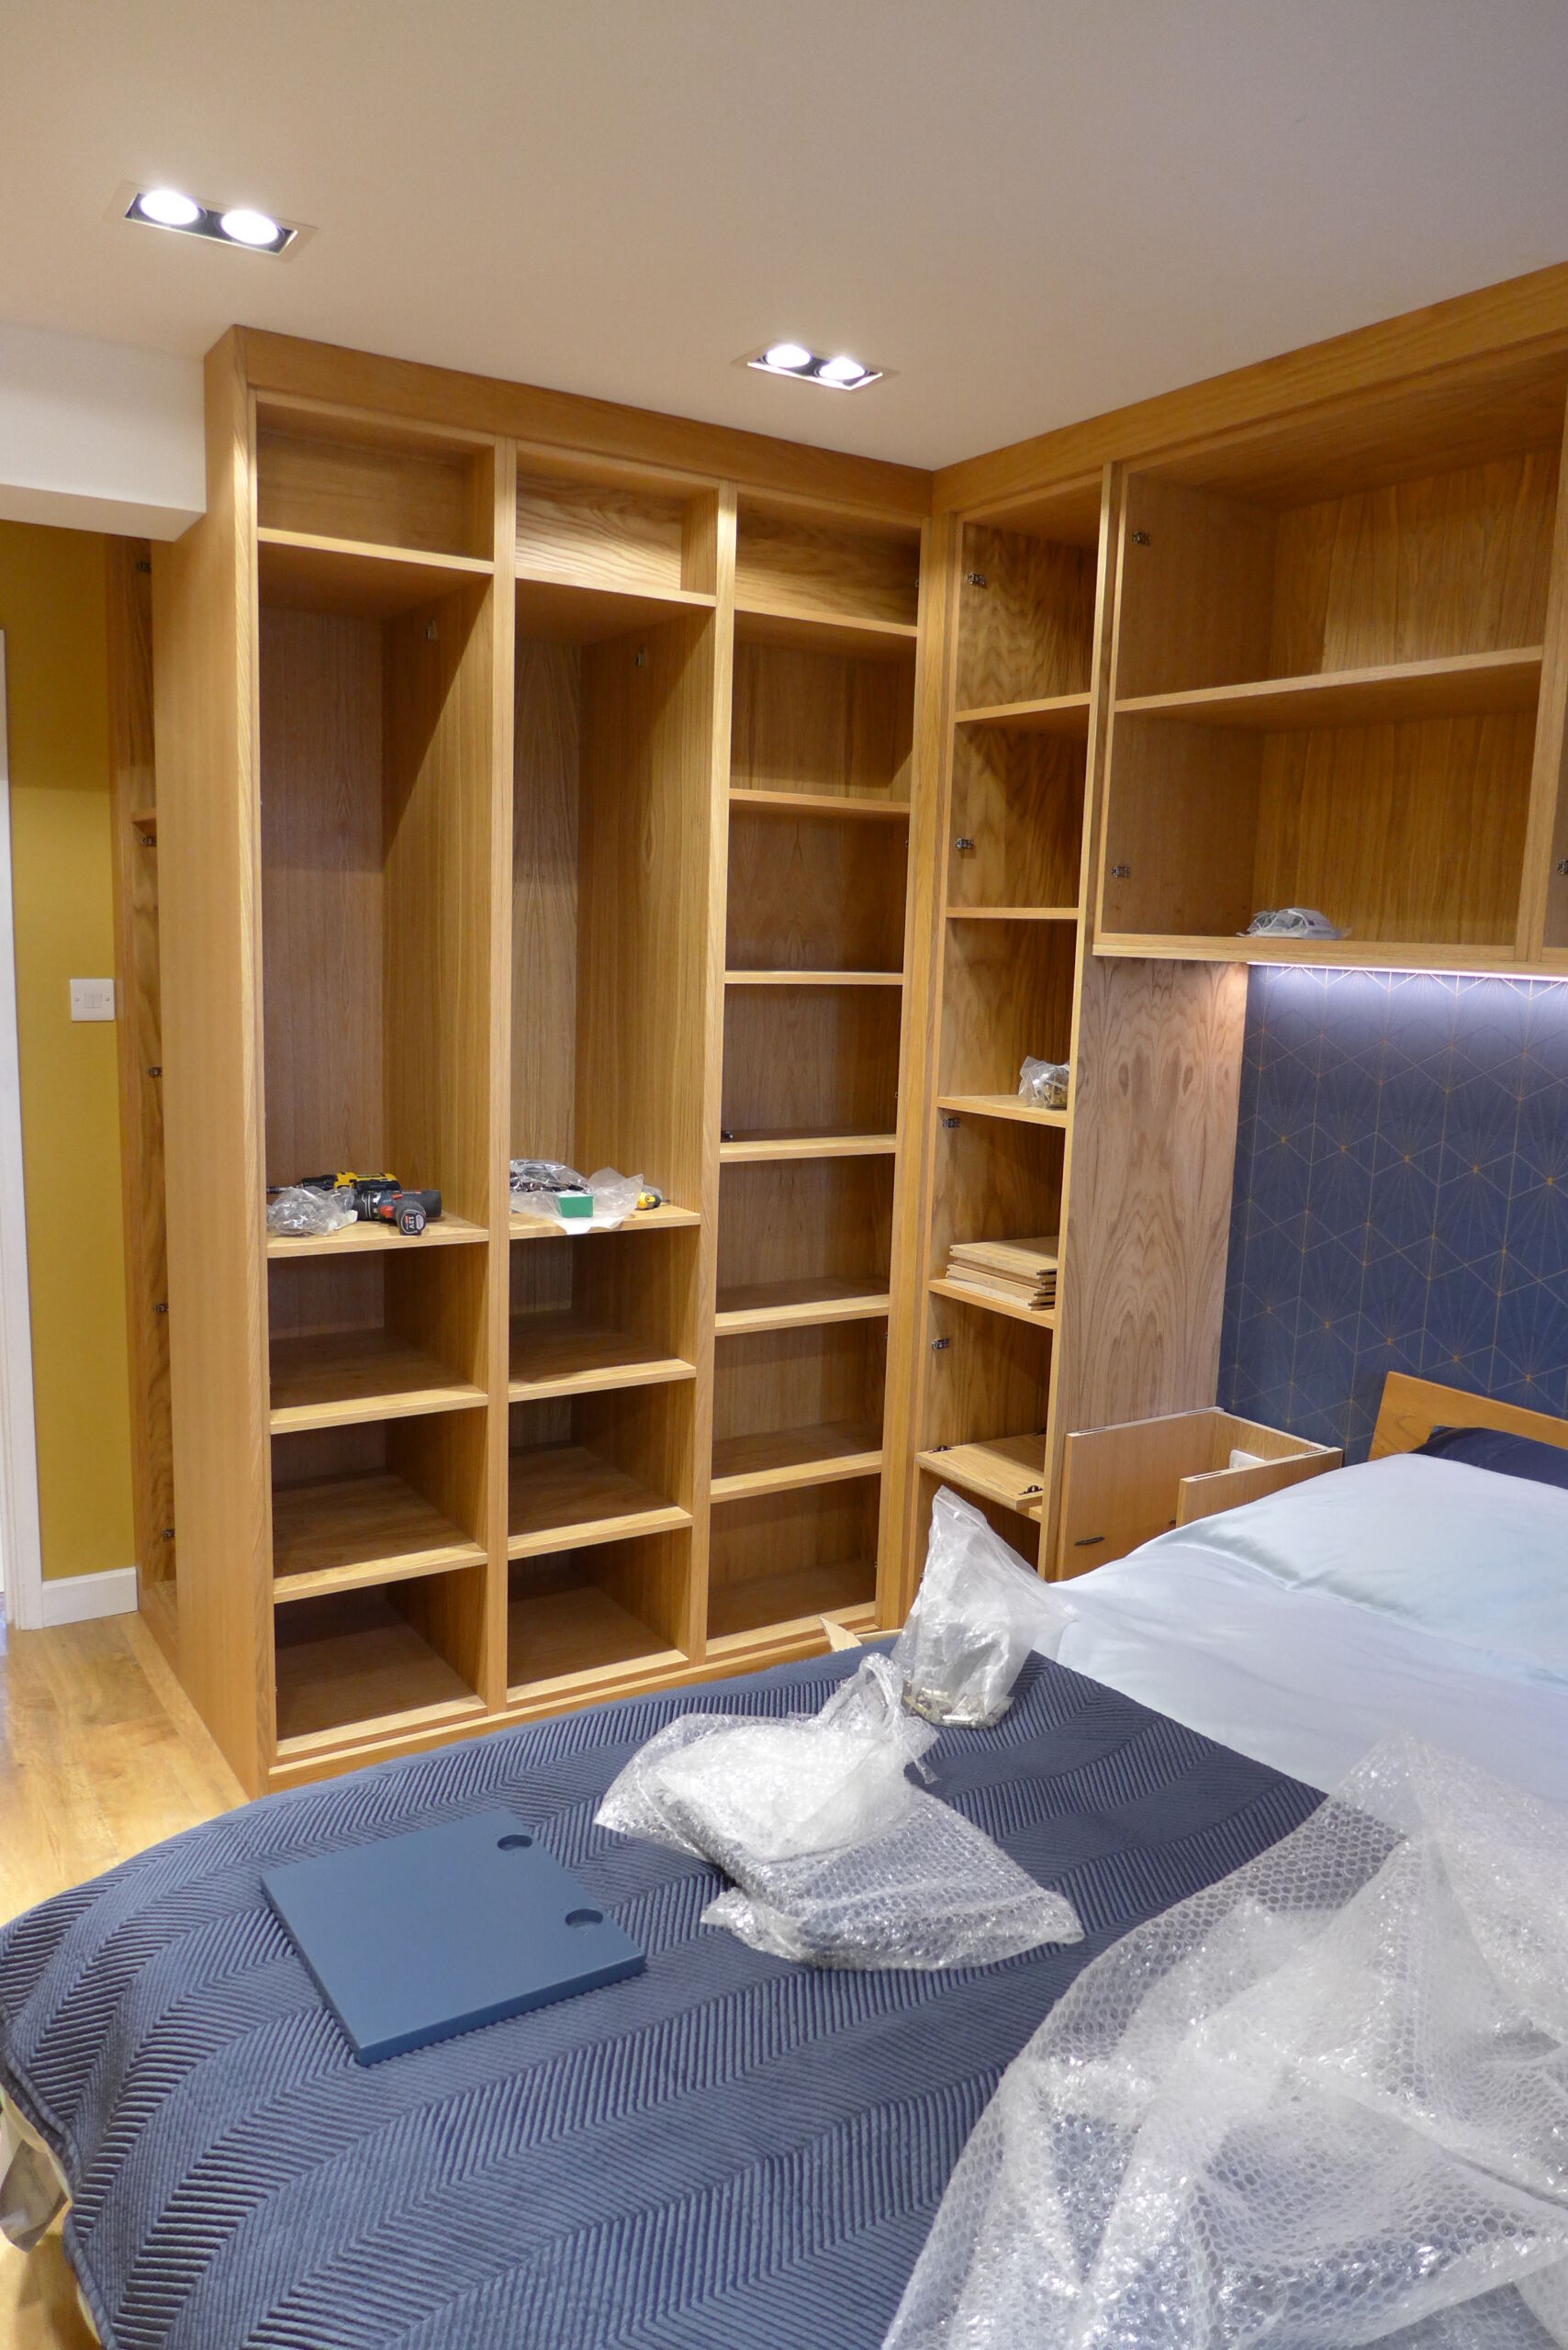
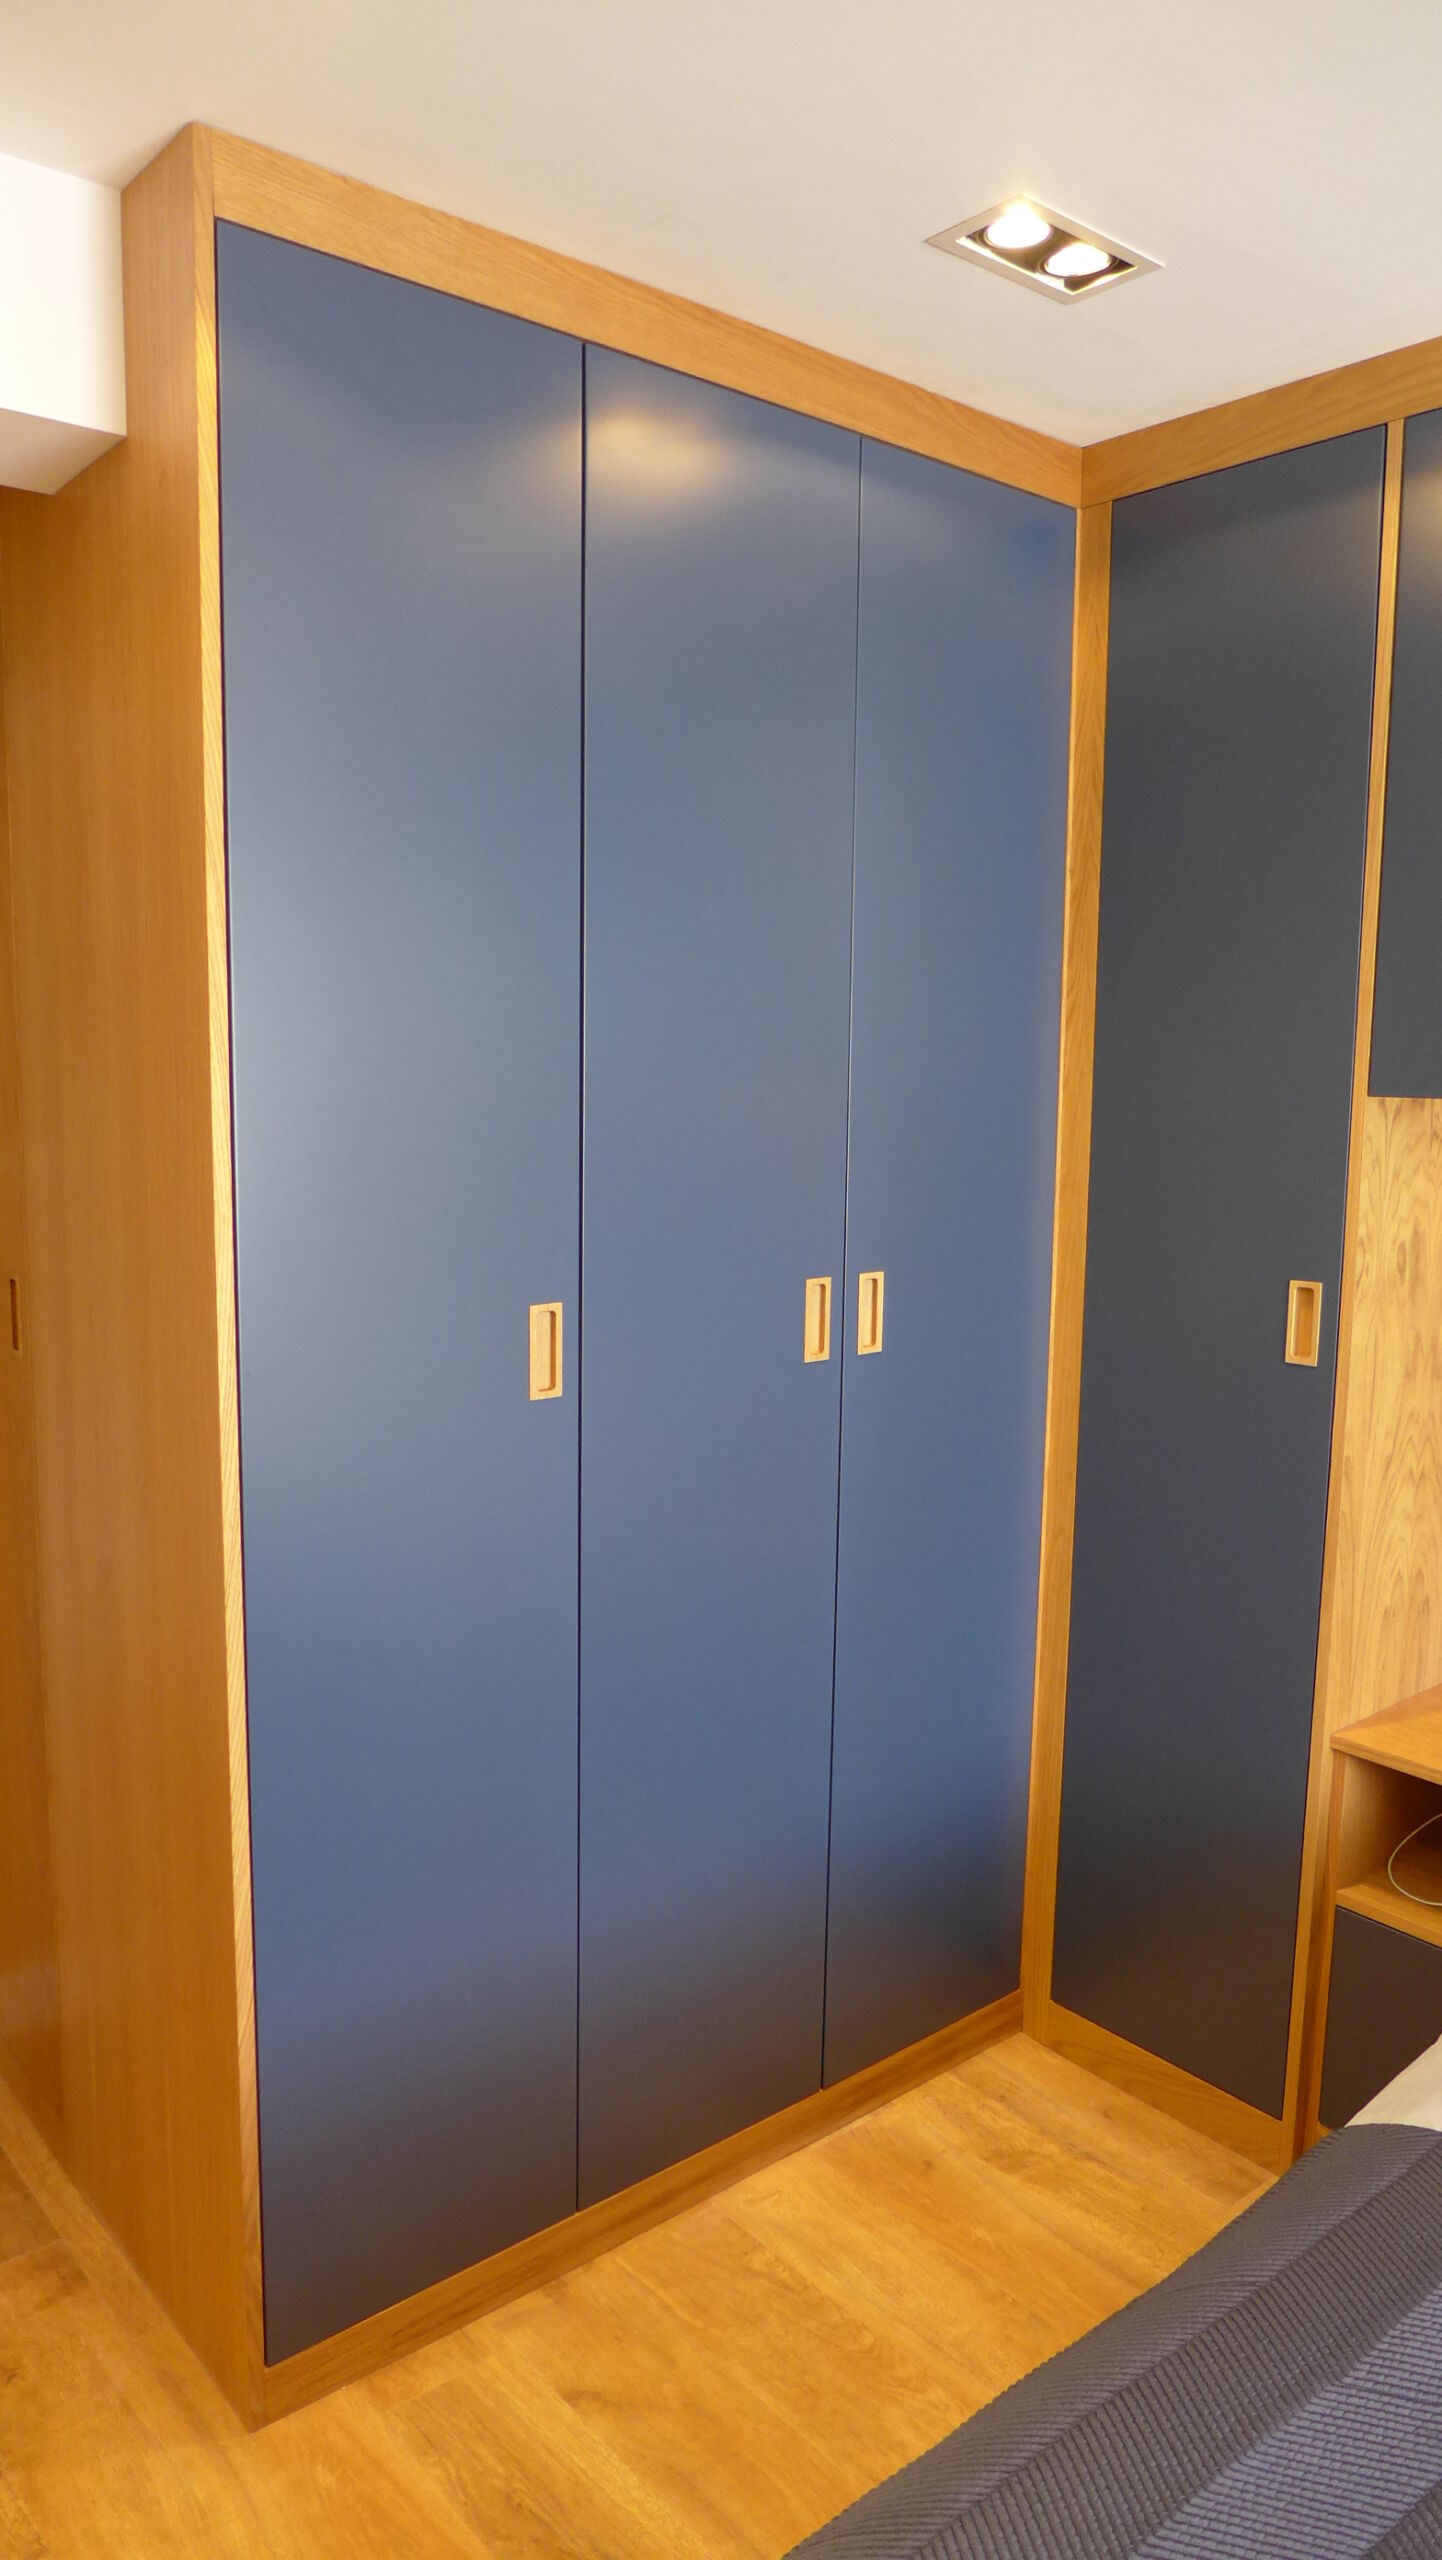
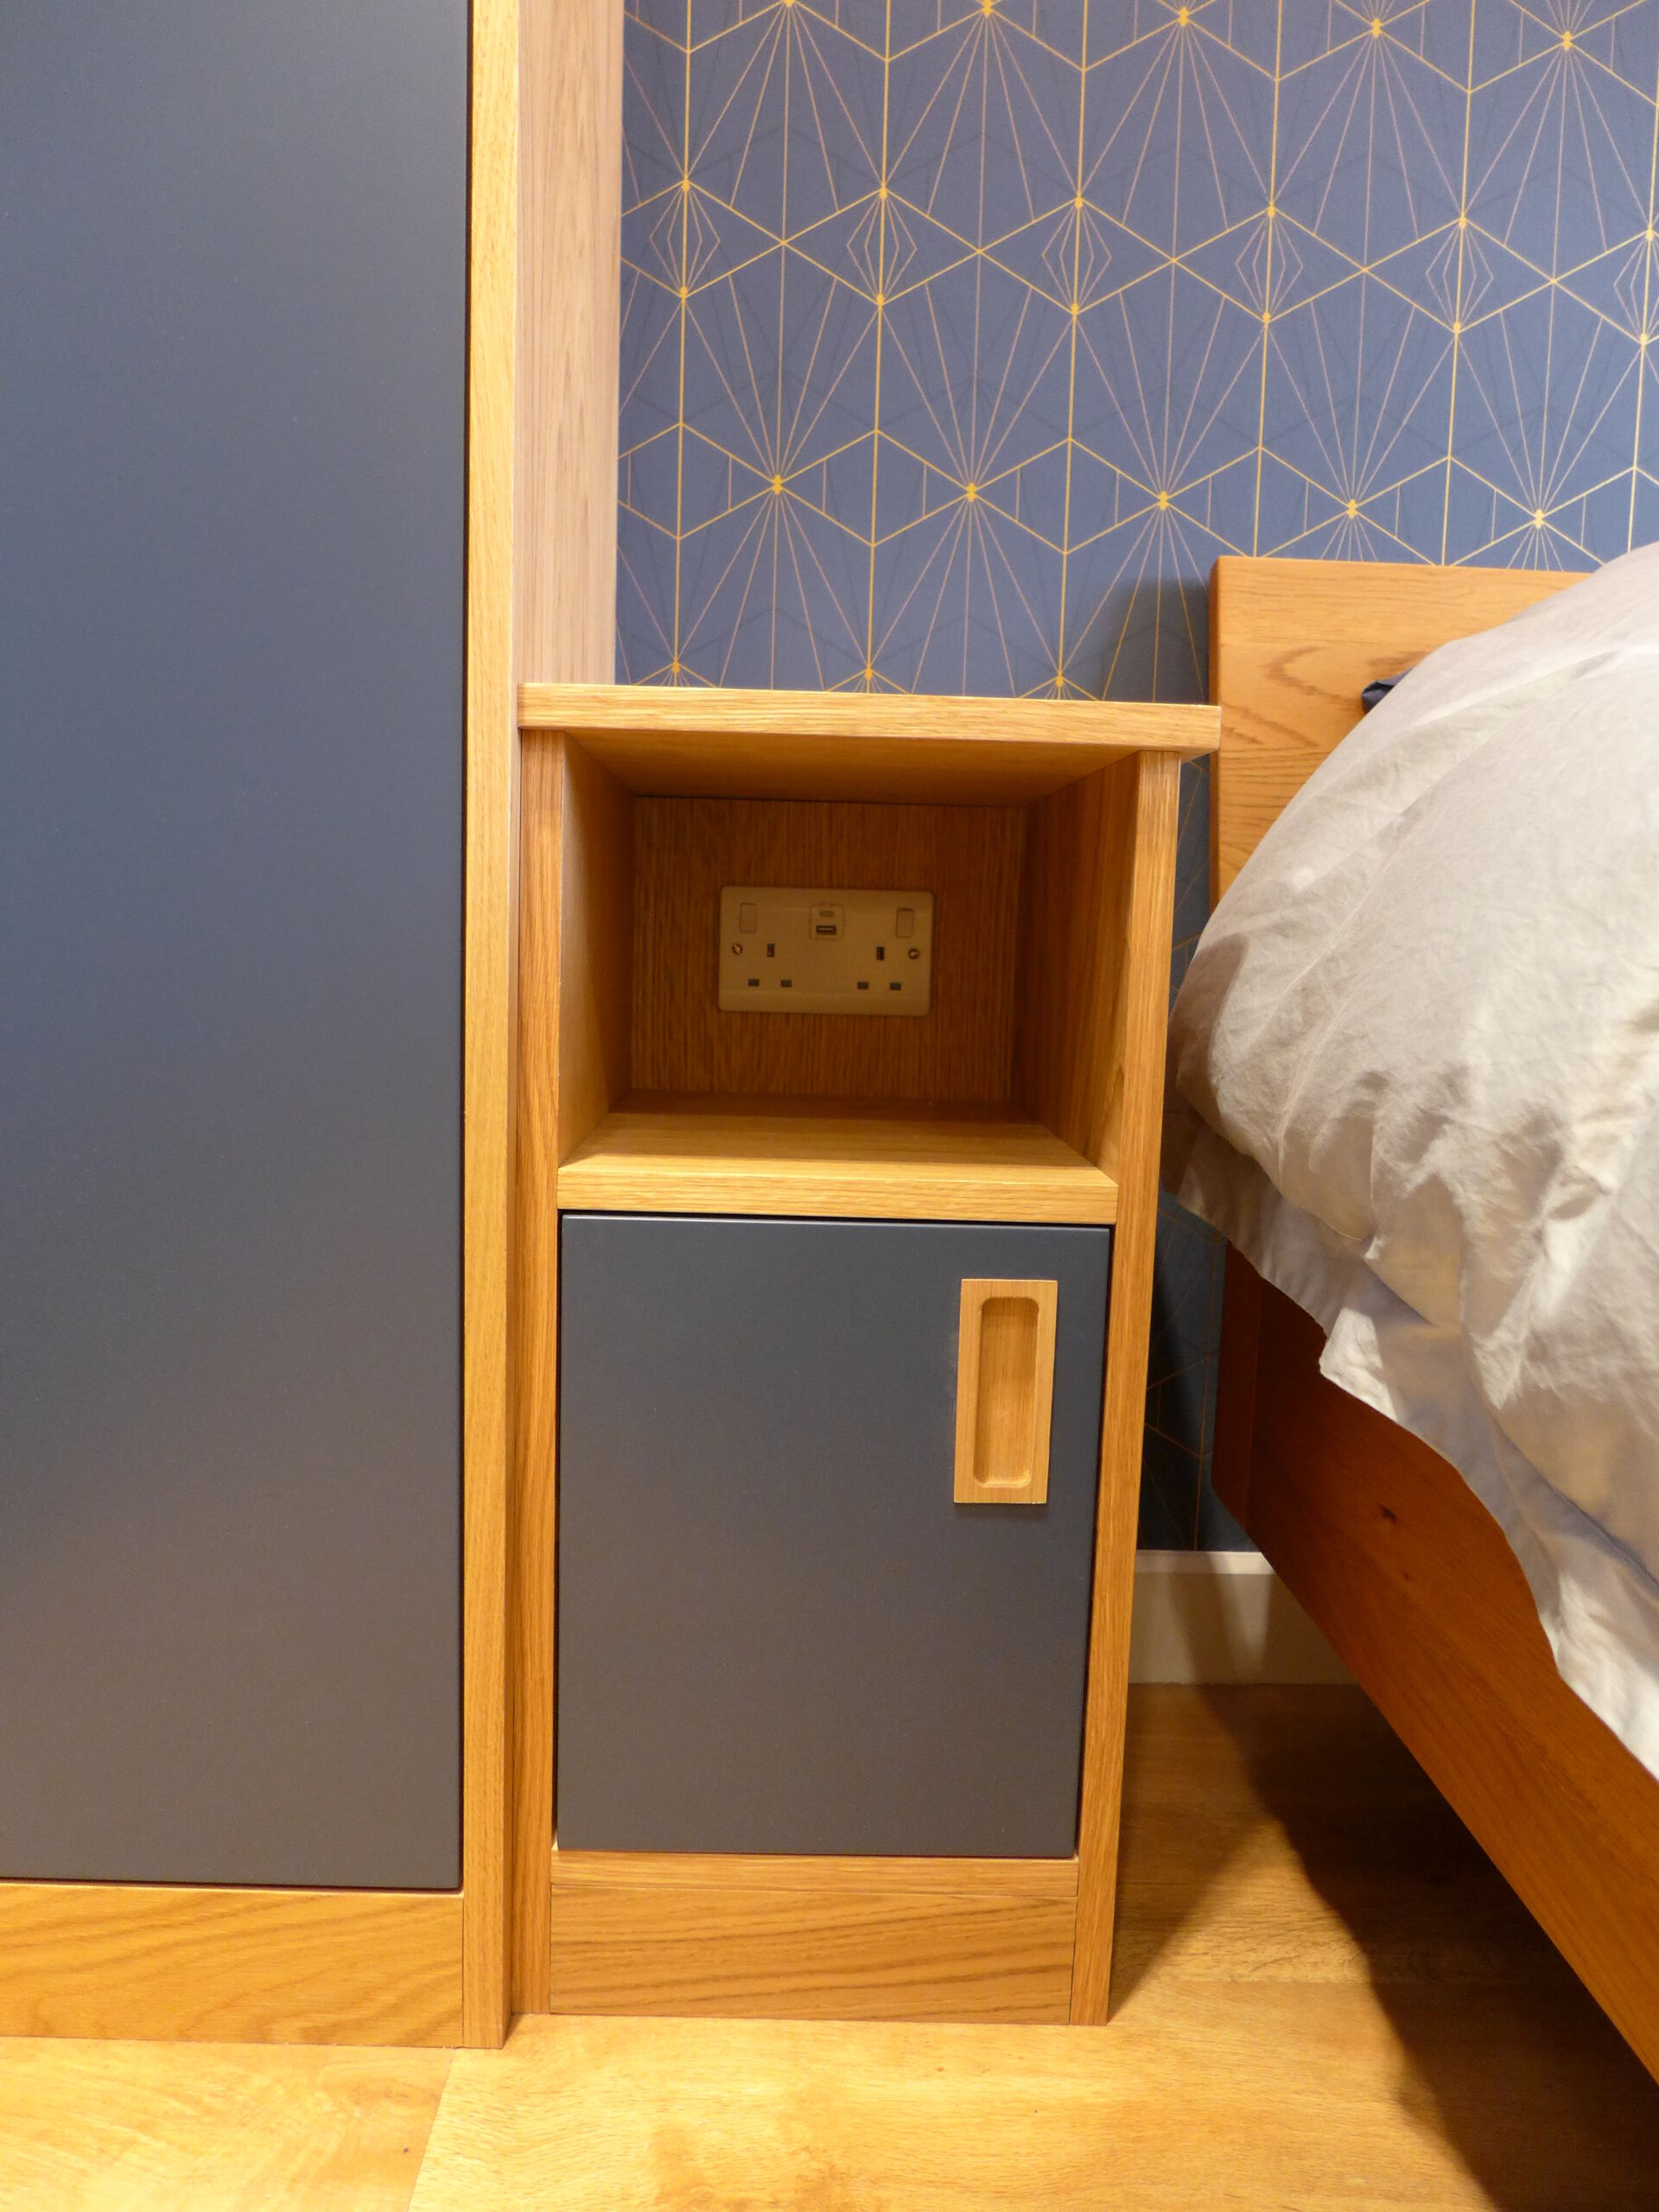
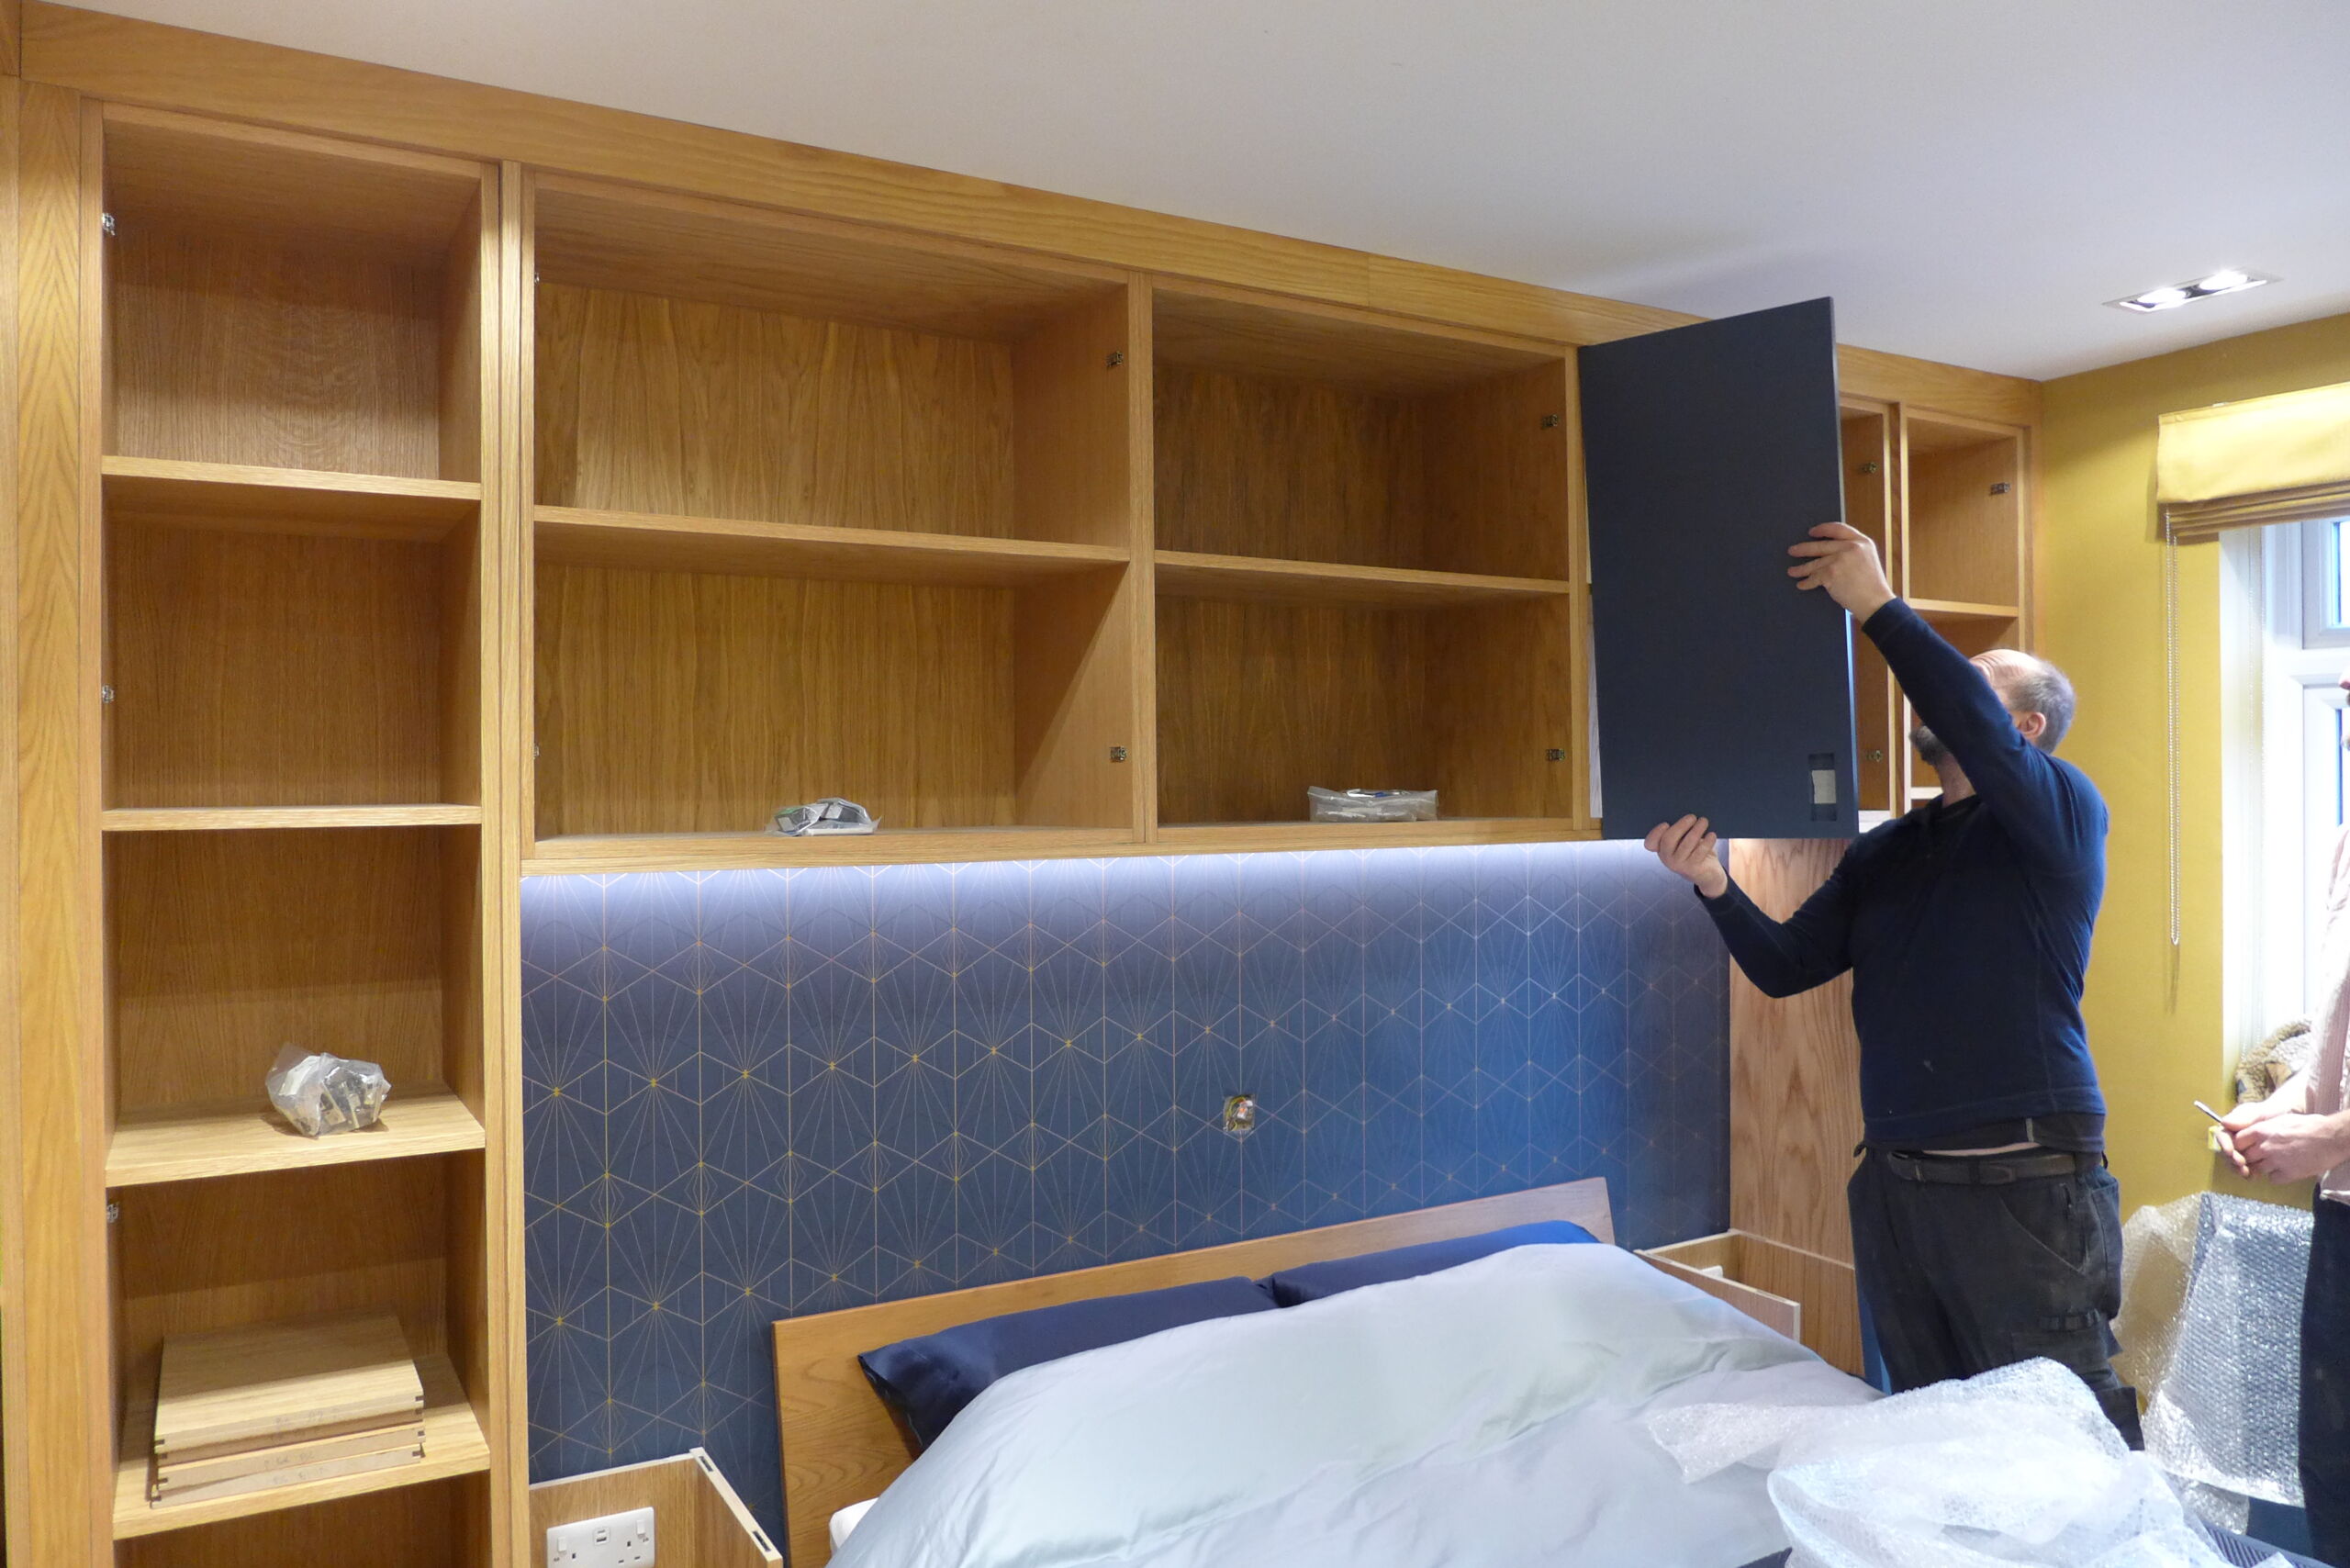

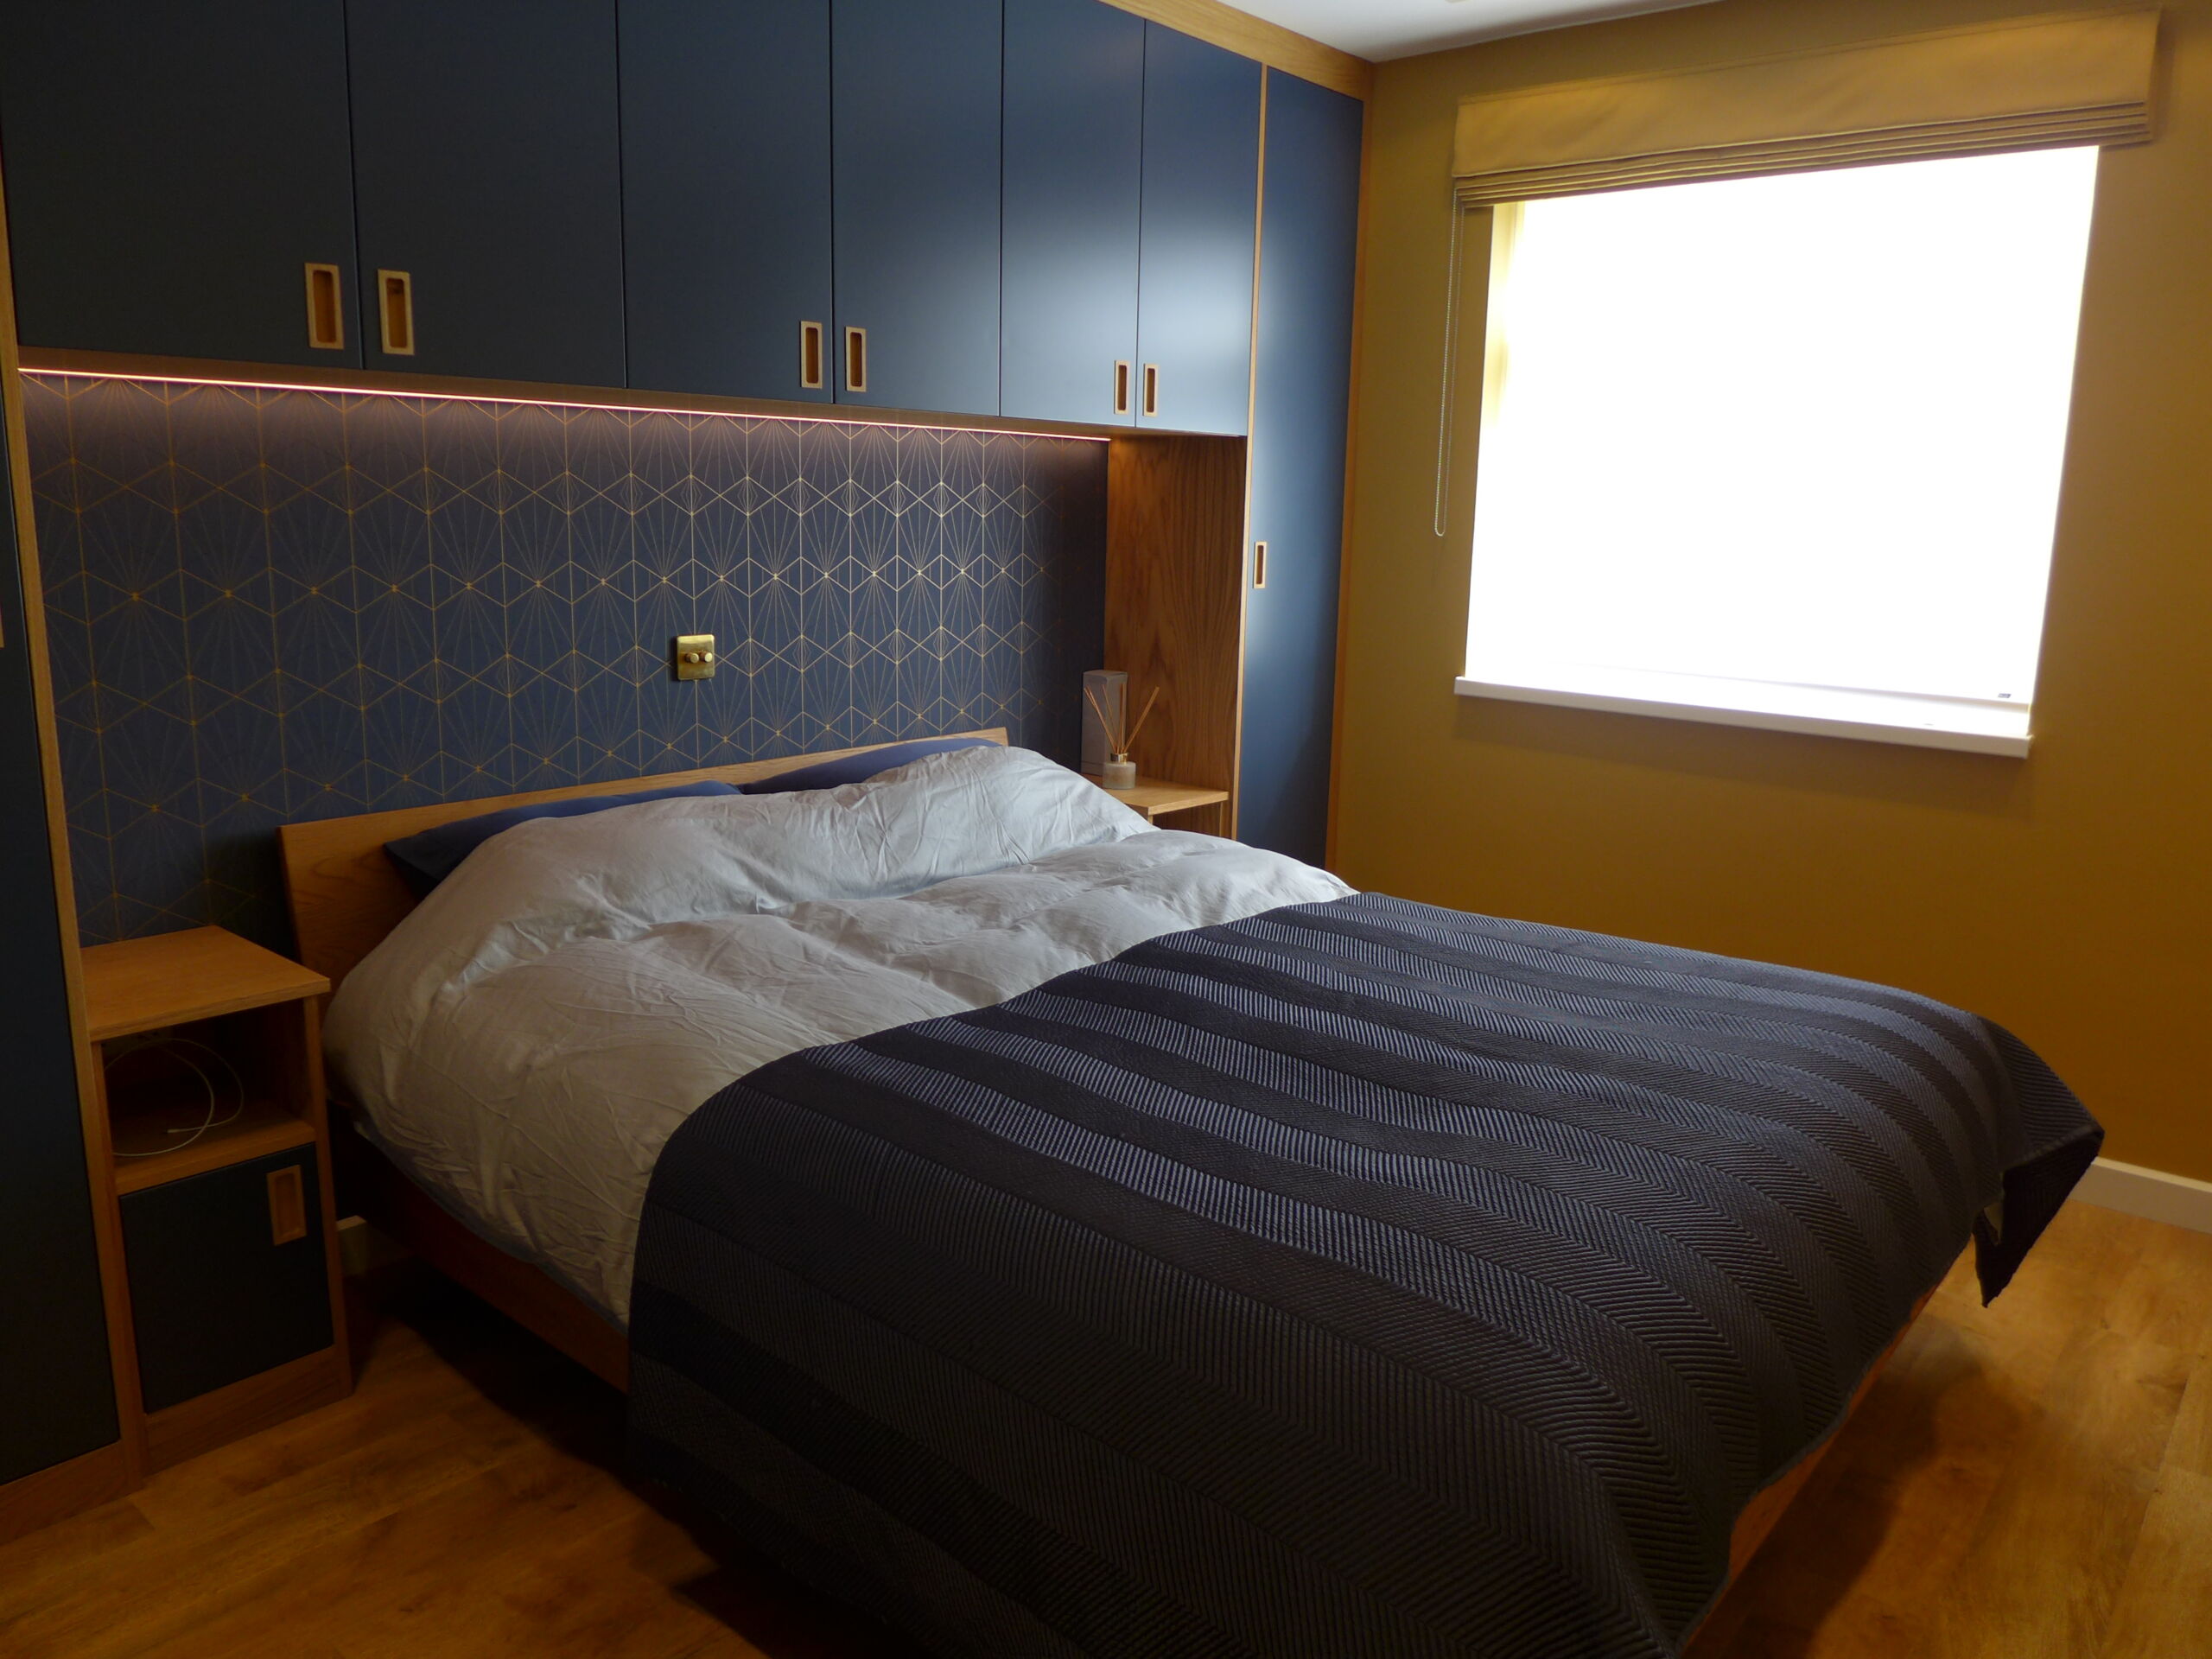
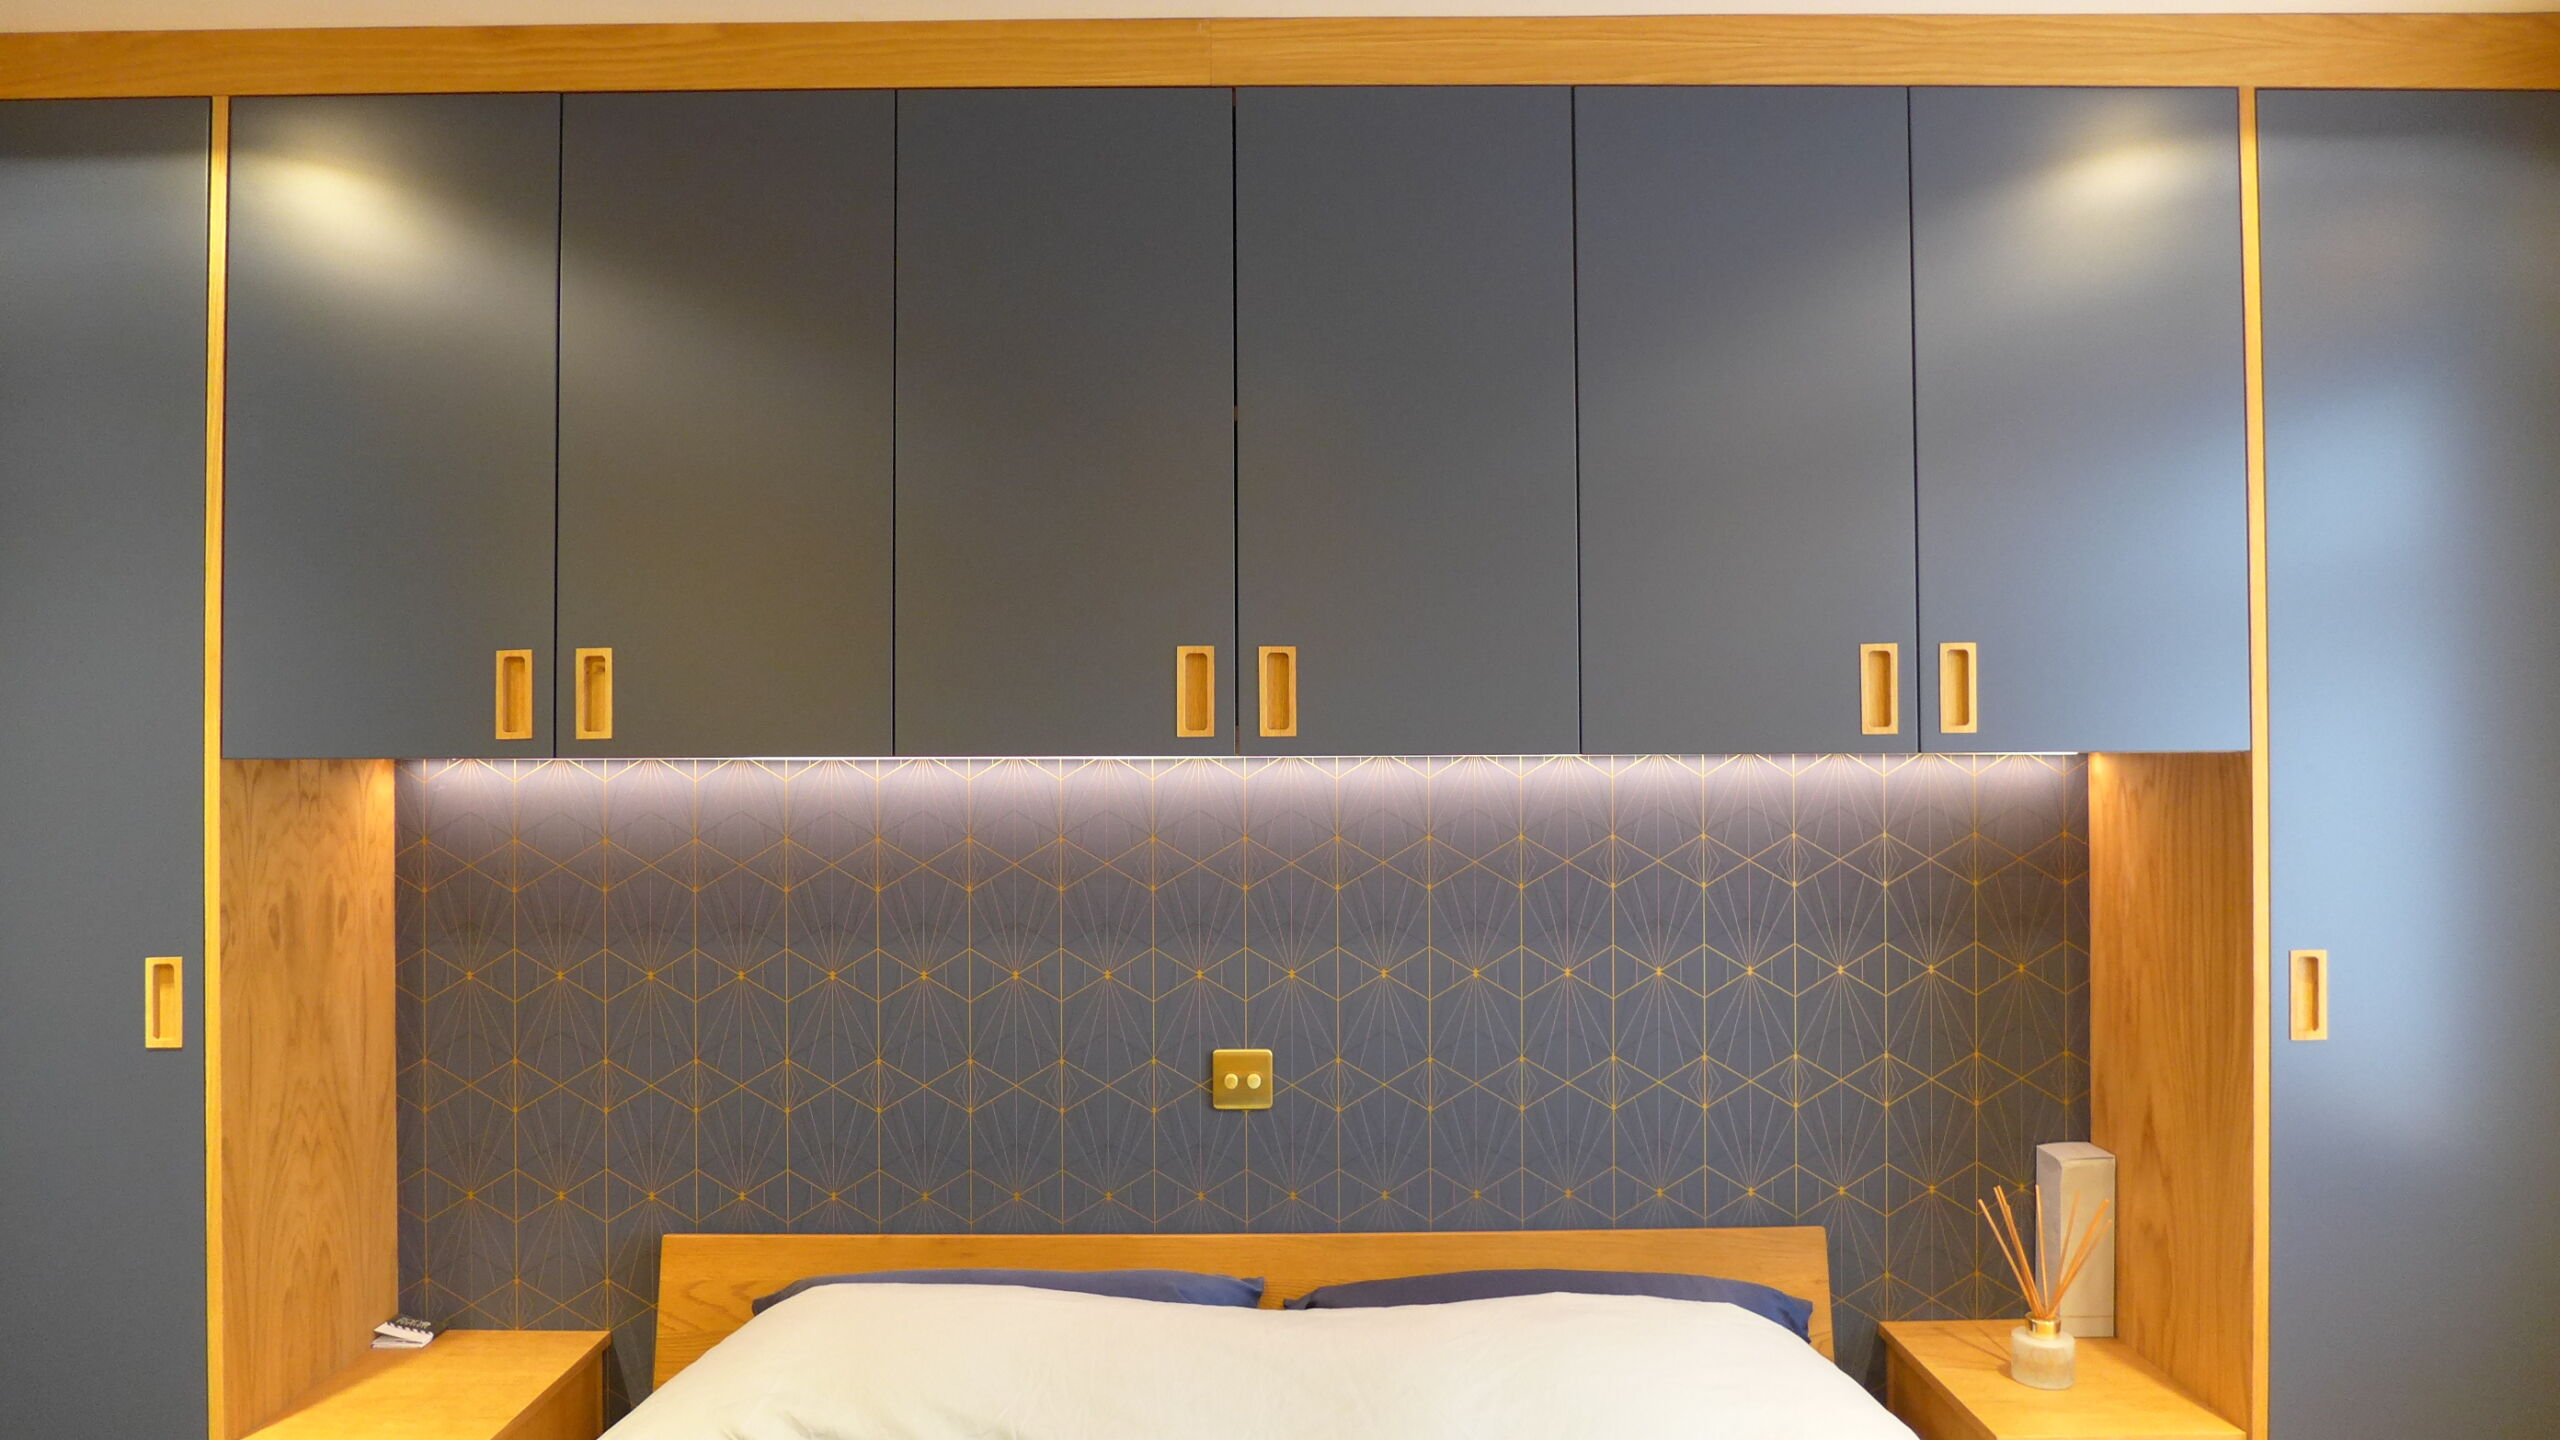
The main bedroom was stripped back then re-fitted. Electricians fitted twin grid spotlights, then our regular cabinet-makers installed their bespoke bedroom furniture. Our client had purchased a new bed, so we measured carefully to ensure that everything would fall into place around it. This included charging points in the bedside cabinets, and a reading light above the bed head.
New hallway design
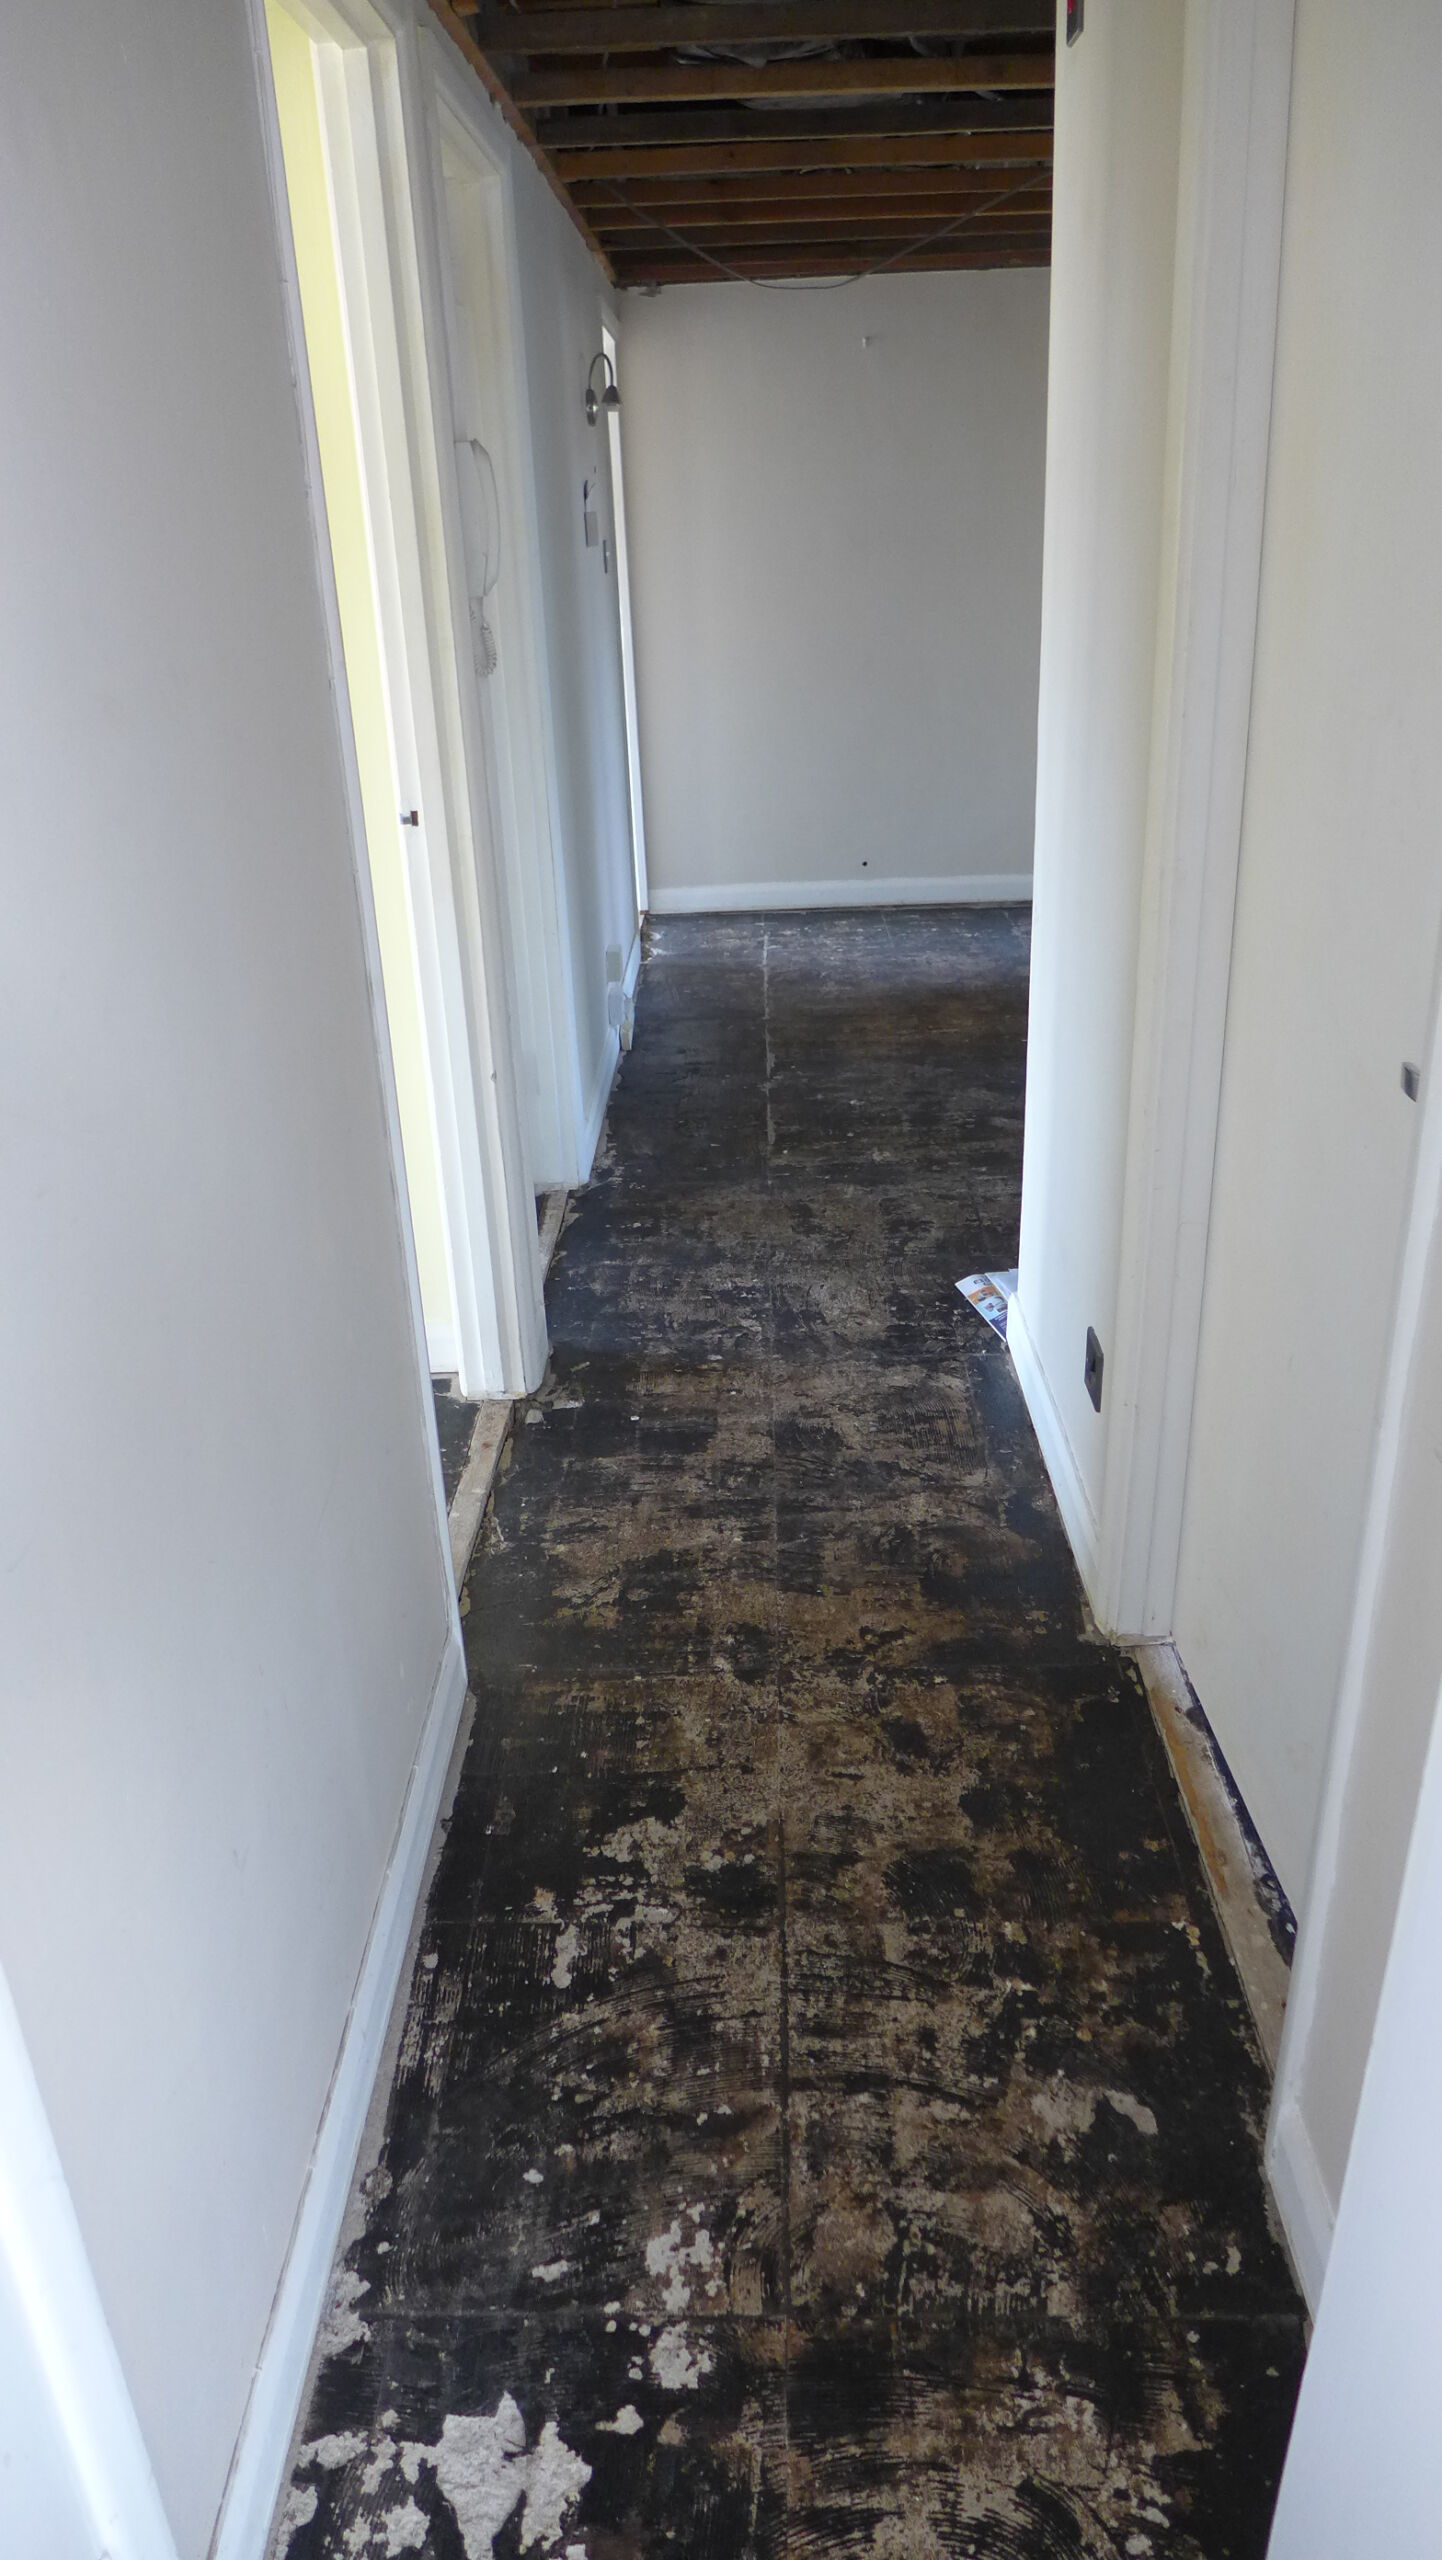
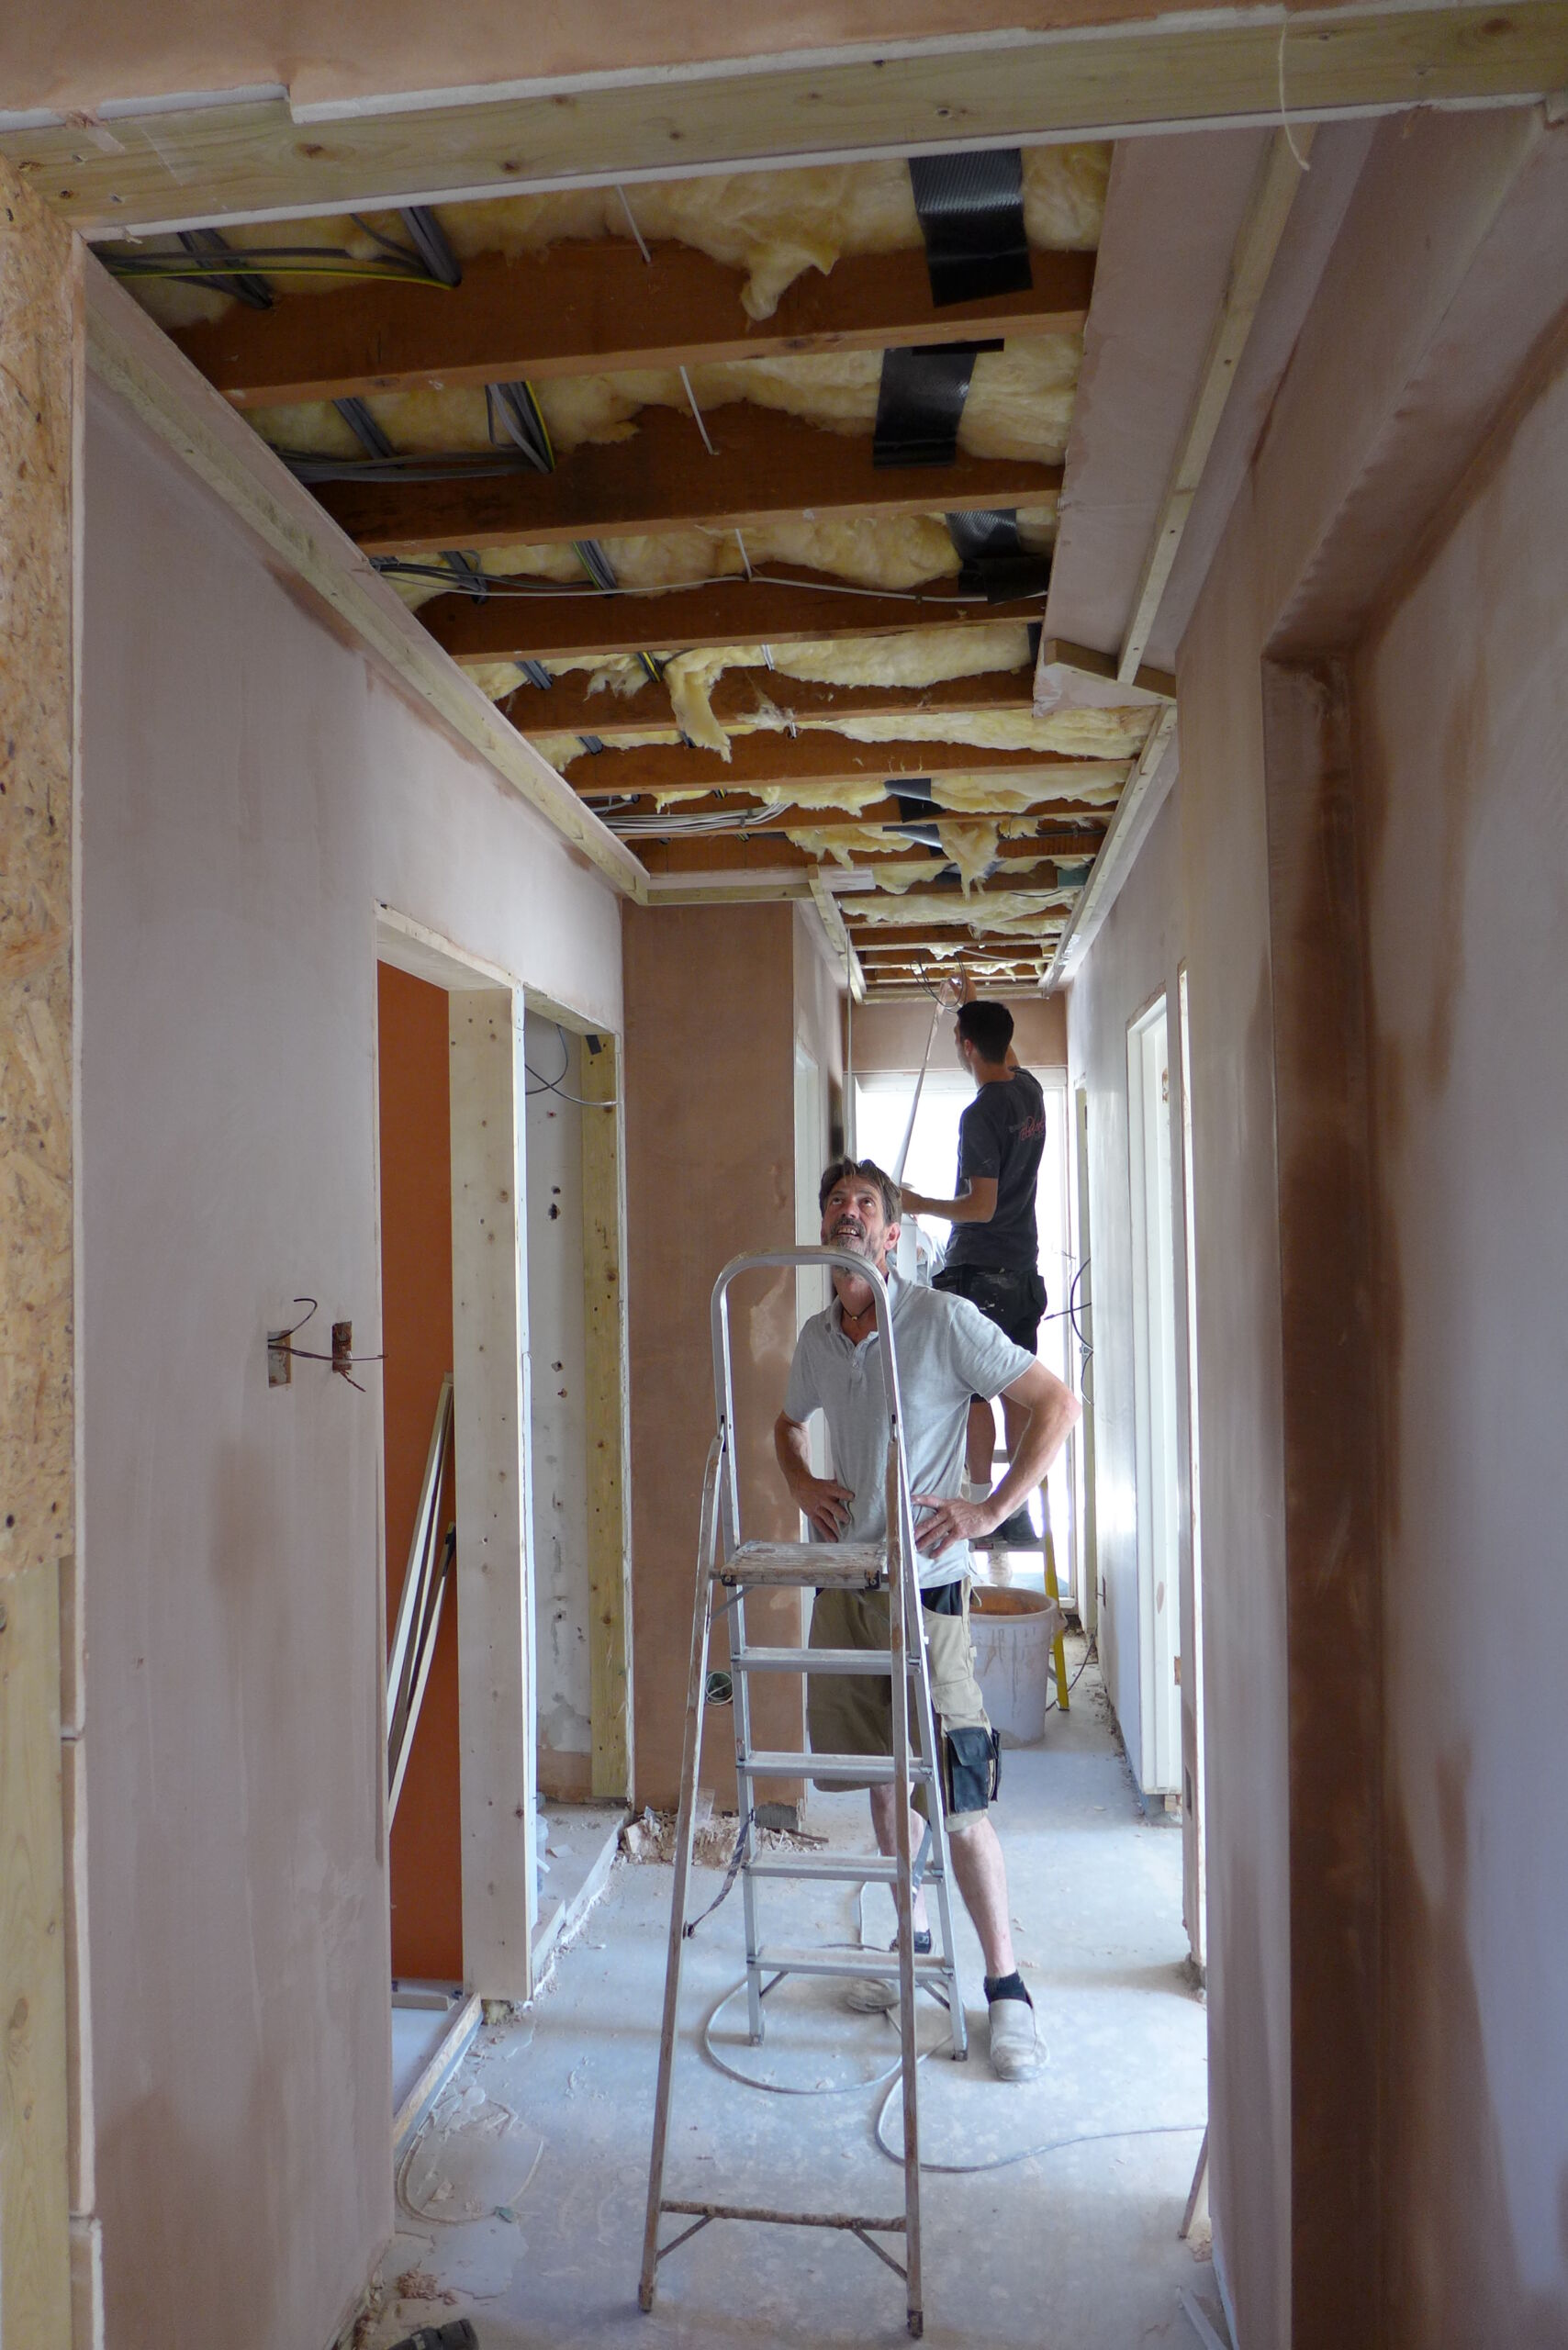
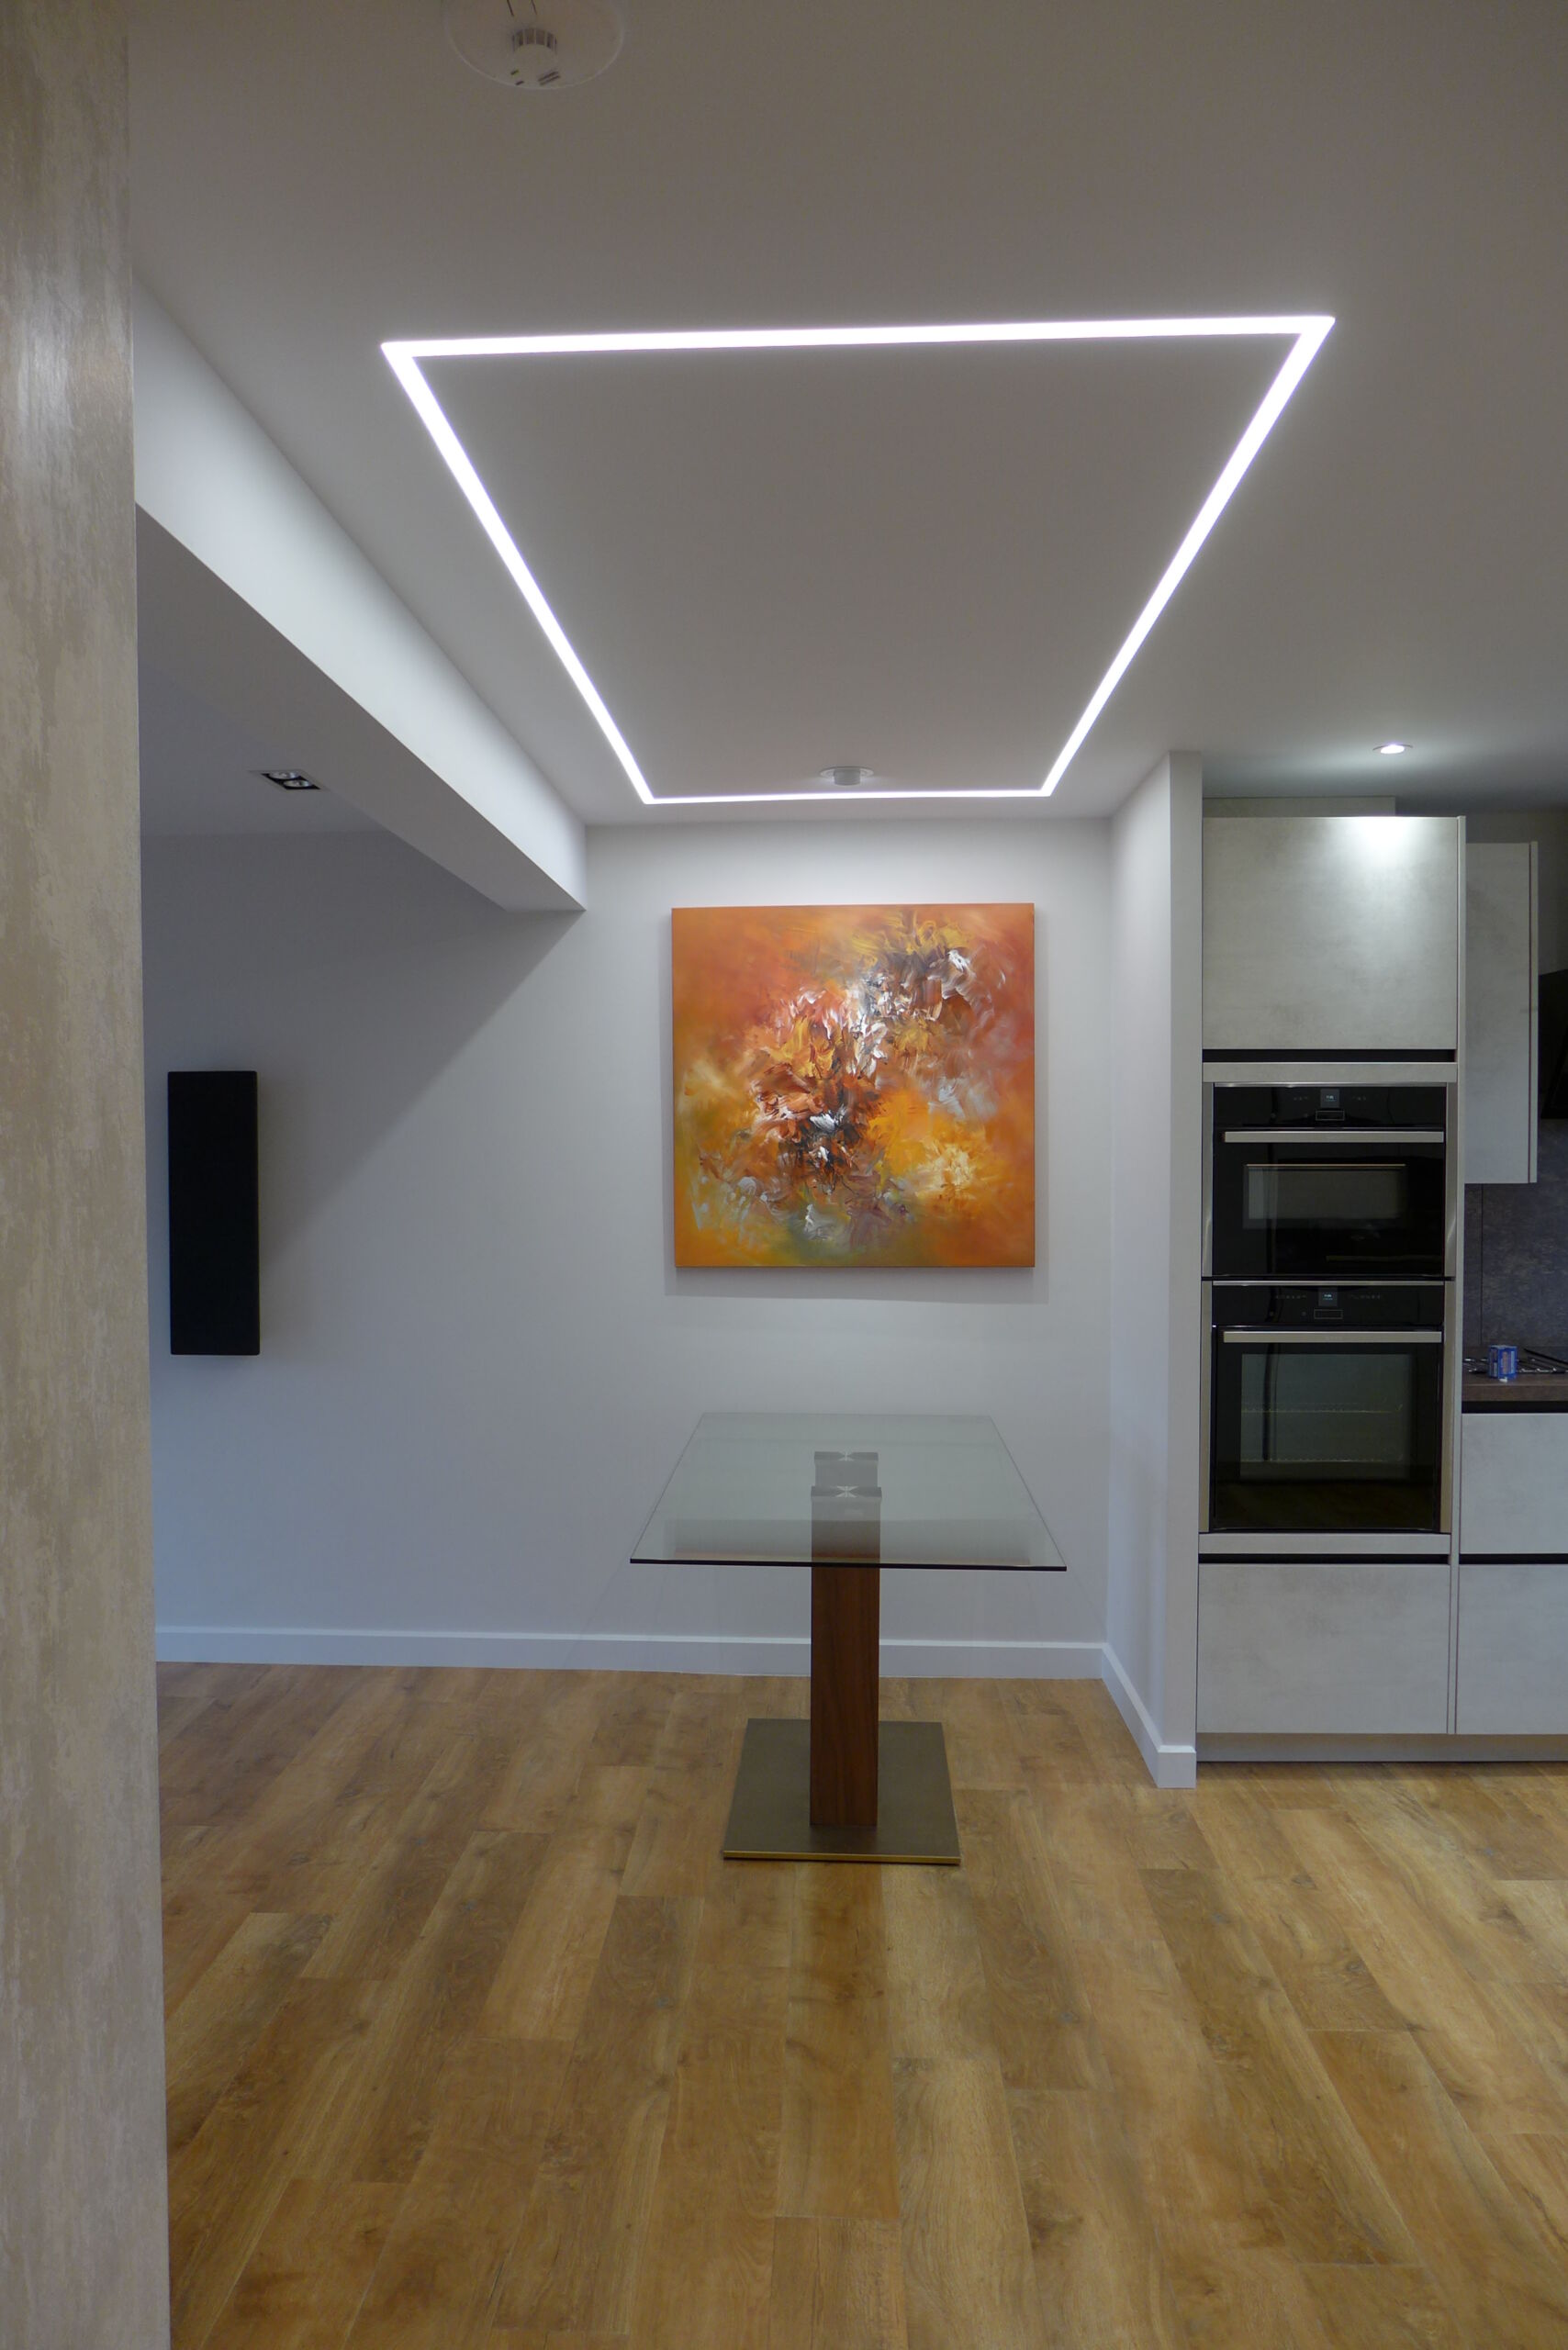
We introduced a number of different features in this hallway design. The dropped ceiling with shadow gap houses a continuous LED tape, and the low level recessed corridor lights provide a welcoming glow in the evening. We took out the end wall so the hall would be open to the main living space. But to meet building regulations, we had to install a fire door, ready to separate the two spaces if ever required. To hide this, we designed a wall recess into which the door fits. Painting this the same colour as the wall, it effectively becomes part of the wall and fades into the background.


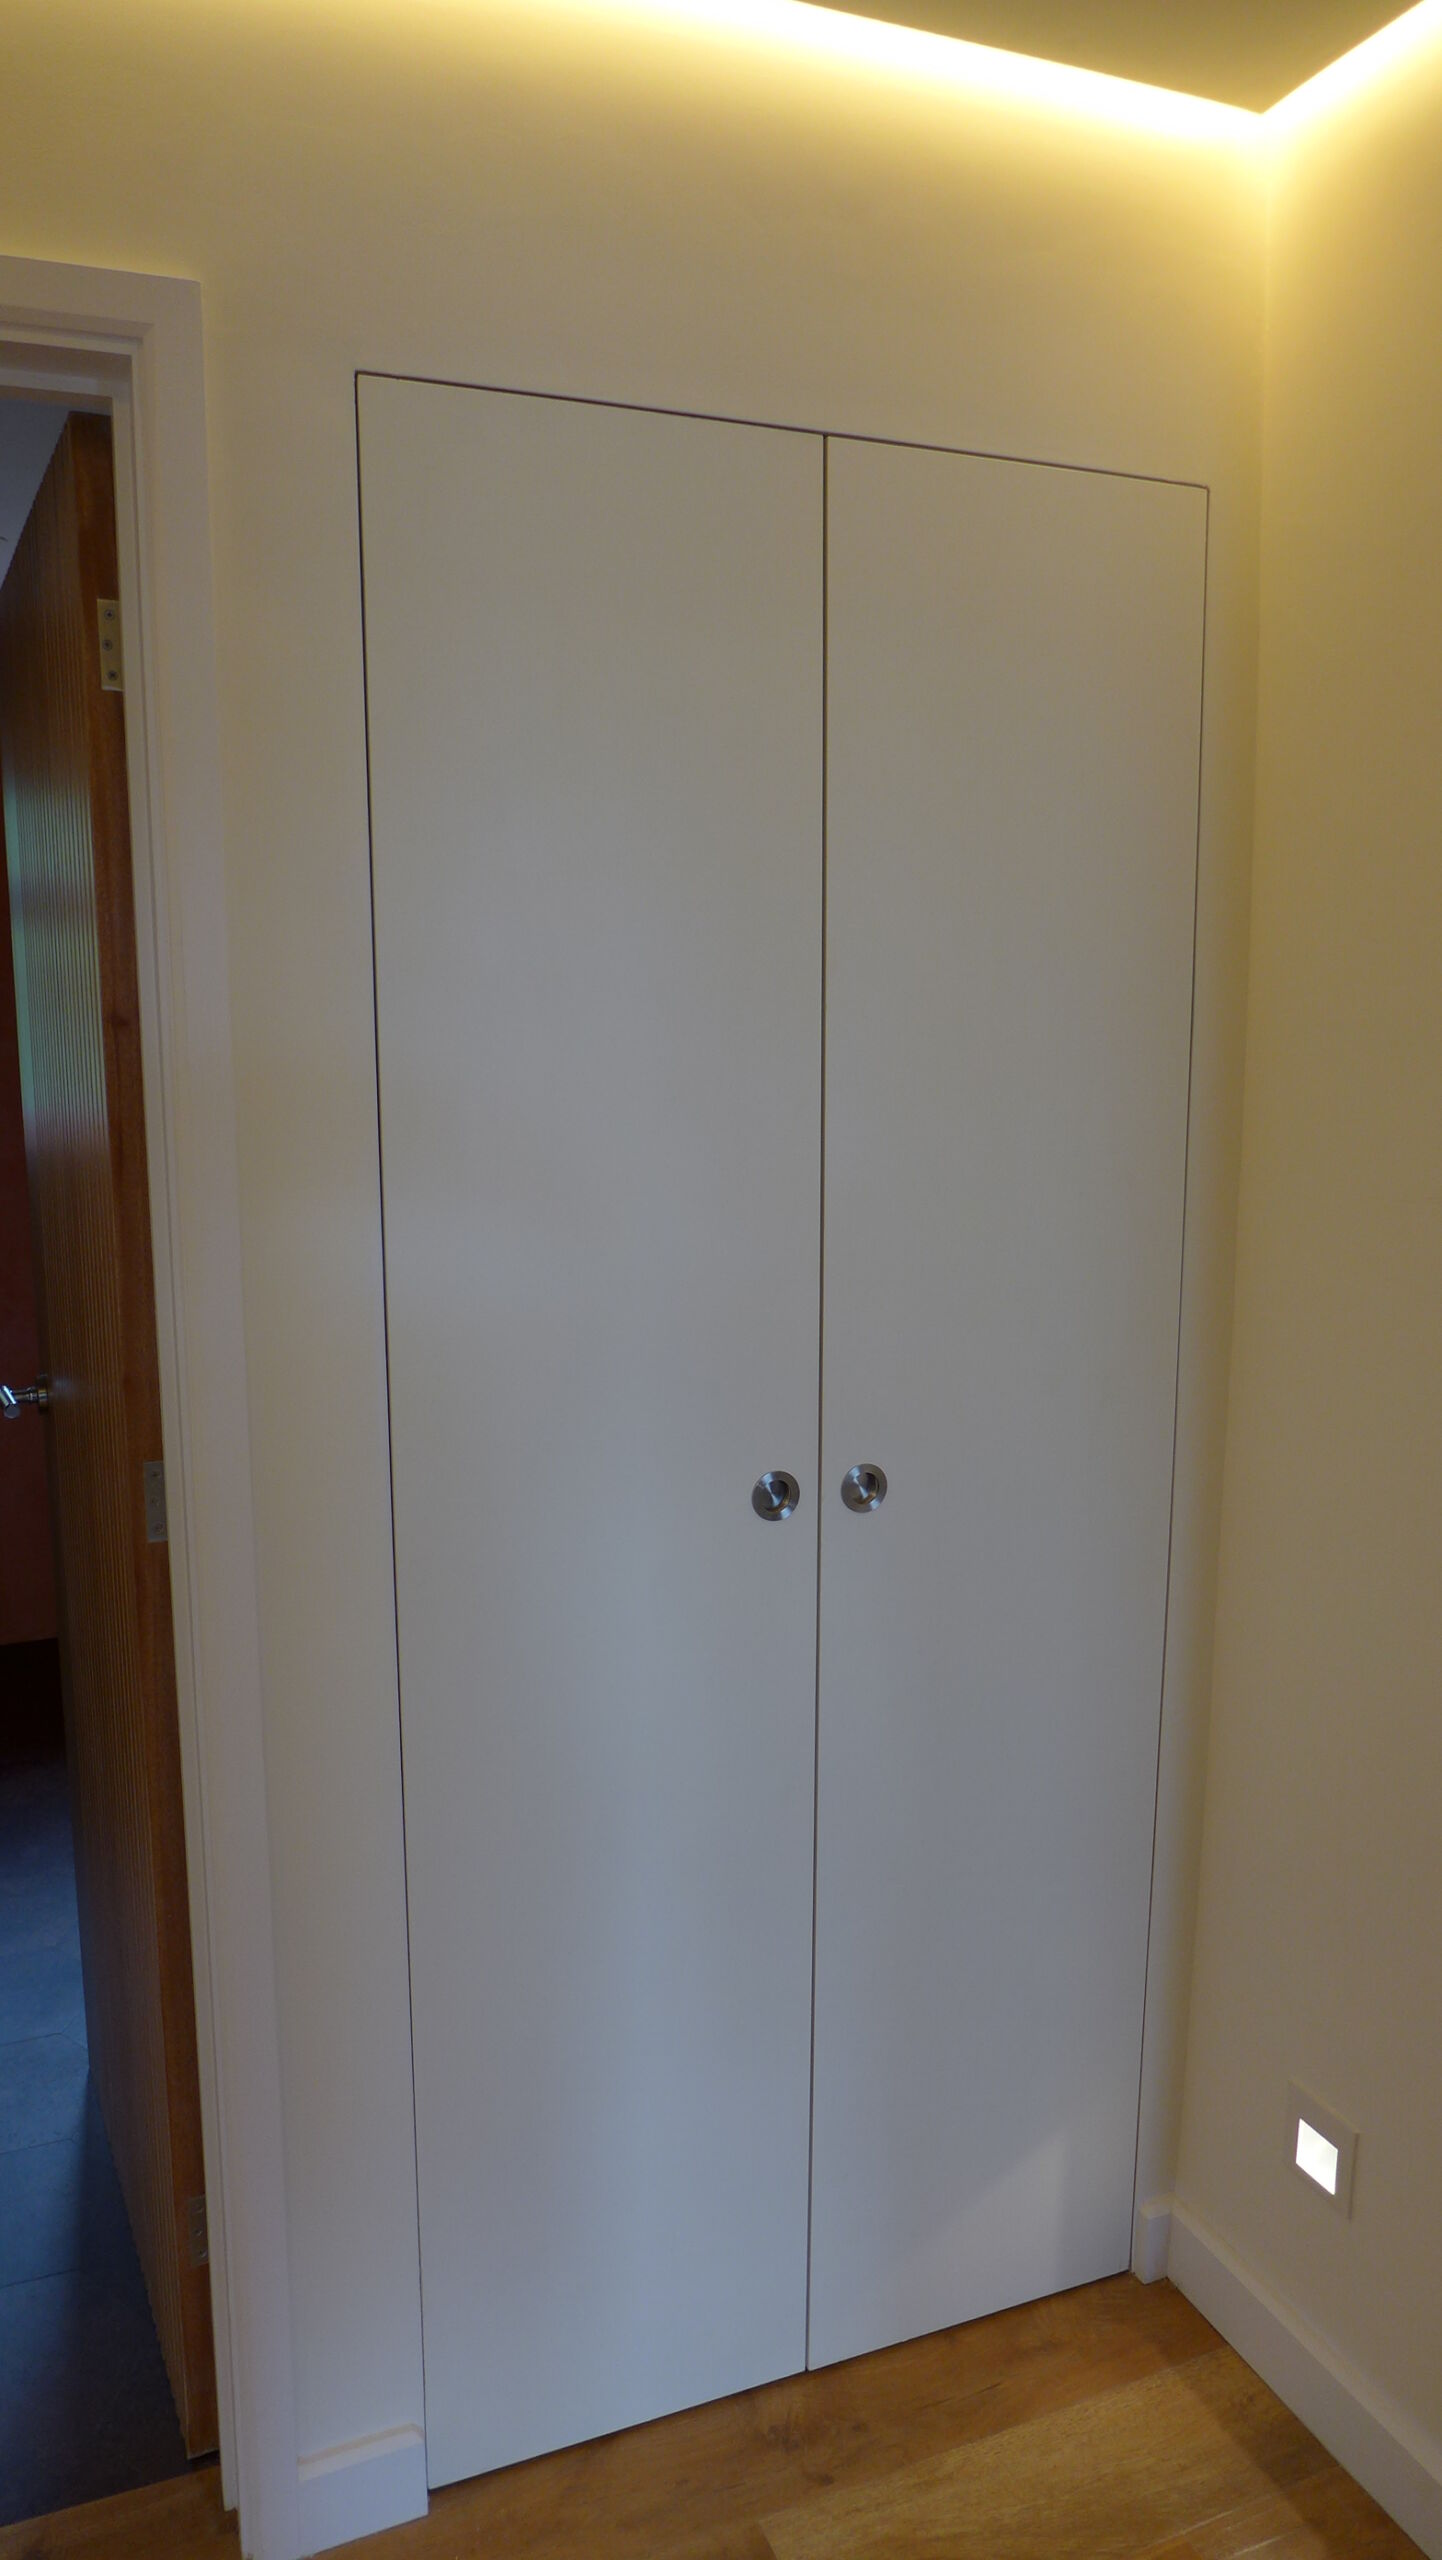
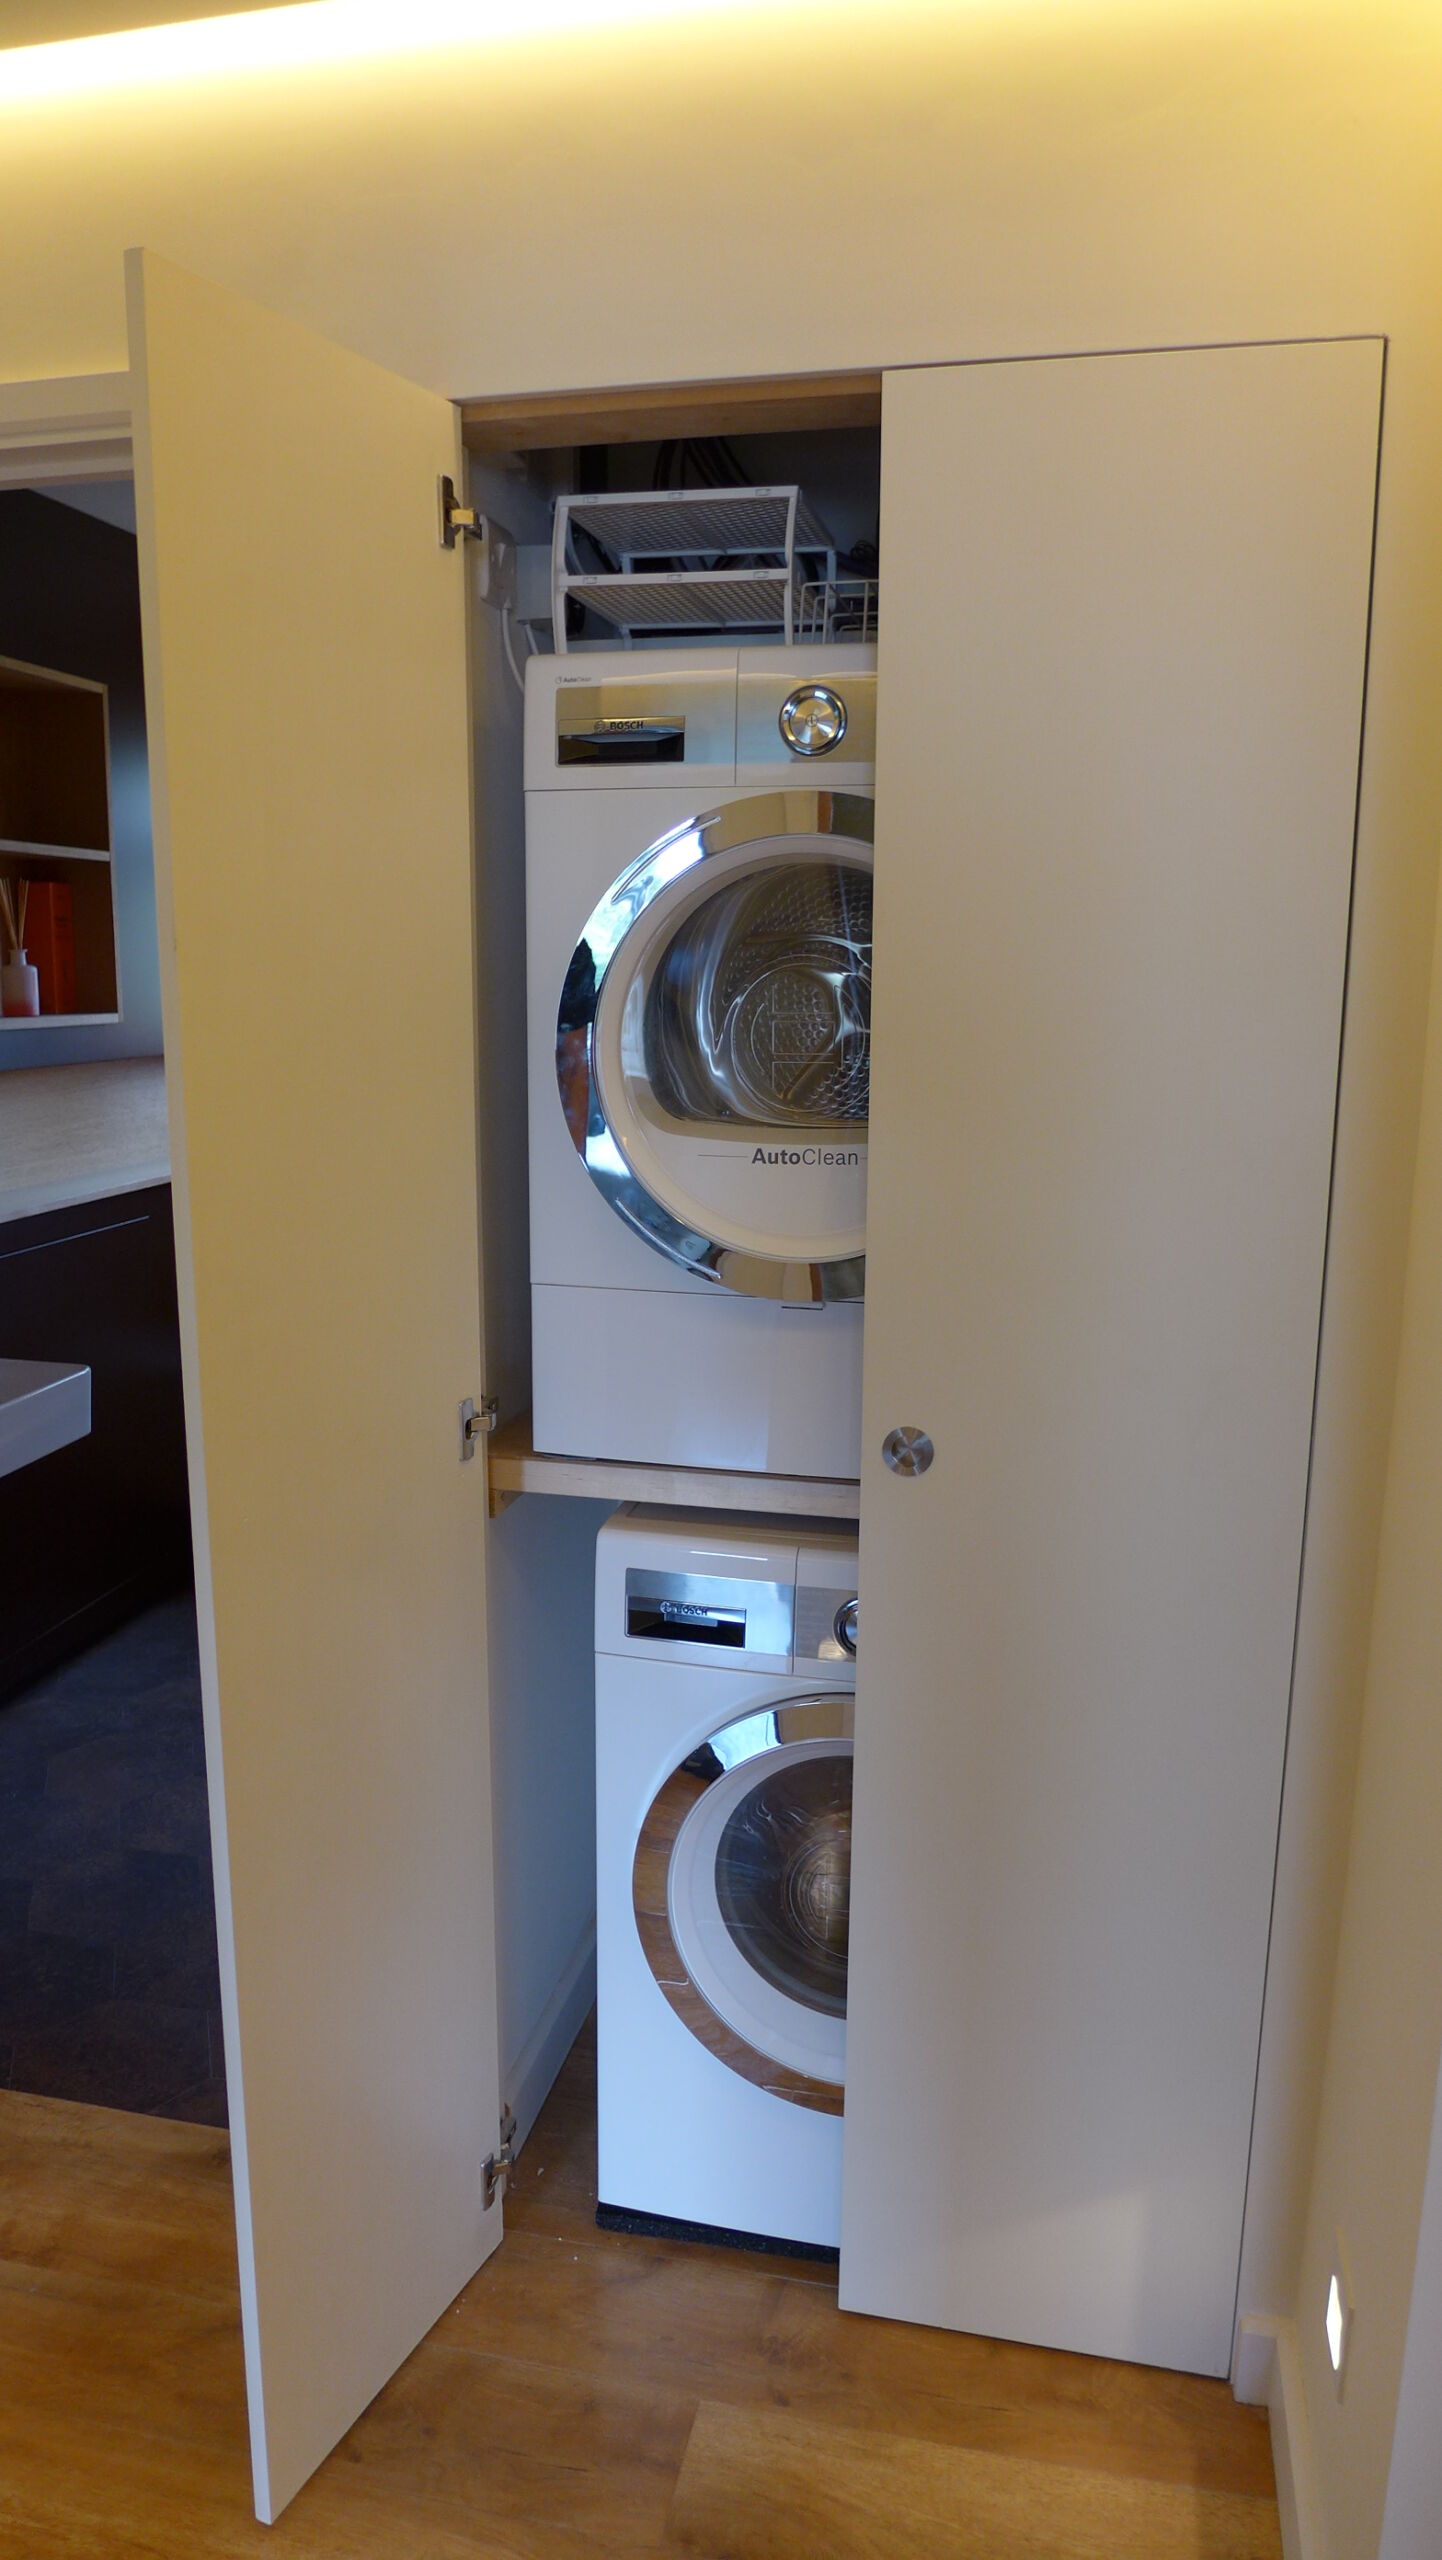
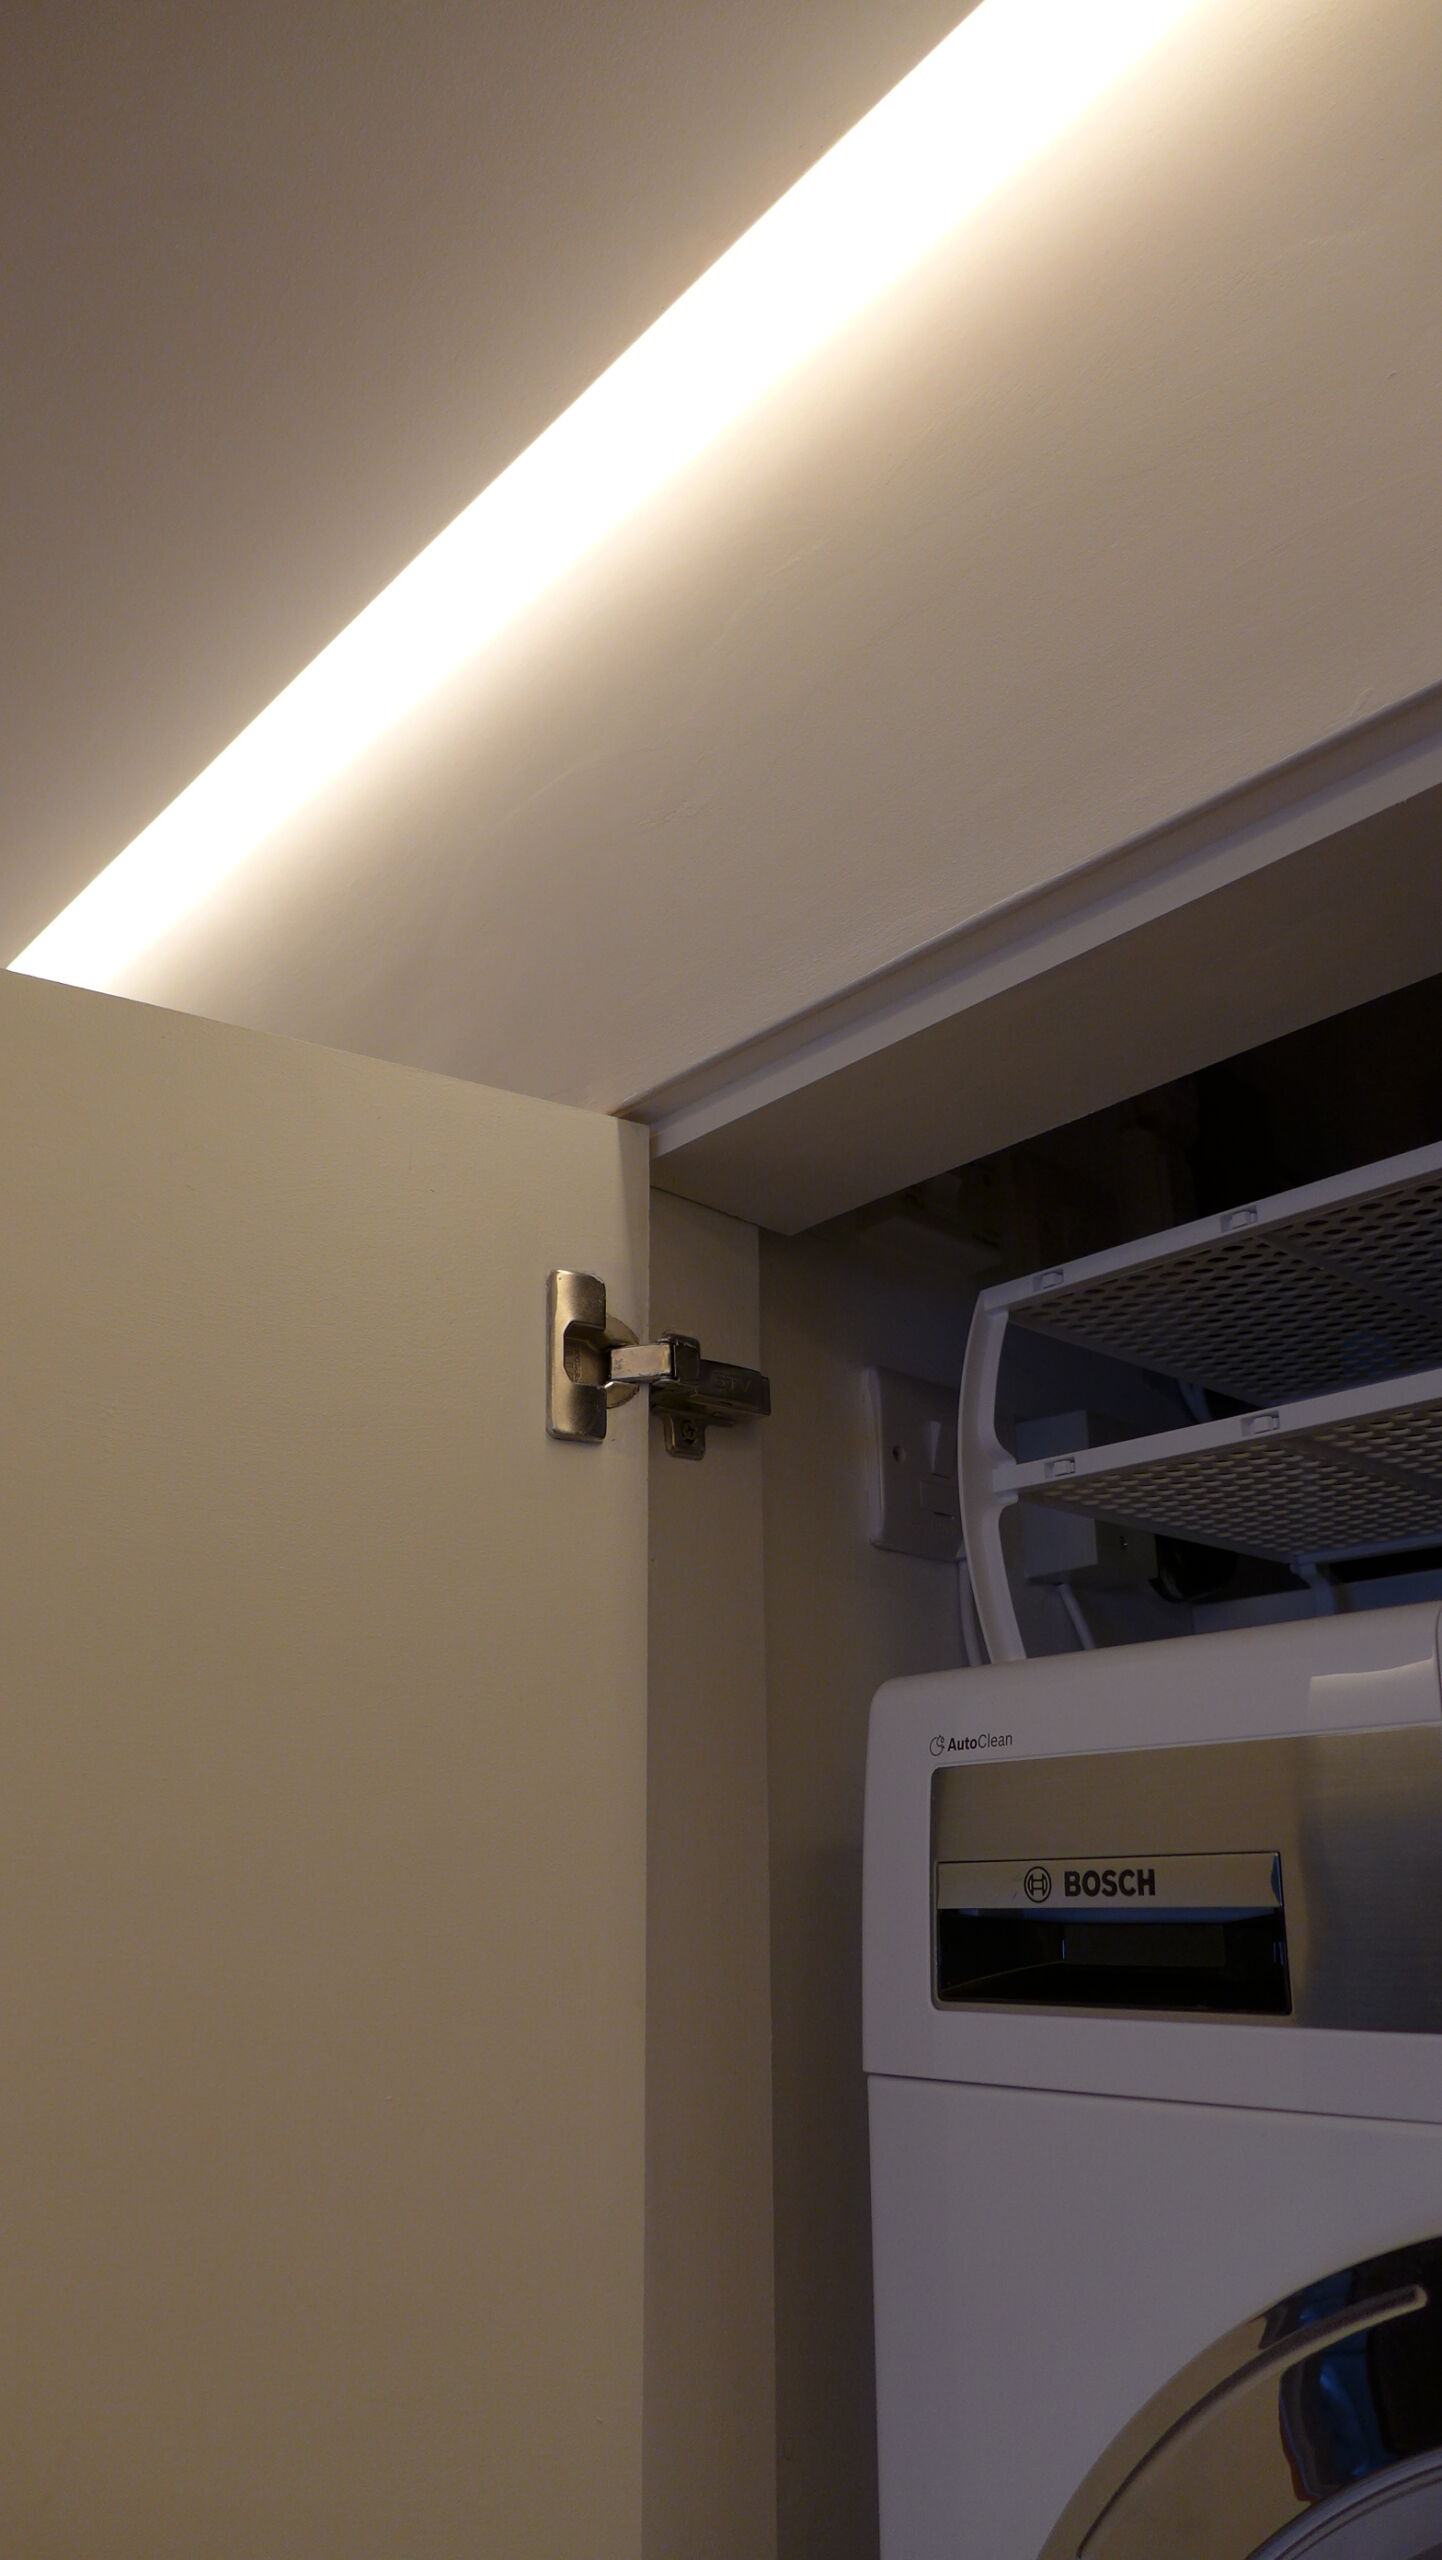
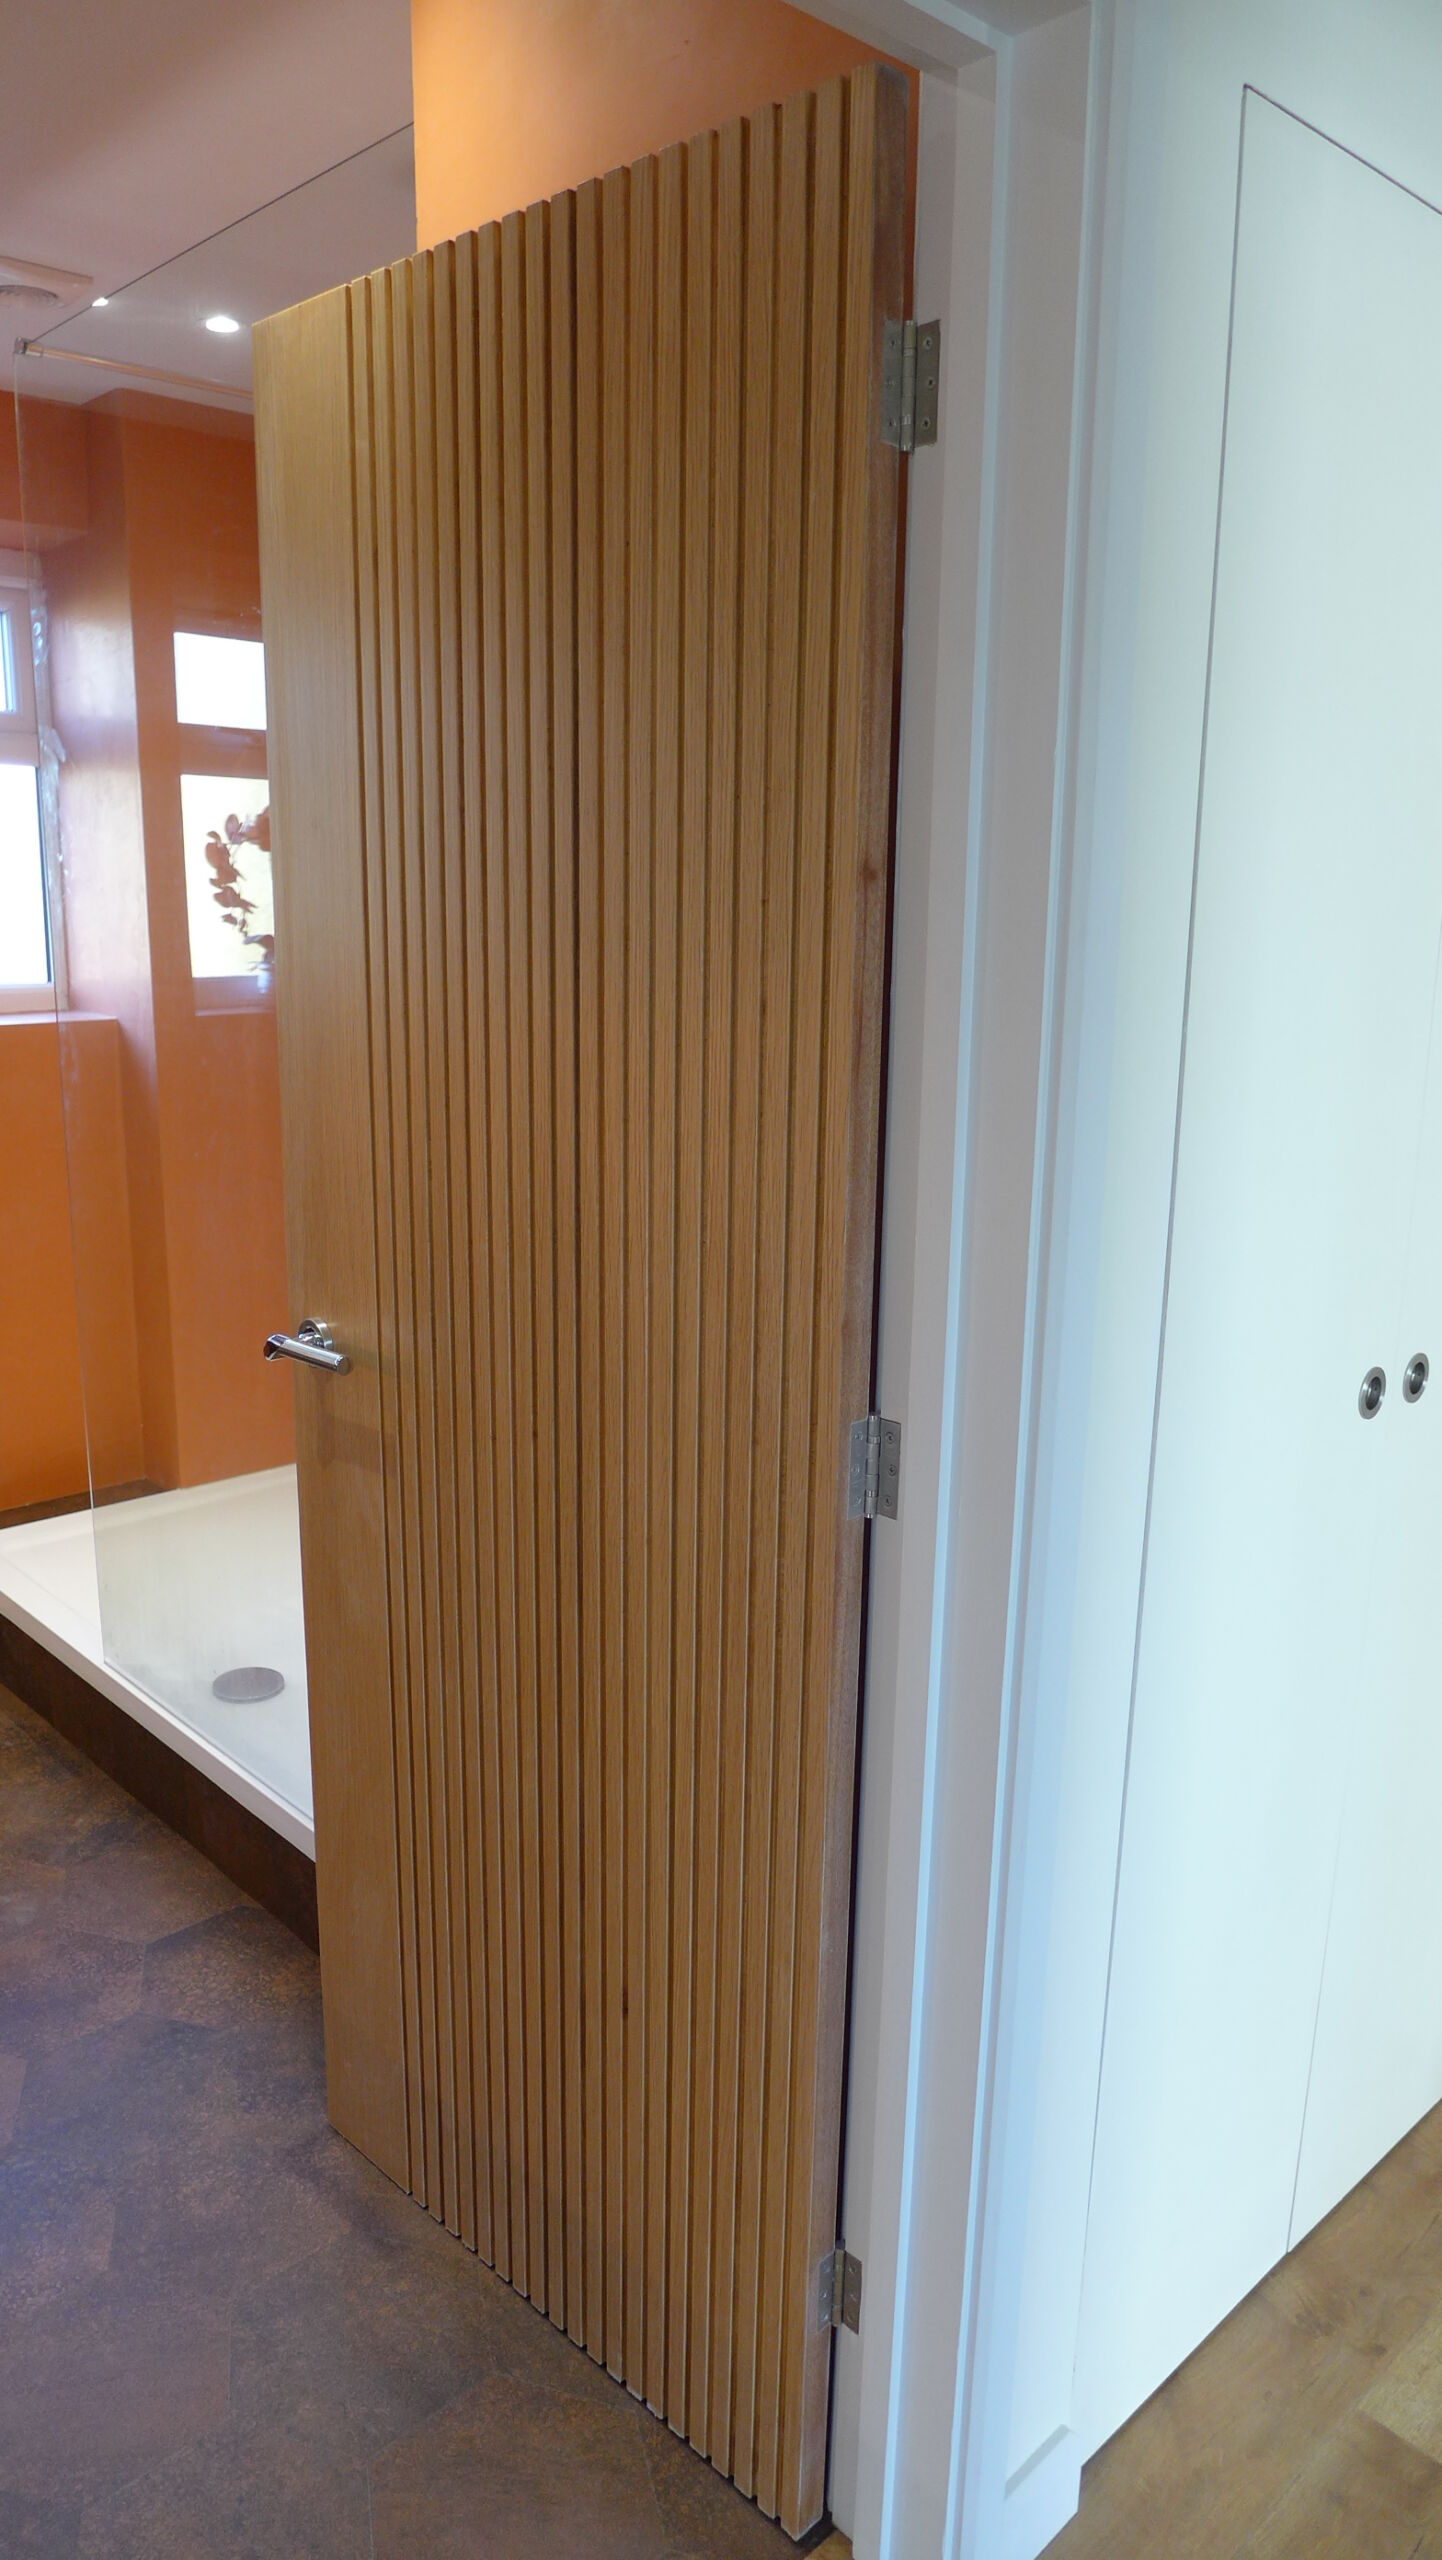
We designed a utility cupboard as part of the new bathroom. Again, we wanted this to “disappear”, so it has no architrave and is the same colour as the wall. The cupboard light comes on automatically as the door is opened. Finally, all the interior doors were replaced with these contemporary oak models.
Underfloor heating
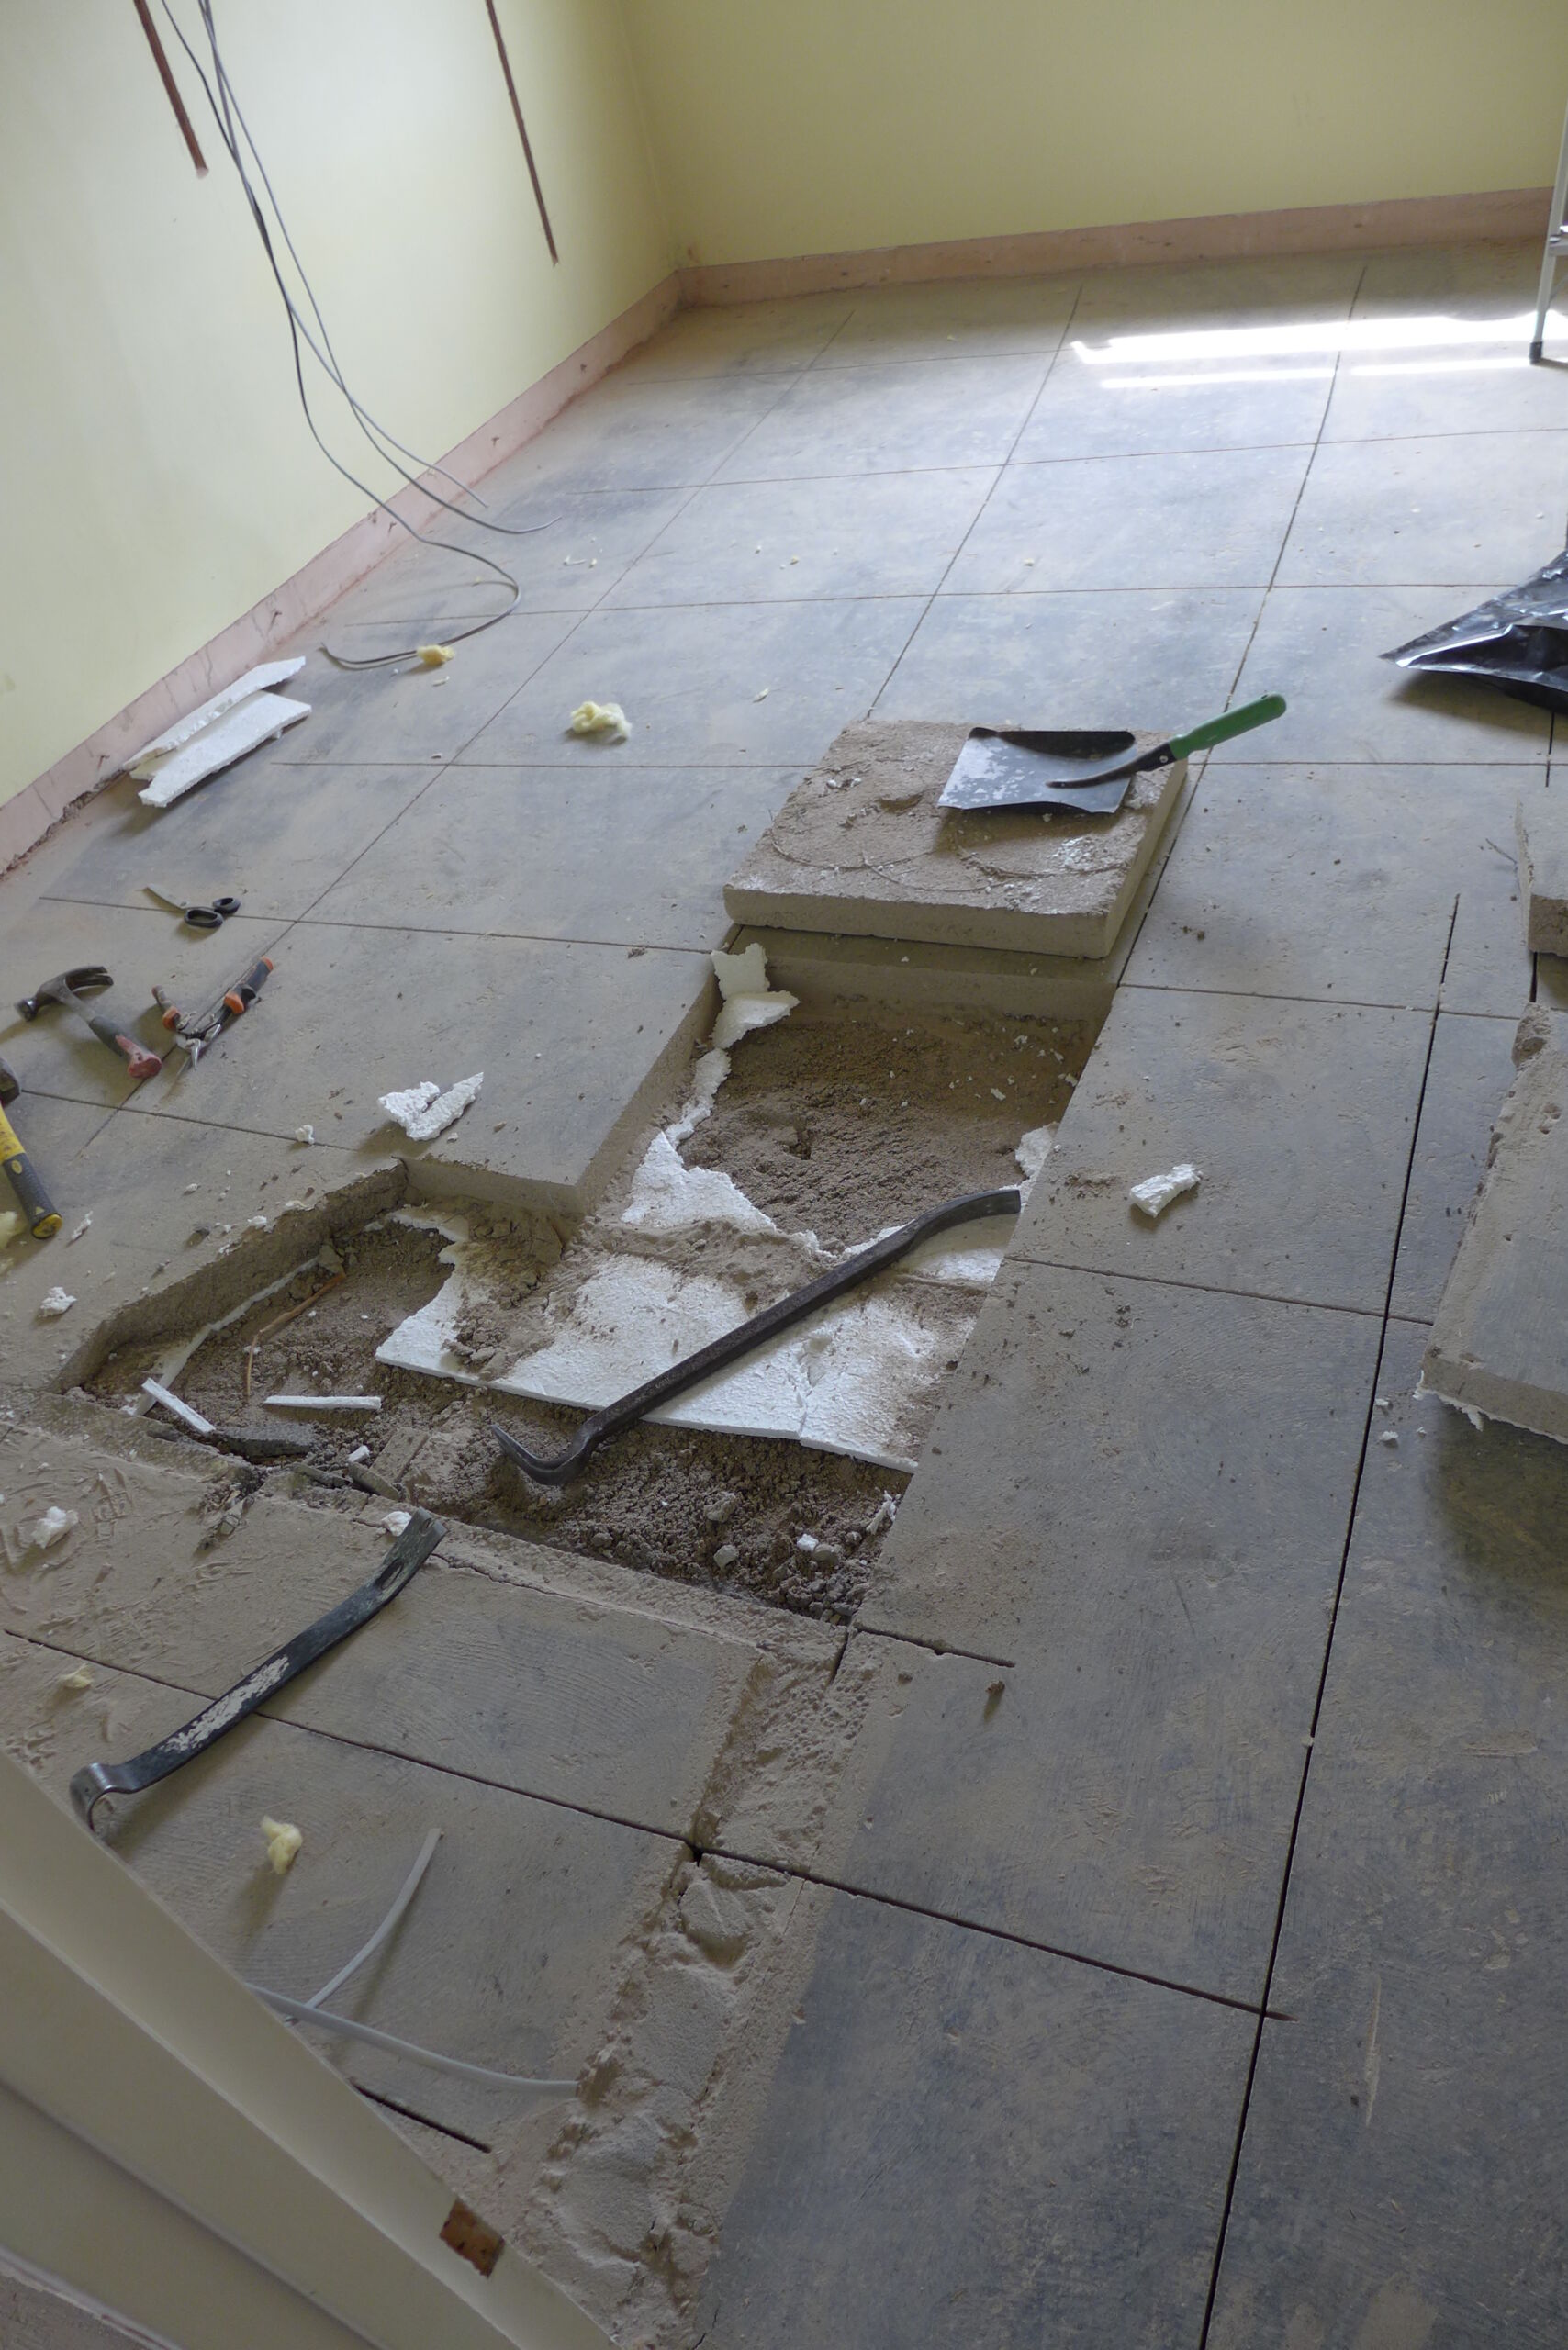
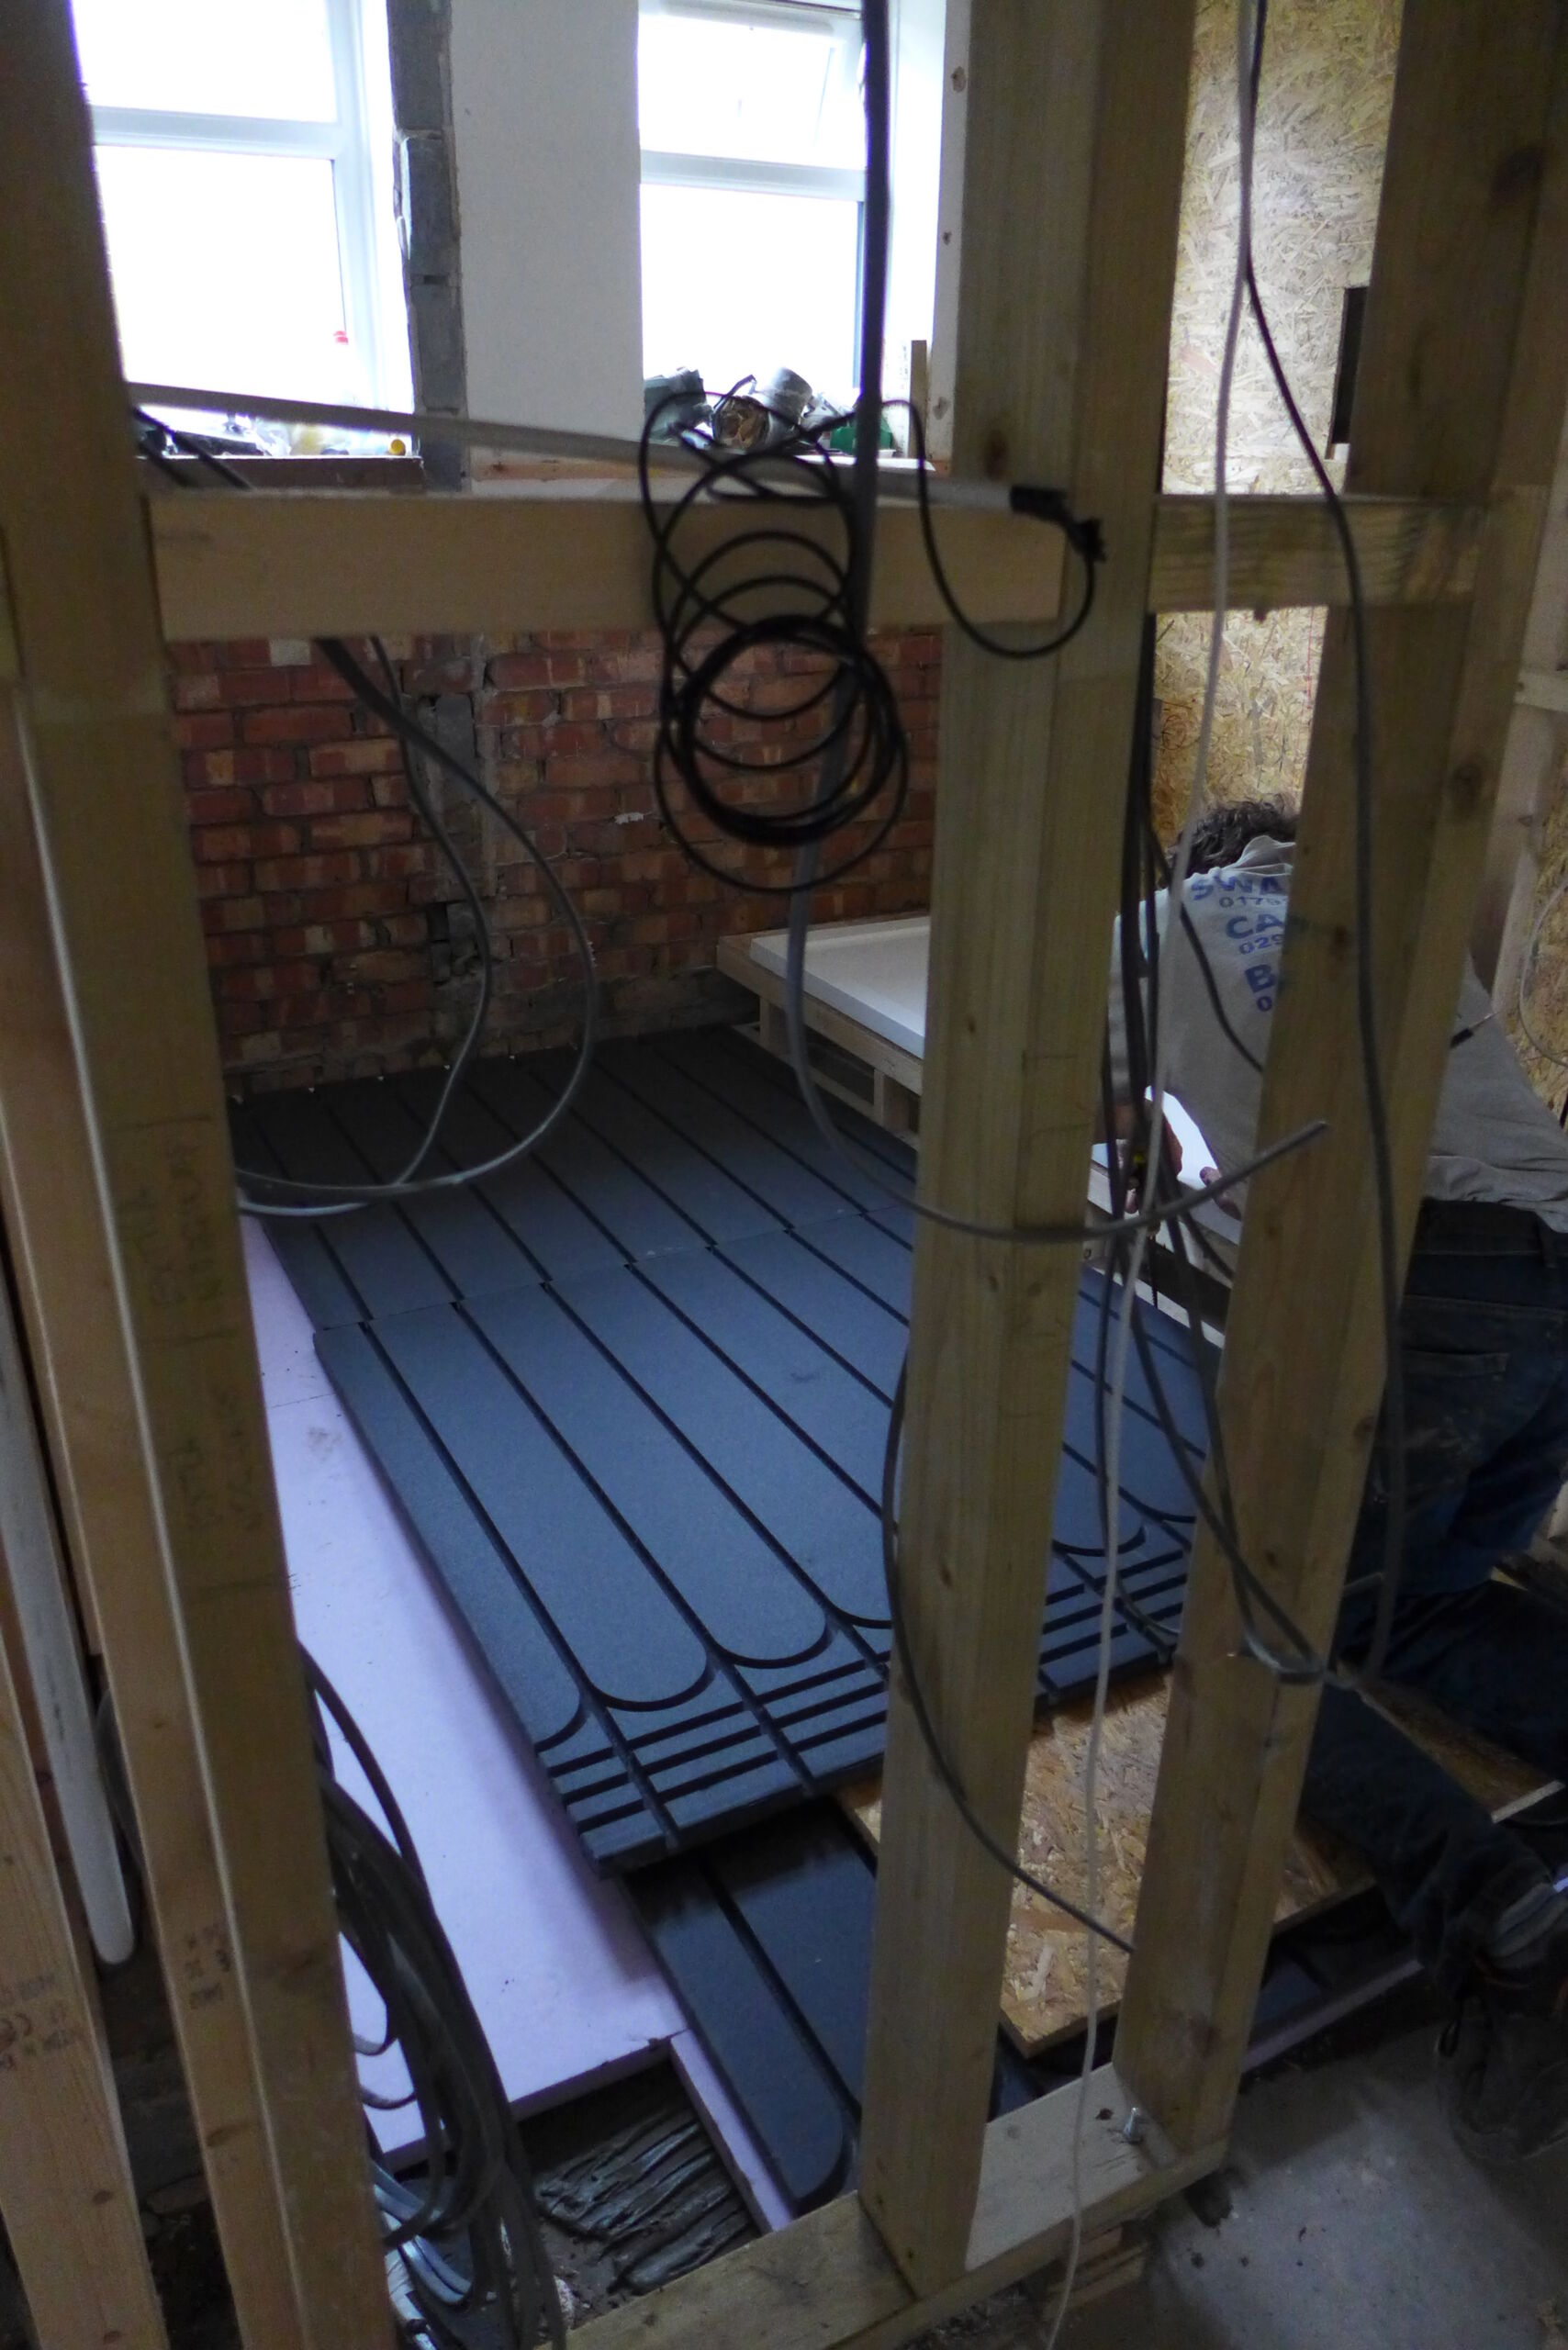
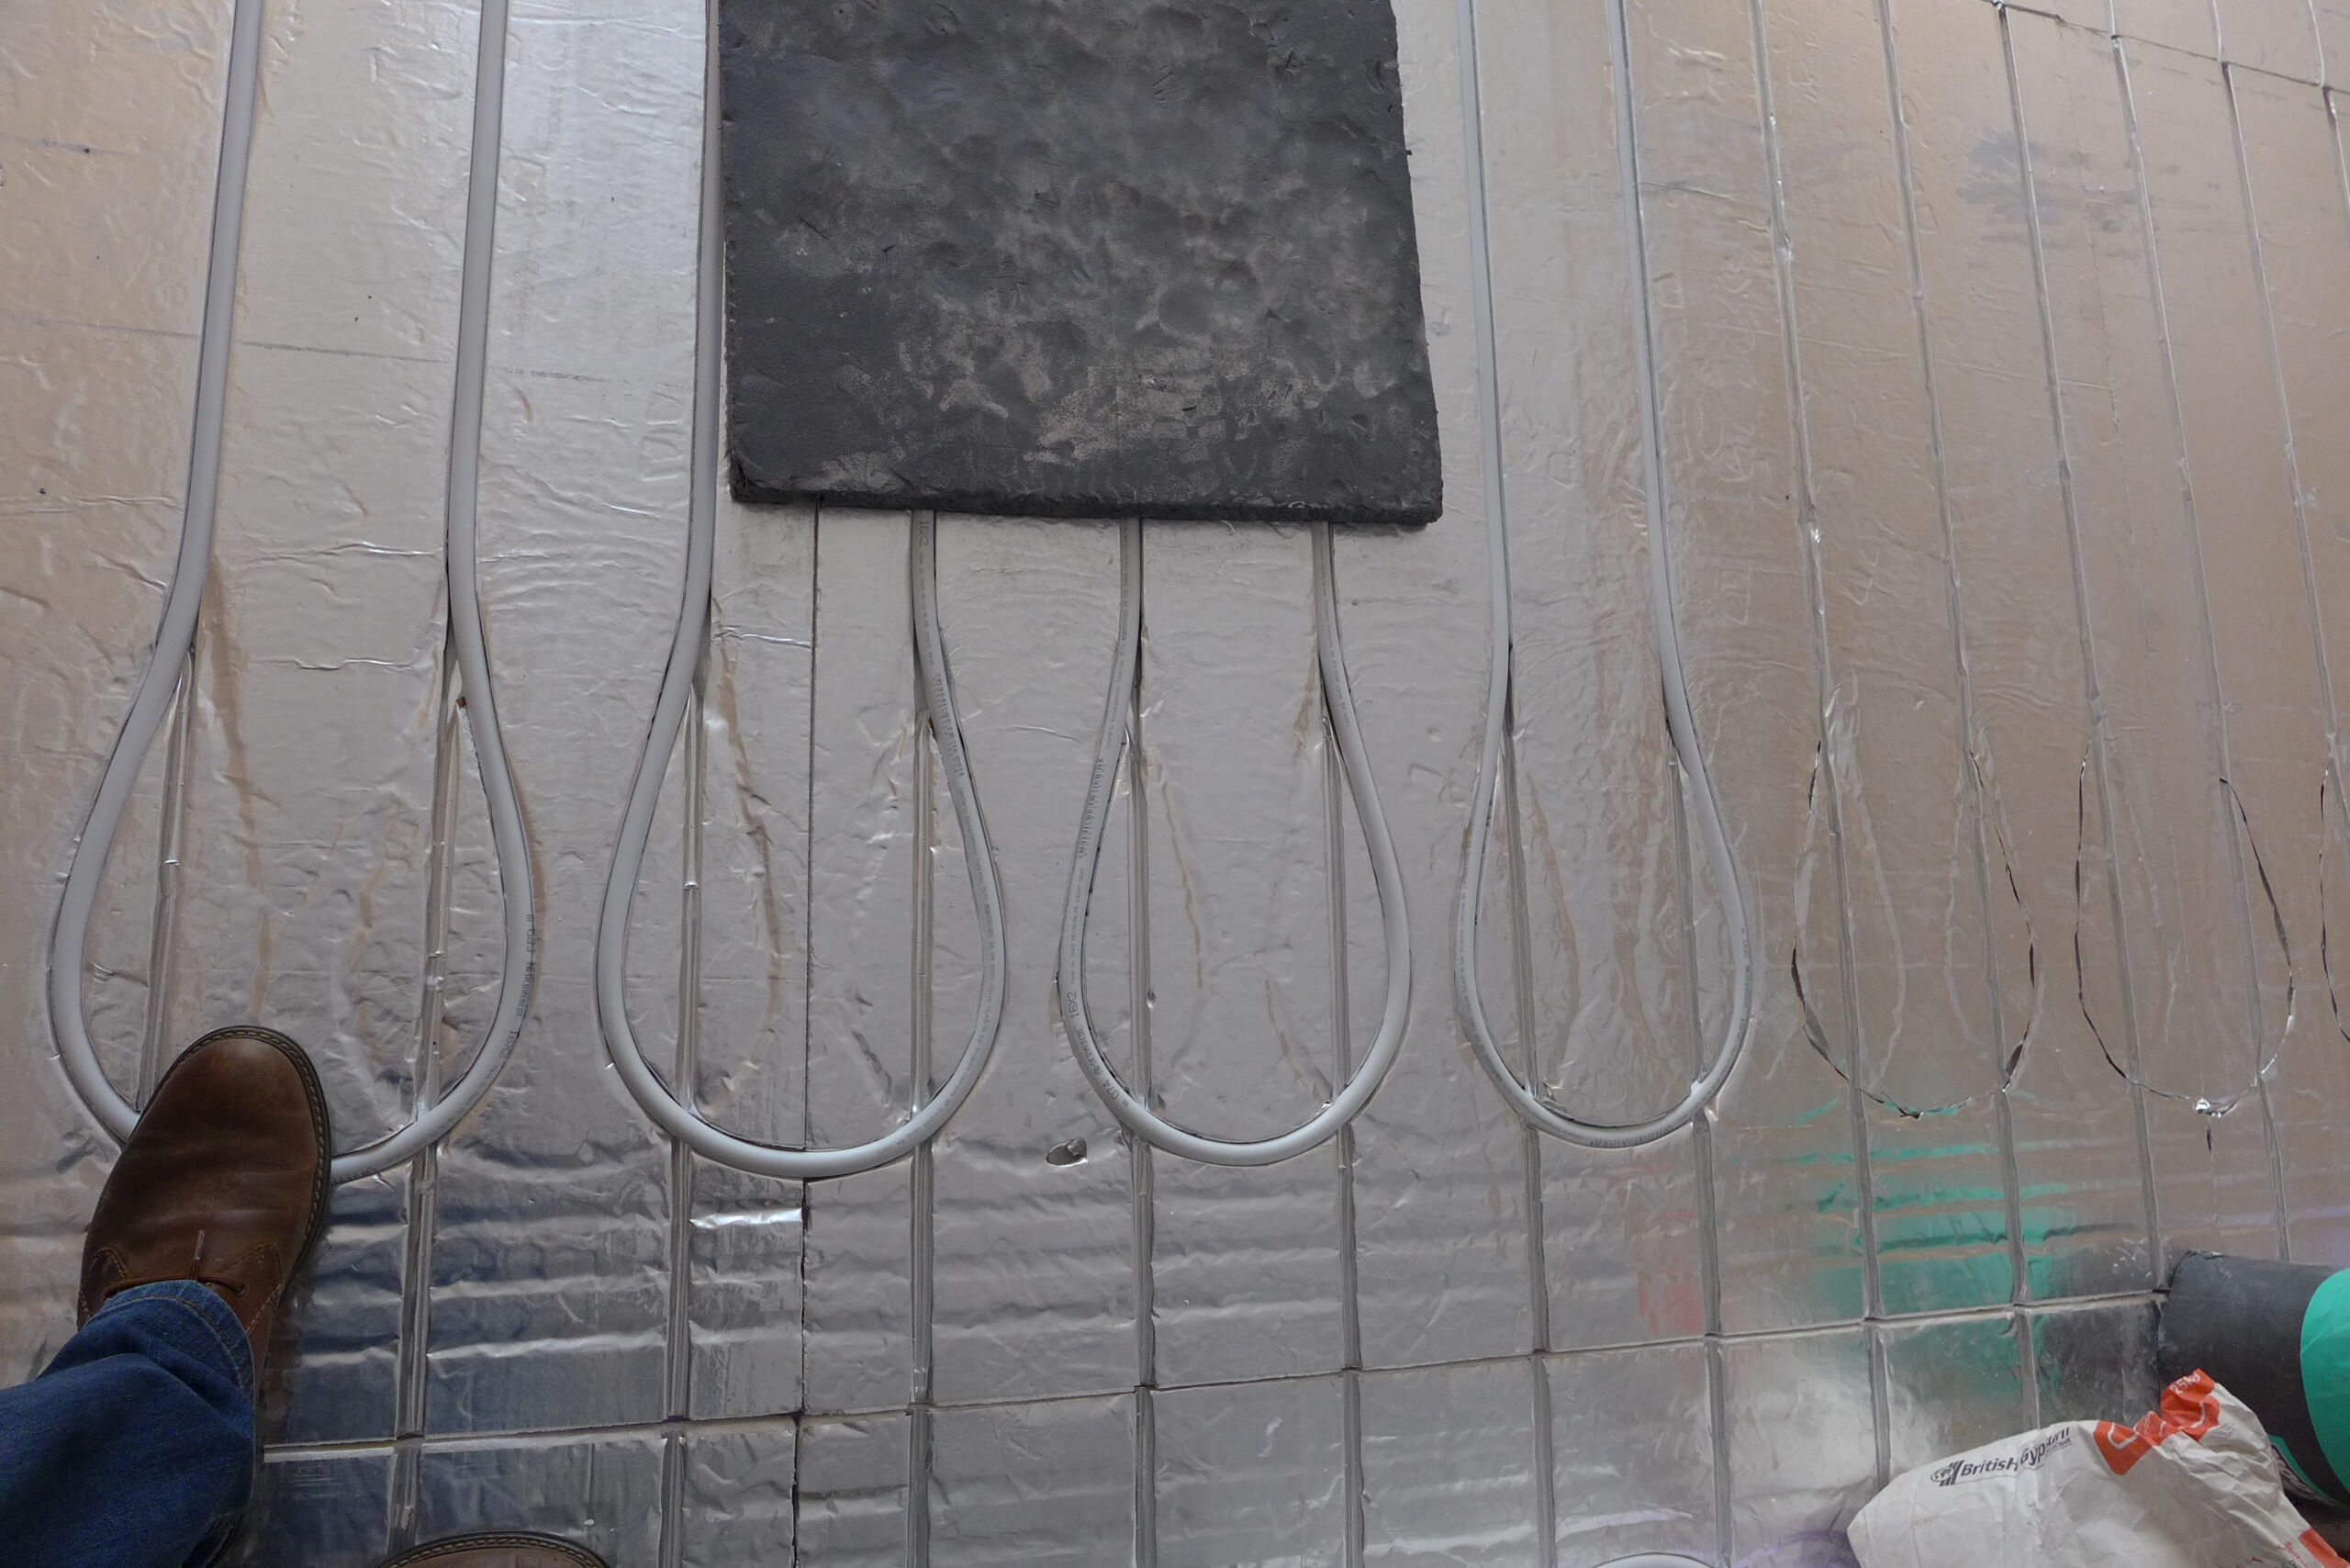
A new boiler supplied the whole apartment, with wet underfloor heating (UFH) on five zones. The original floor had a thick layer of material with a thin layer of polystyrene on top of the concrete structure. The structural engineer calculated that the mass of the additional screed for the UFH should be offset by removing the old material, so this was cut up and lifted out. A plumber then fitted high-performing, modern insulation, laid the pipes and the contractor screeded the floor. The plumber installed the UFH manifold behind a secret panel in the bathroom, and with a thermostat in every space, the home is very toasty when it needs to be.

TV and surround sound
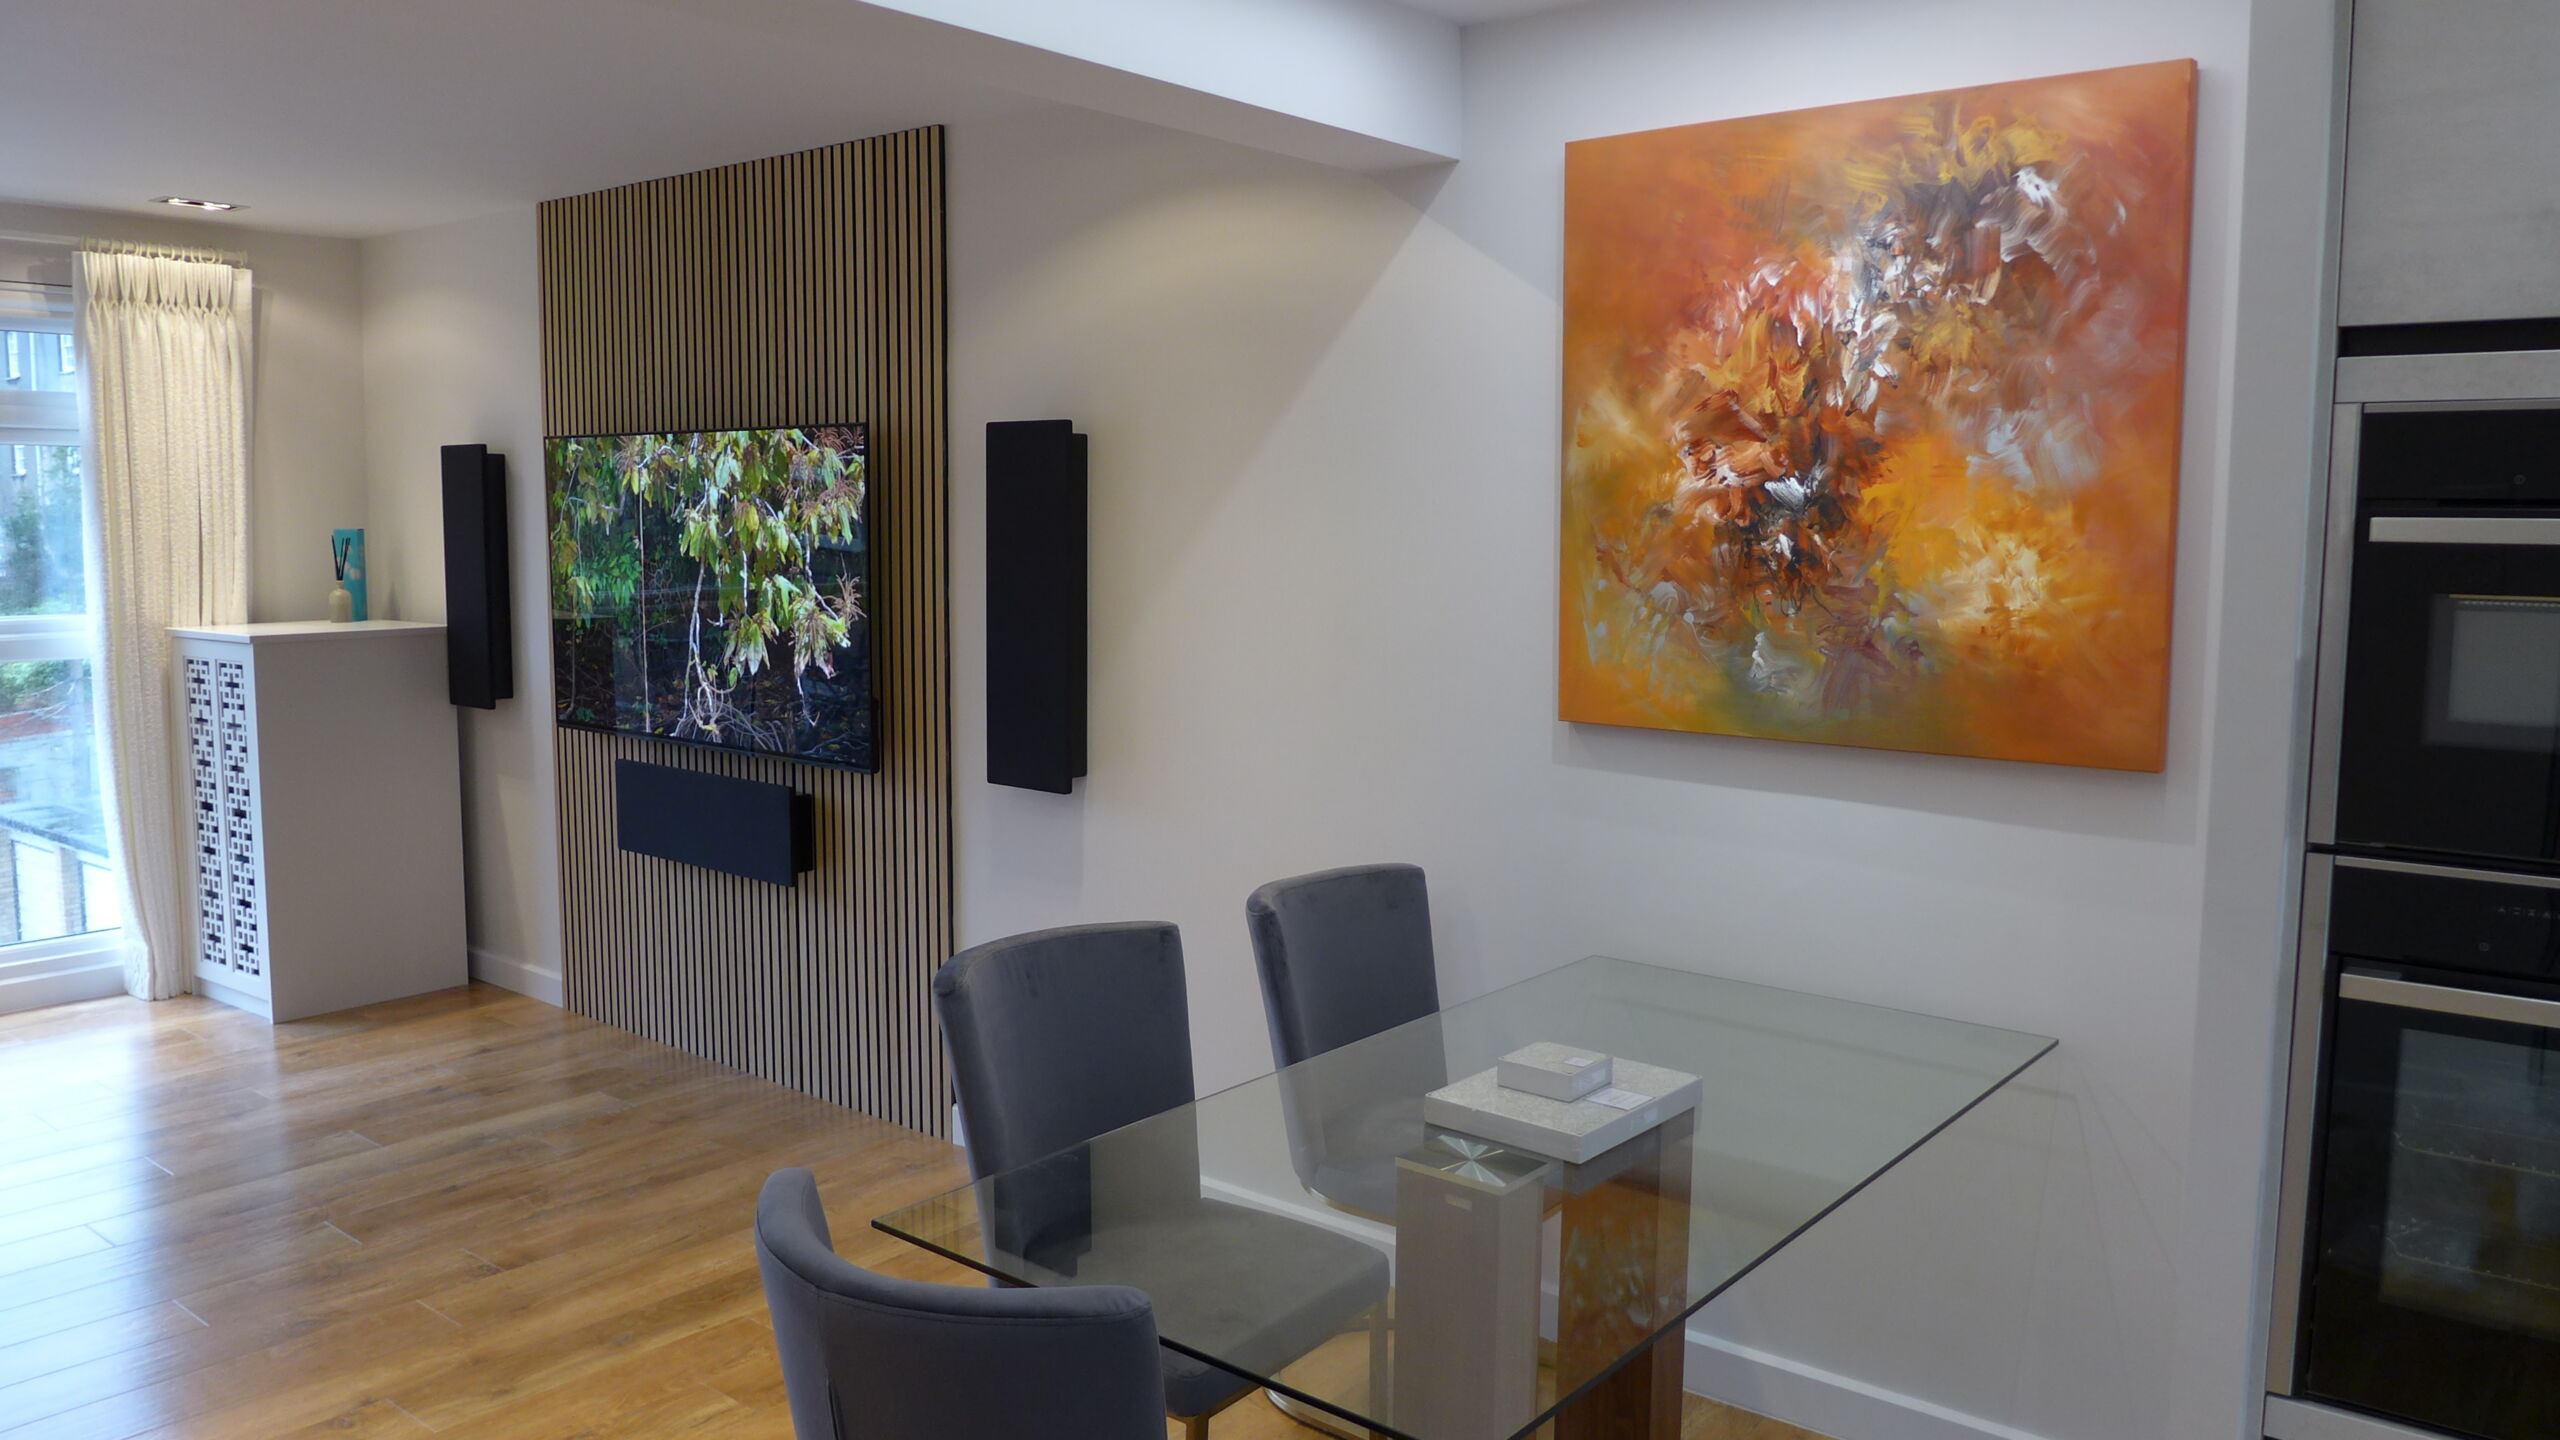
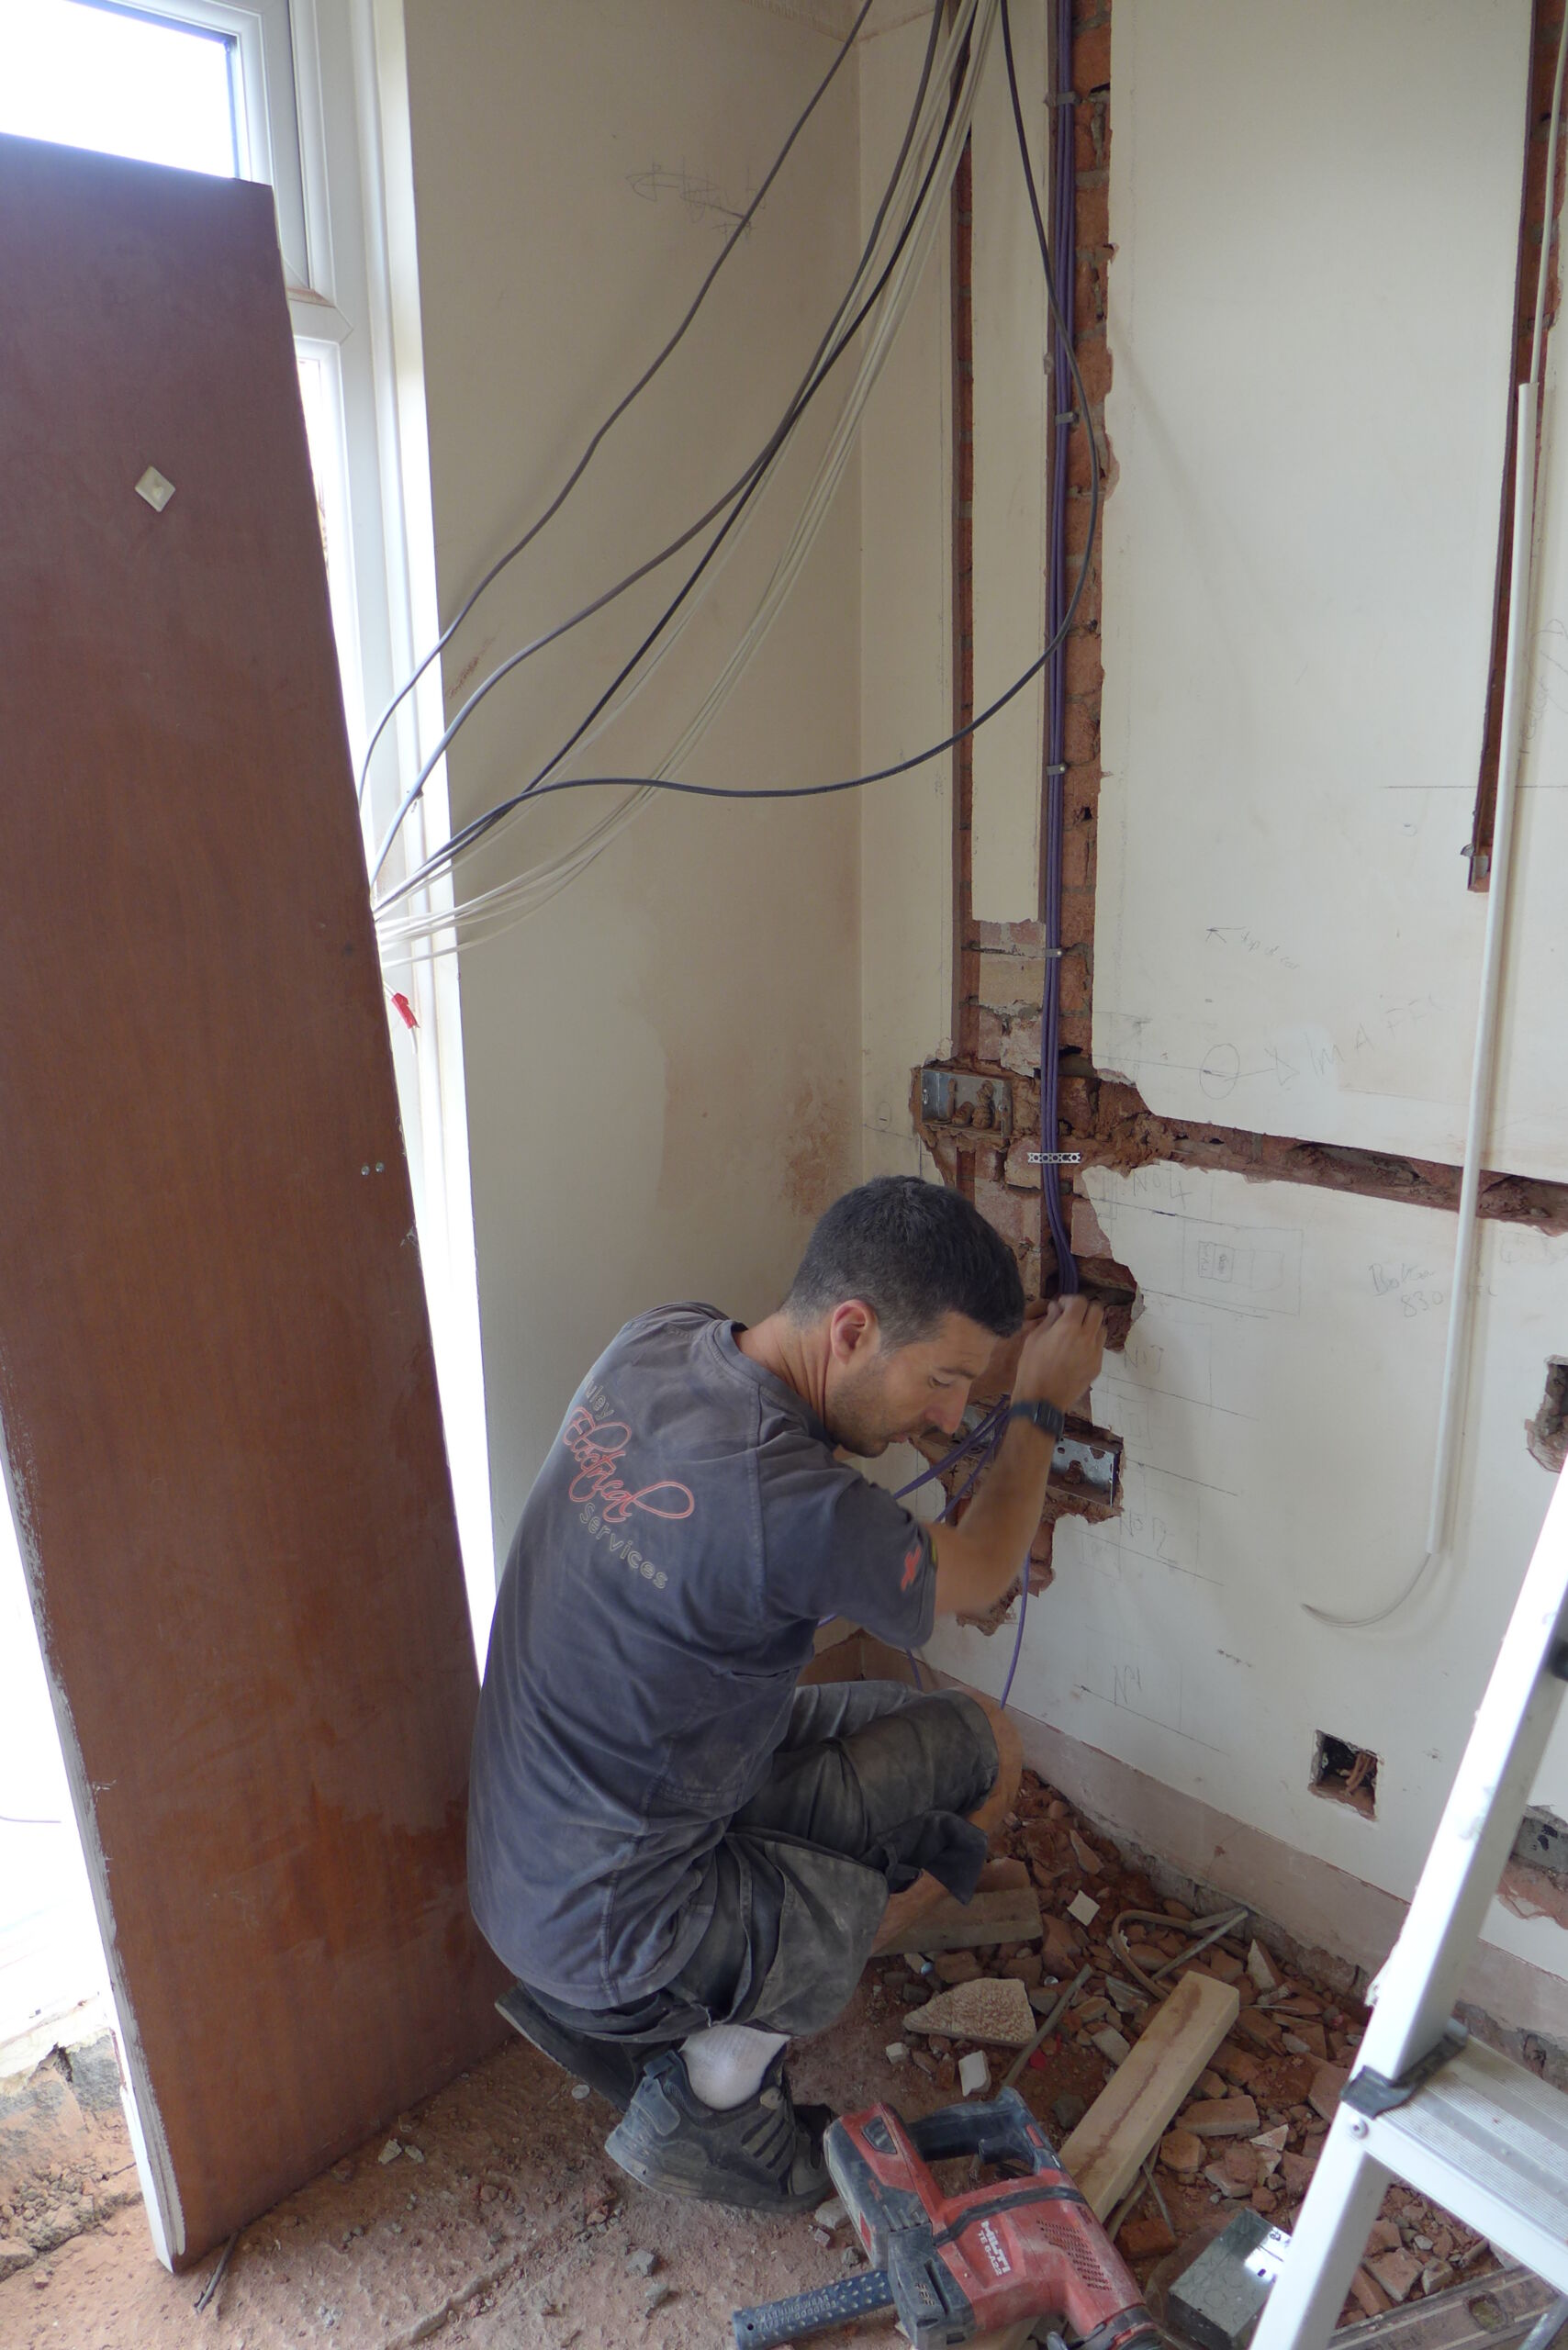
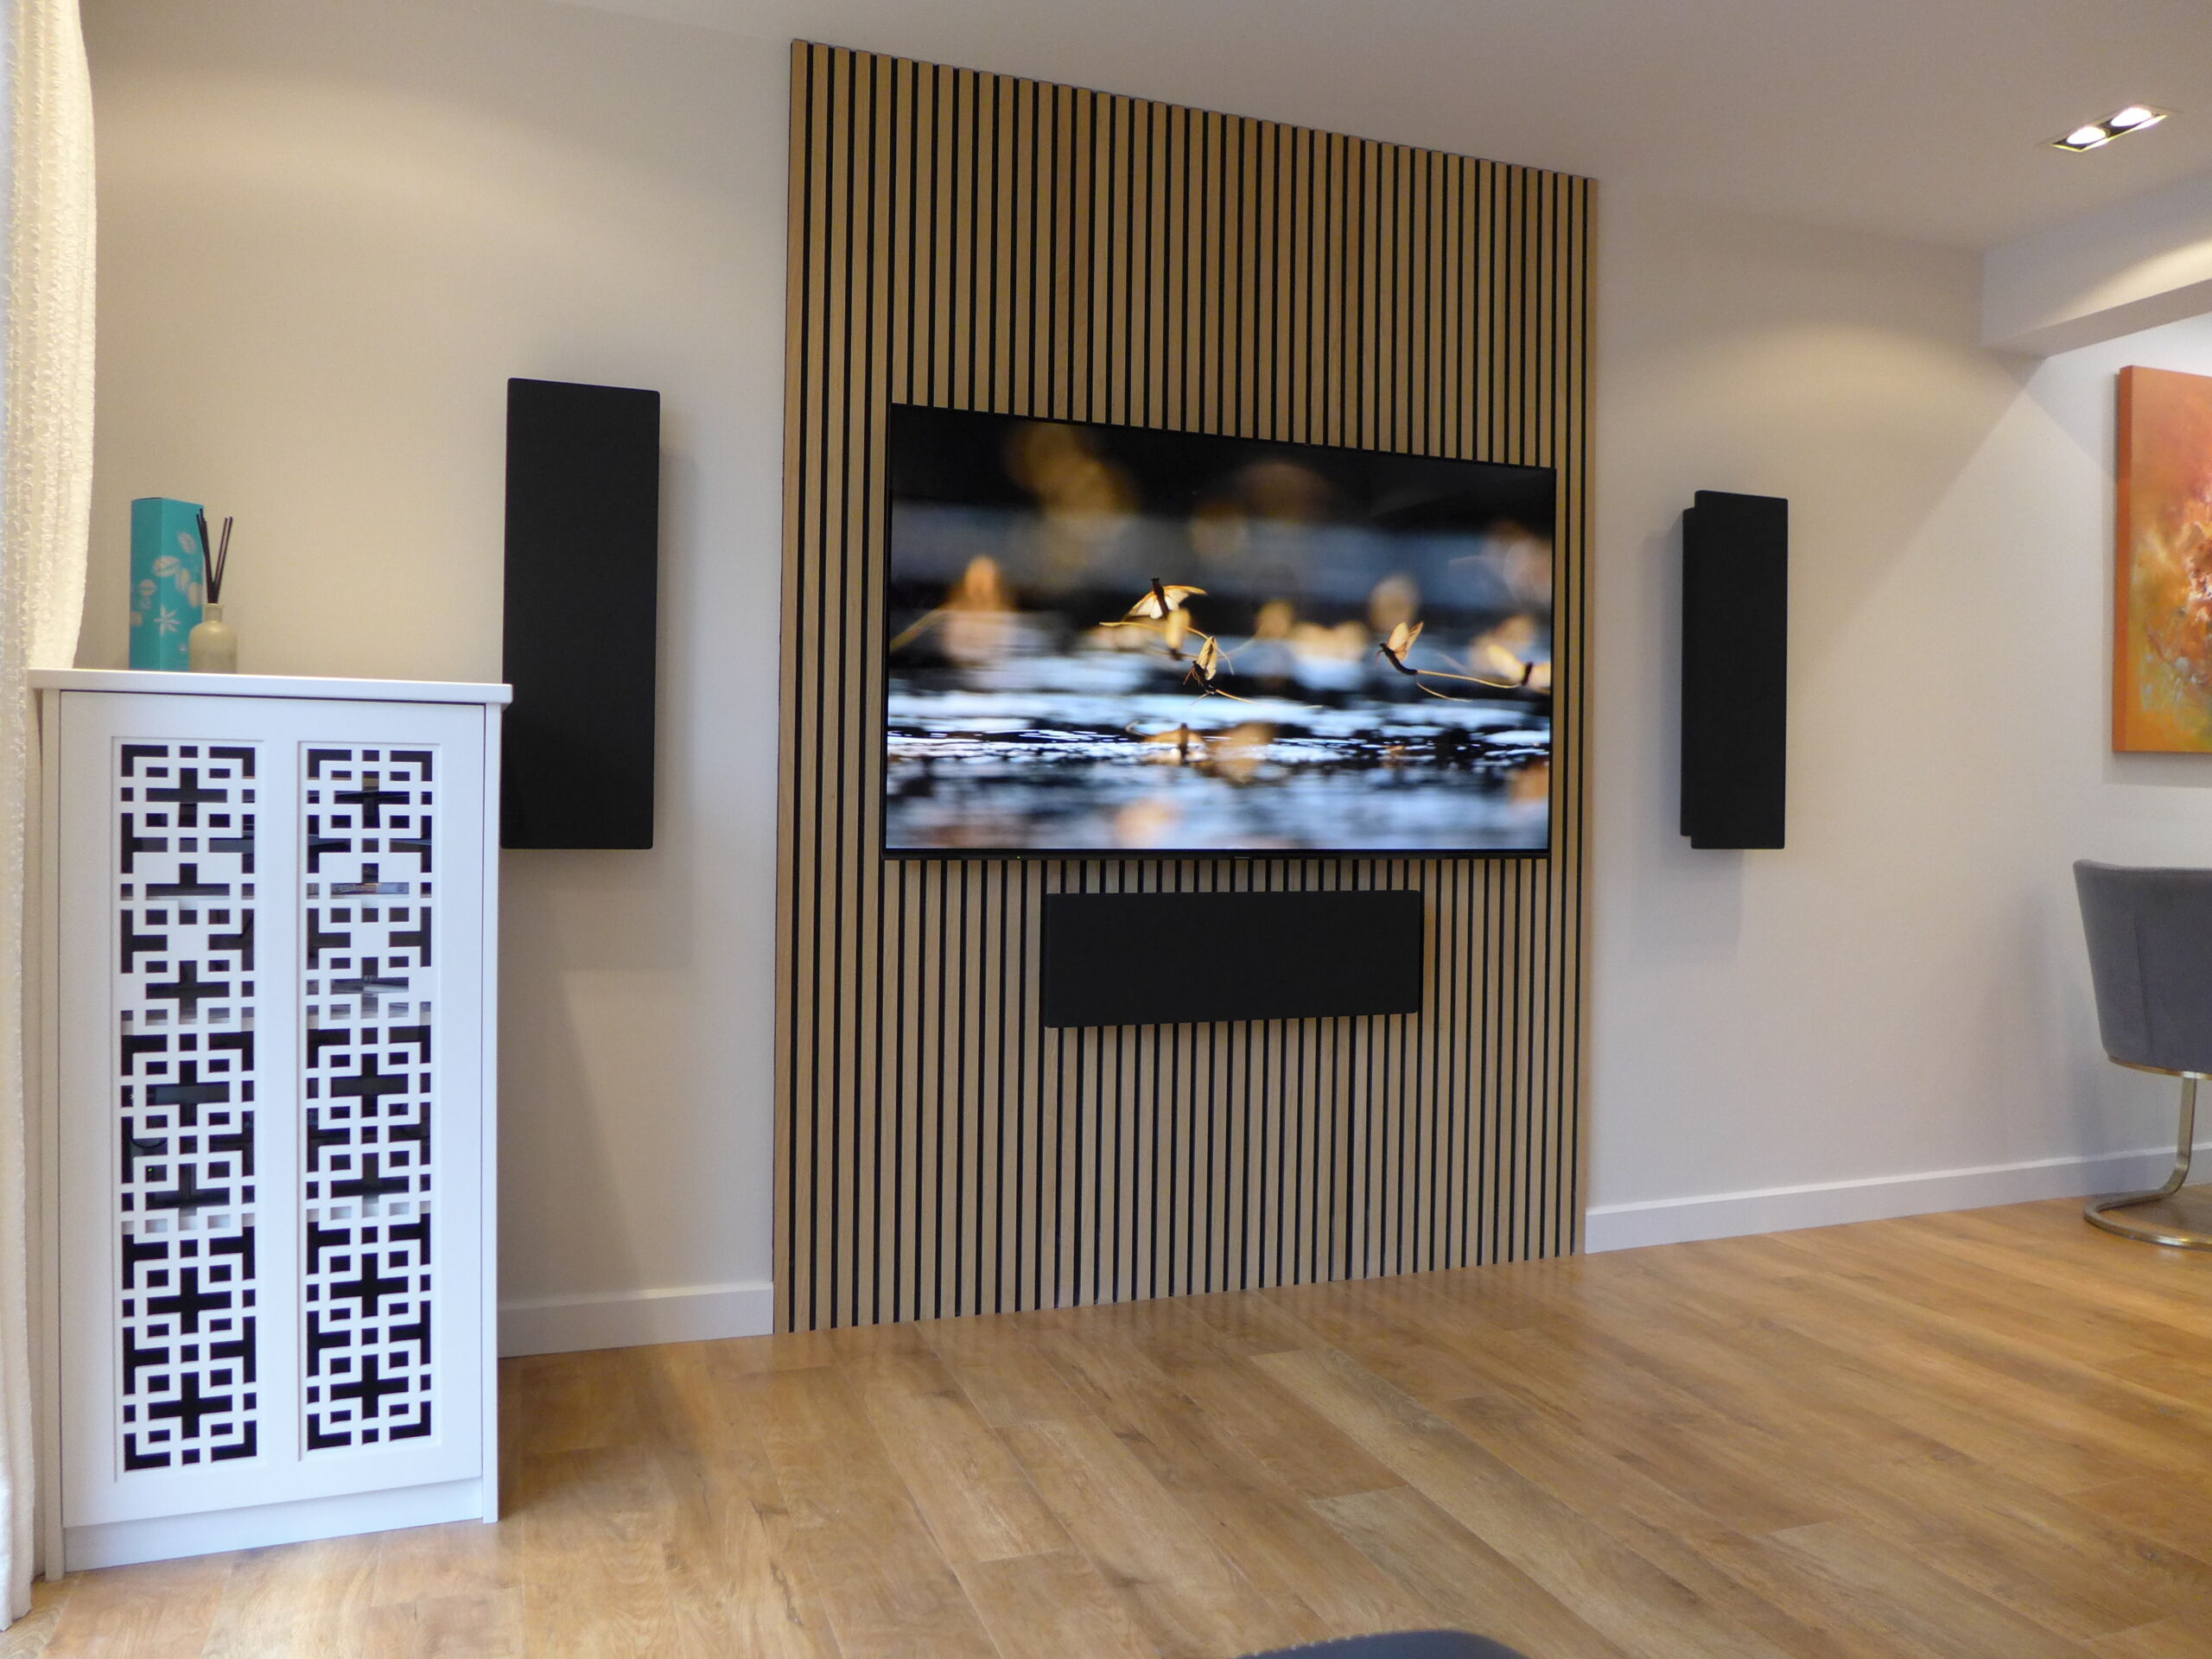
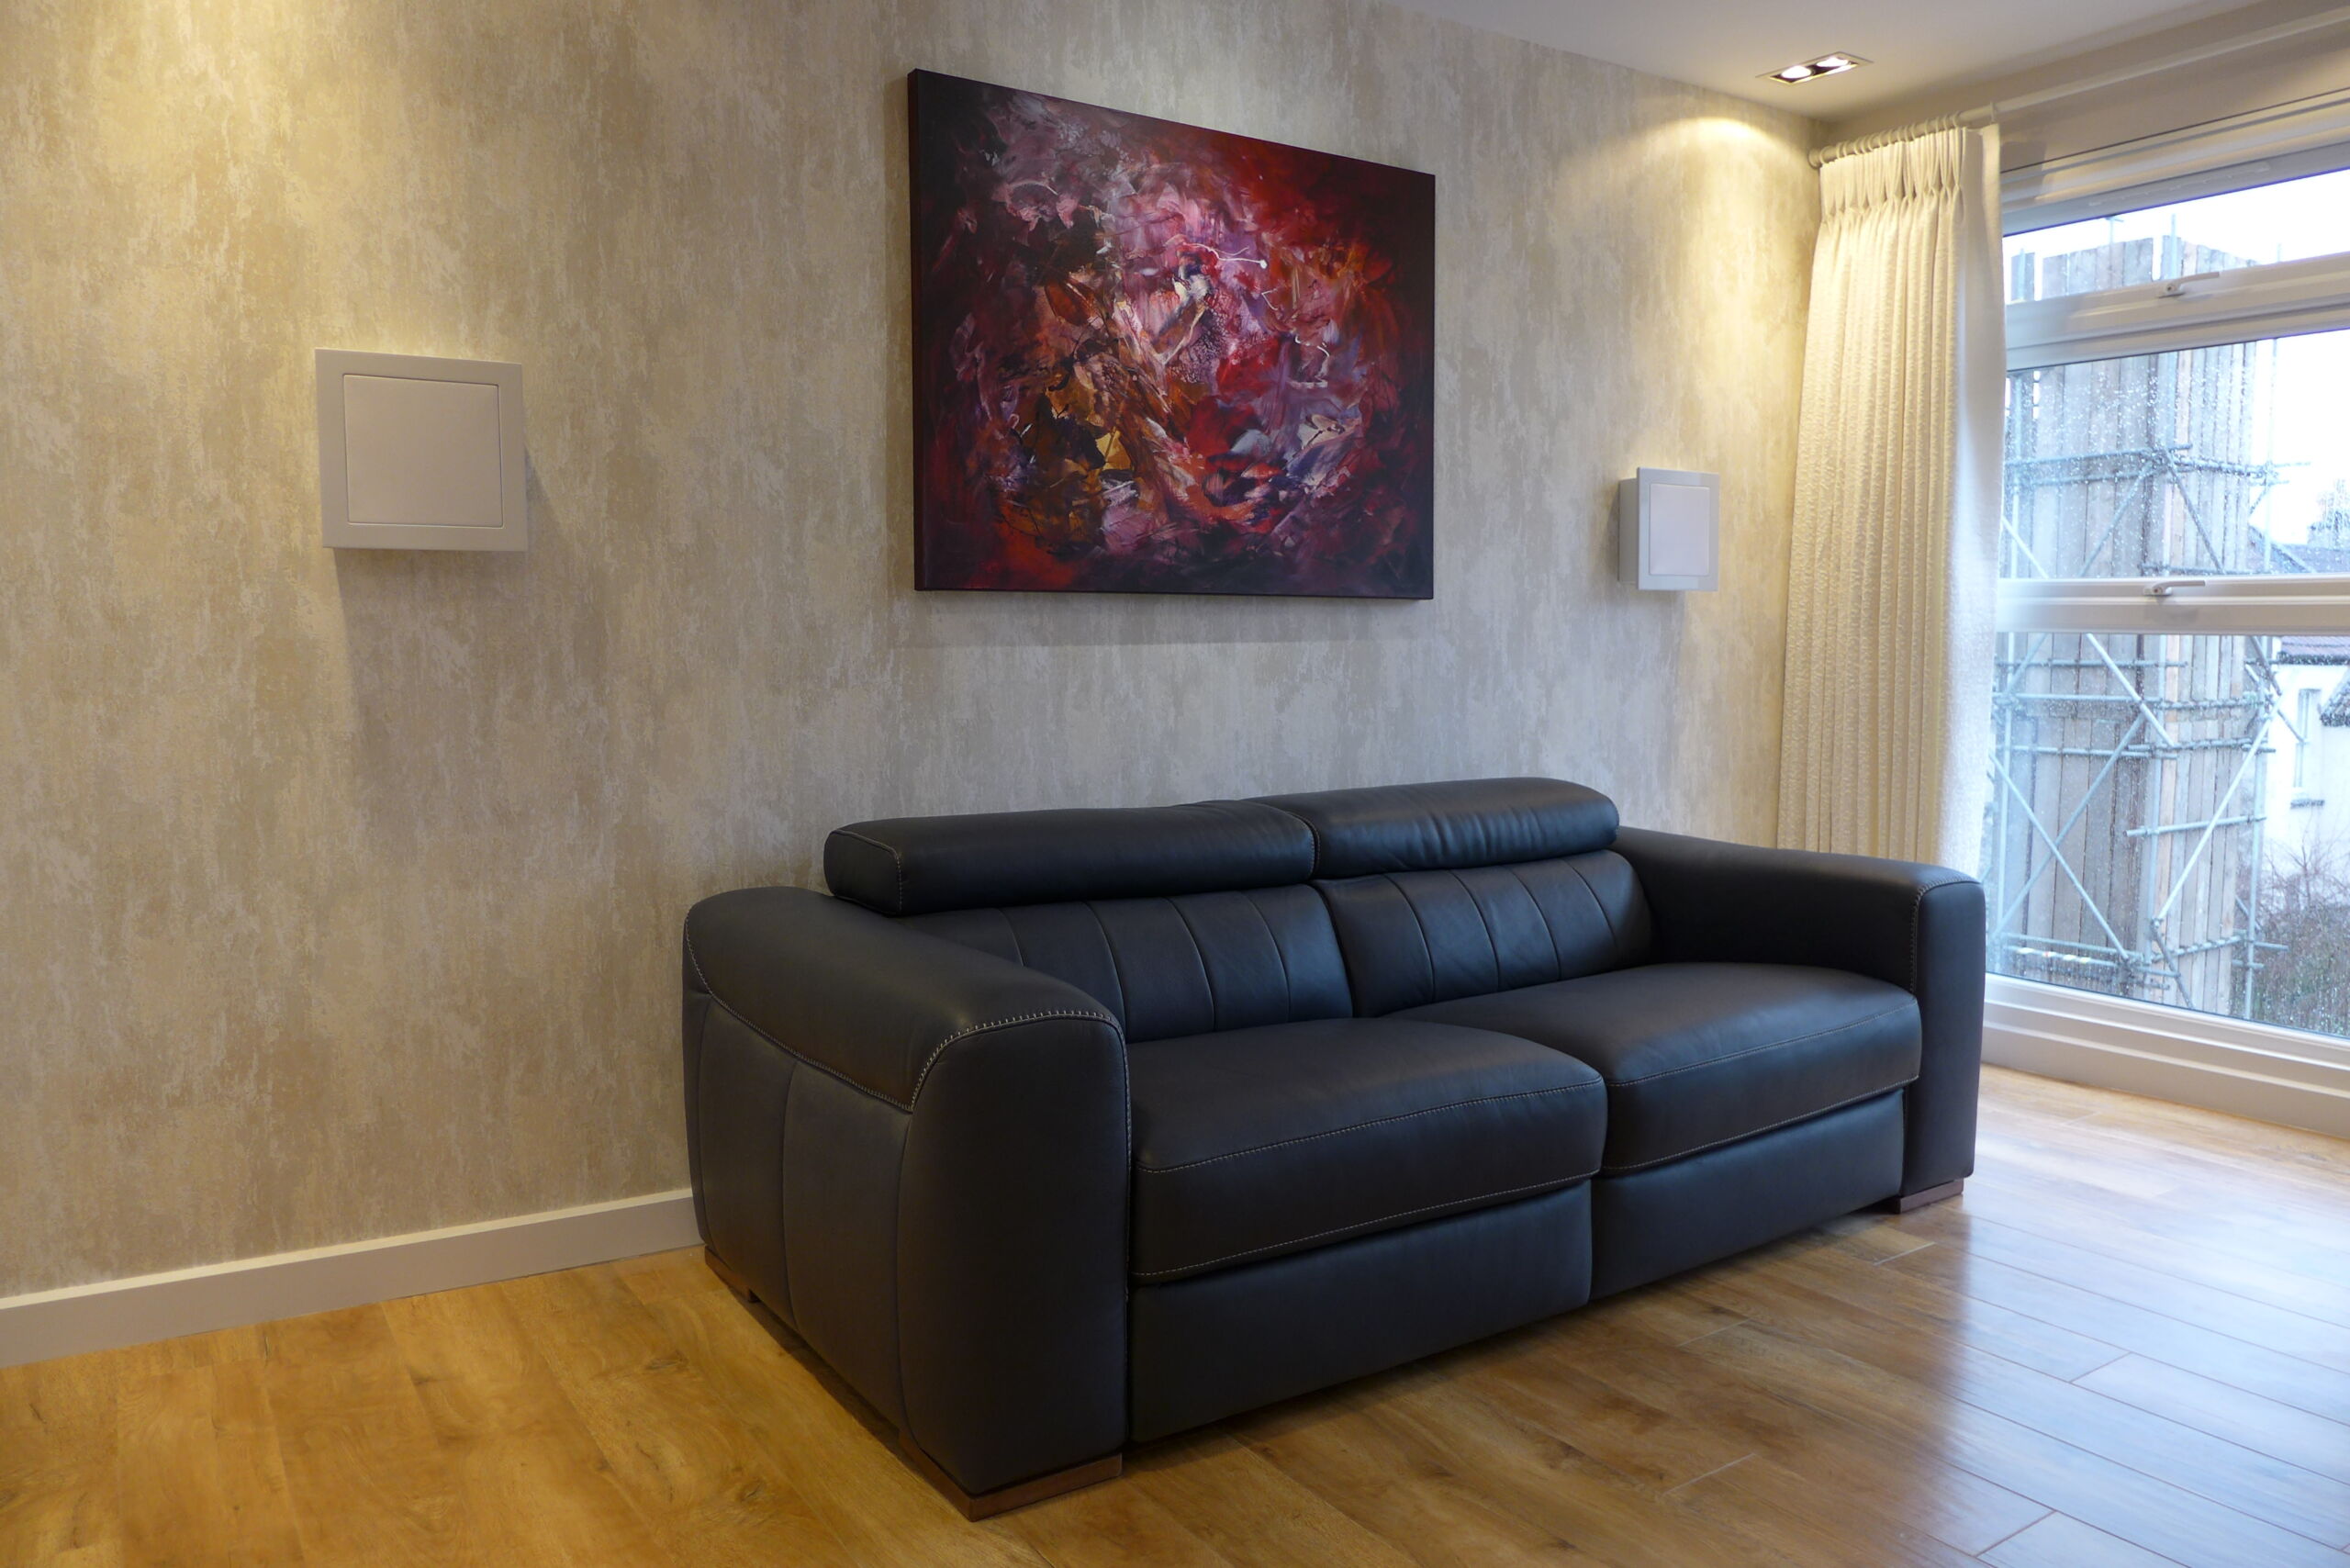
We designed the home cinema well in advance, so the electrician could install first fix sockets, ethernet and speaker cables in precise positions. This system would have front, centre, ceiling and rear speakers. We mounted the sub-woofer on the floor, but hidden inside the fretwork cabinet, allowing sound to pass through. To create a more interesting focal point, we fixed a wooden slat feature wall behind the TV.


Home office and ethernet
This is a 3-bedroom apartment. In addition to the main bedroom, we refurbished the guest room and a third bedroom which doubles as a home office. Electricians fitted RJ45 sockets in each room, connected by Cat 6 cables to the router, located centrally within the utility cupboard. Our cabinet makers fabricated this oak desk, supported on cantilever brackets for unencumbered leg and storage space. They also made the oak shelf above, into which the electrician recessed another LED tape to illuminate the desk.
Apartment lighting
You’ve seen some of the lighting installed for each room. One interesting fitting is the linear LED chip on board (COB) light, plastered flush to the ceiling. Common LED presents a series of light spots, whereas COB is a continuous strip giving a much more pleasing effect. Cut to length, the COB is joined at the corners to create a rectangular light. When complete, it really does look great and gives very good light. We’ve installed several of these now. One thing to watch is to fill the holes where the cables poke through the ceiling. In a previous project, we had to do this retrospectively as a few small spiders found their way down through the holes and started chasing each other around the track.
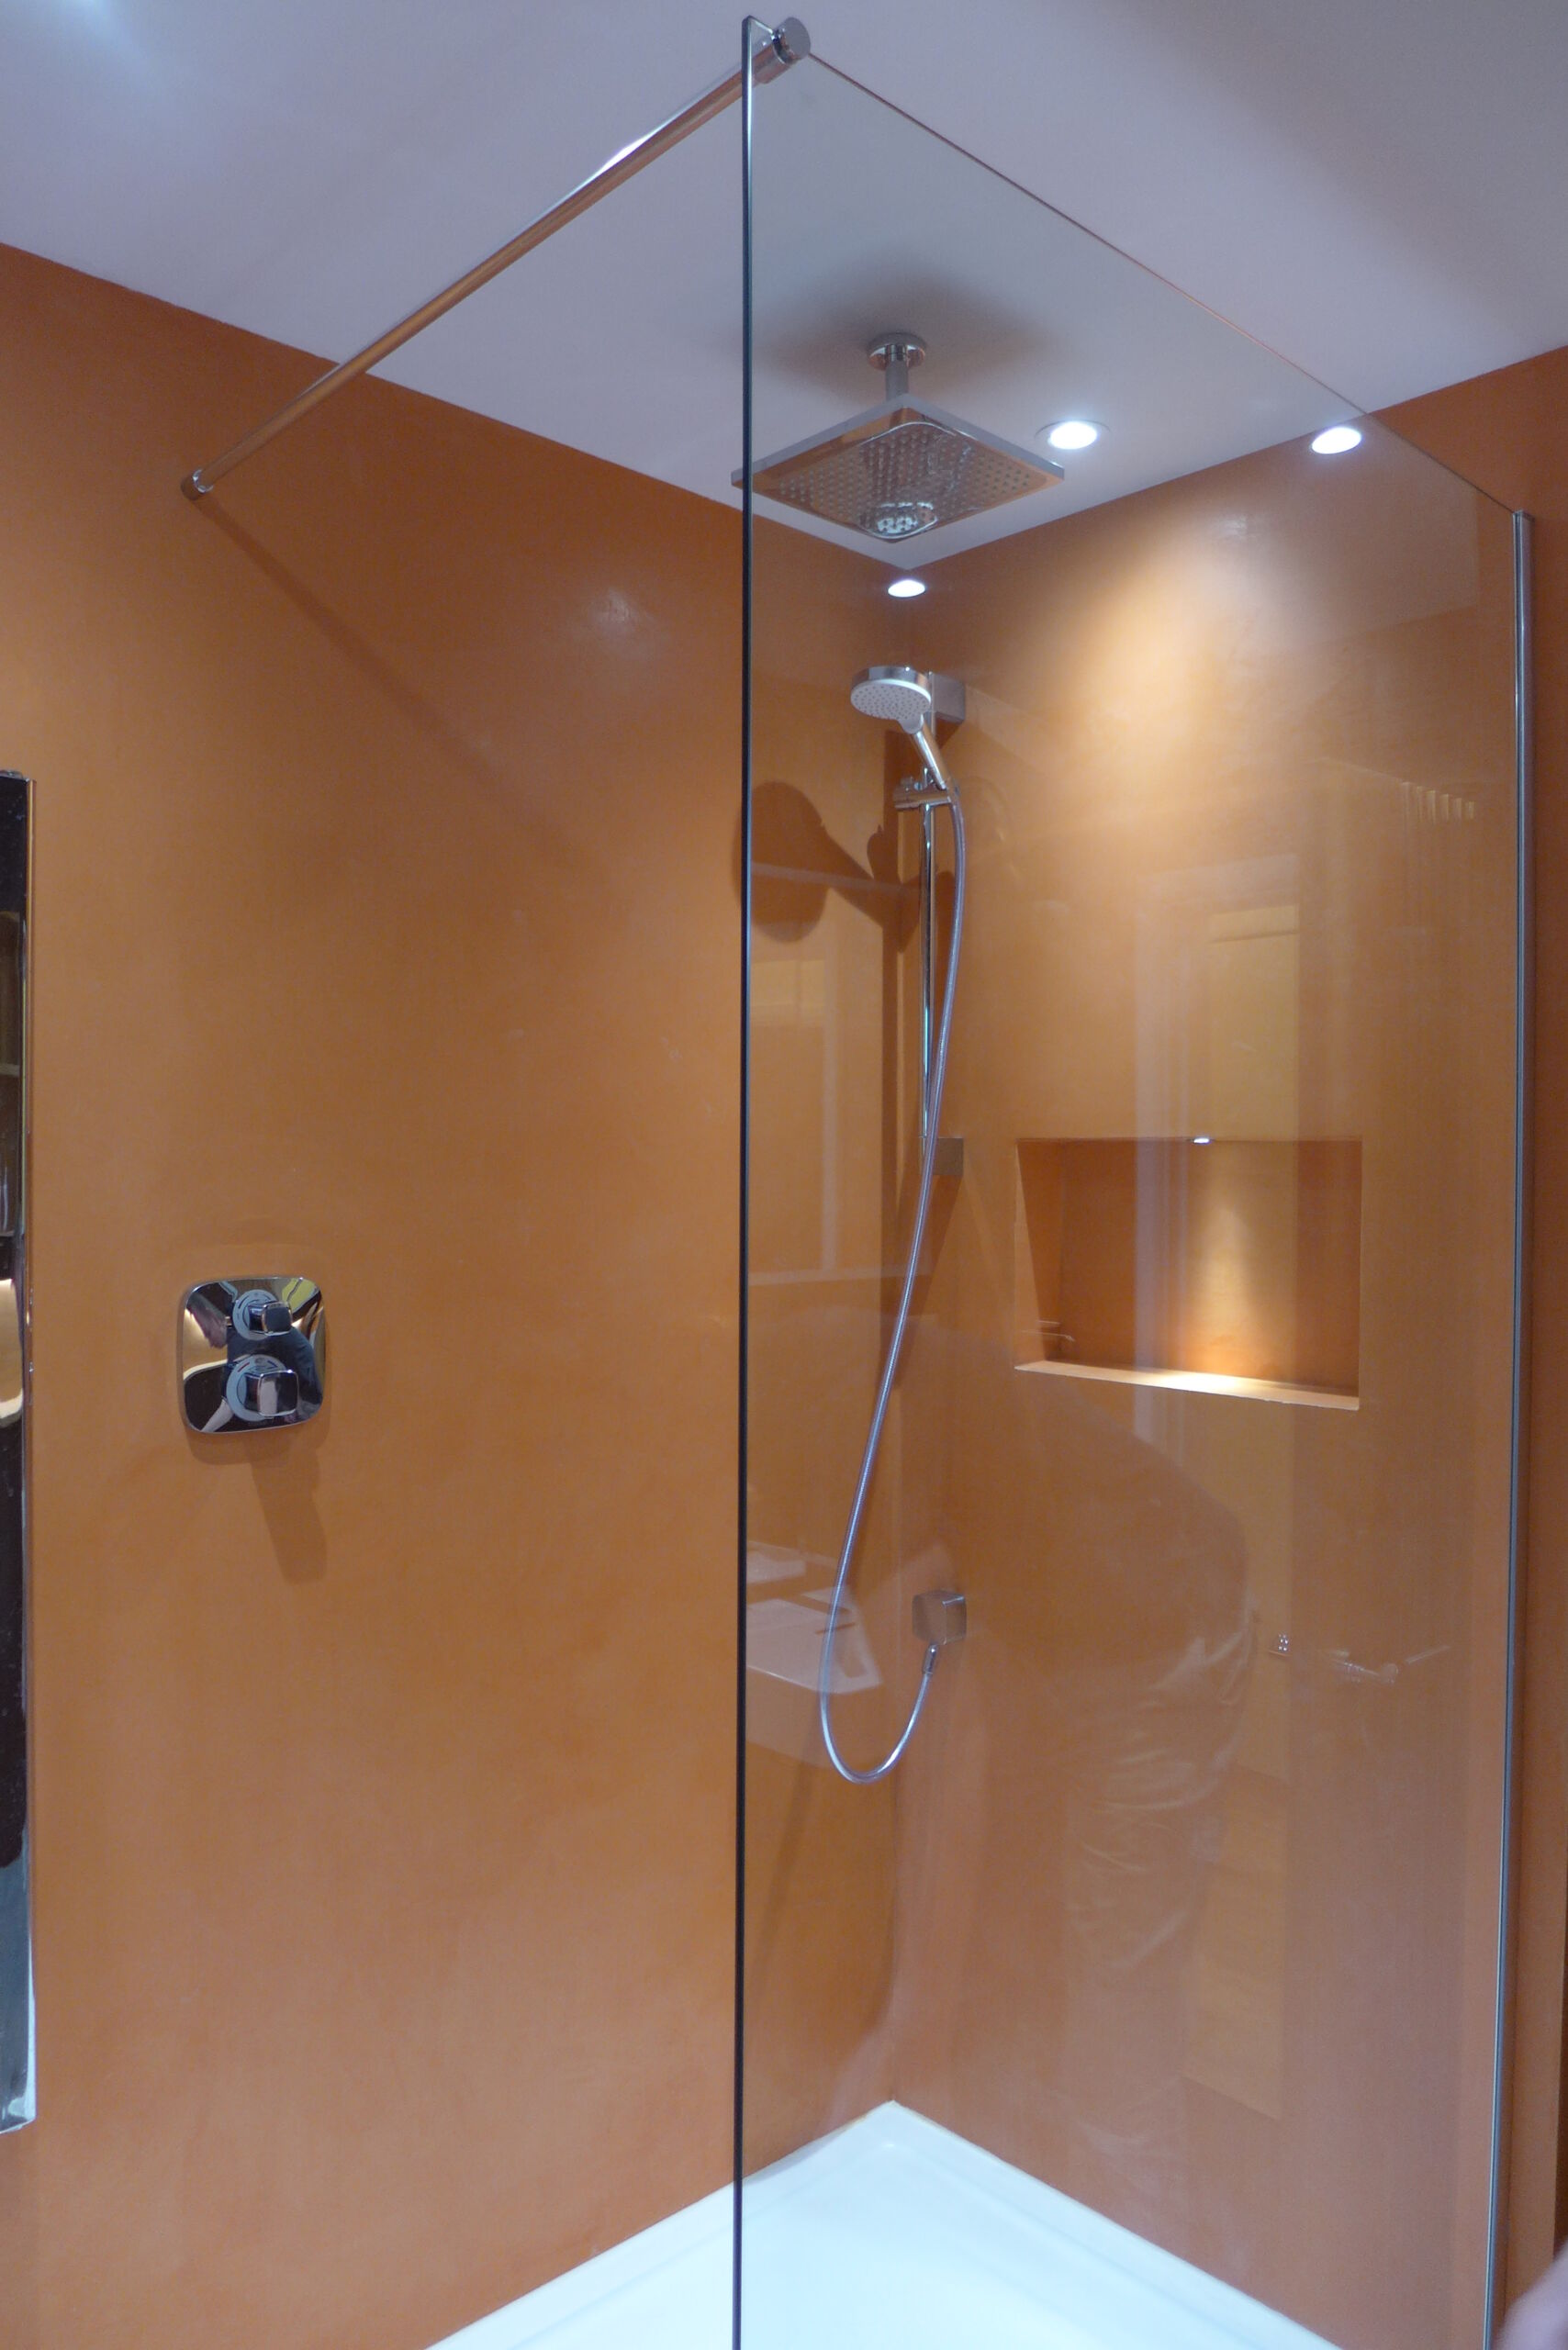
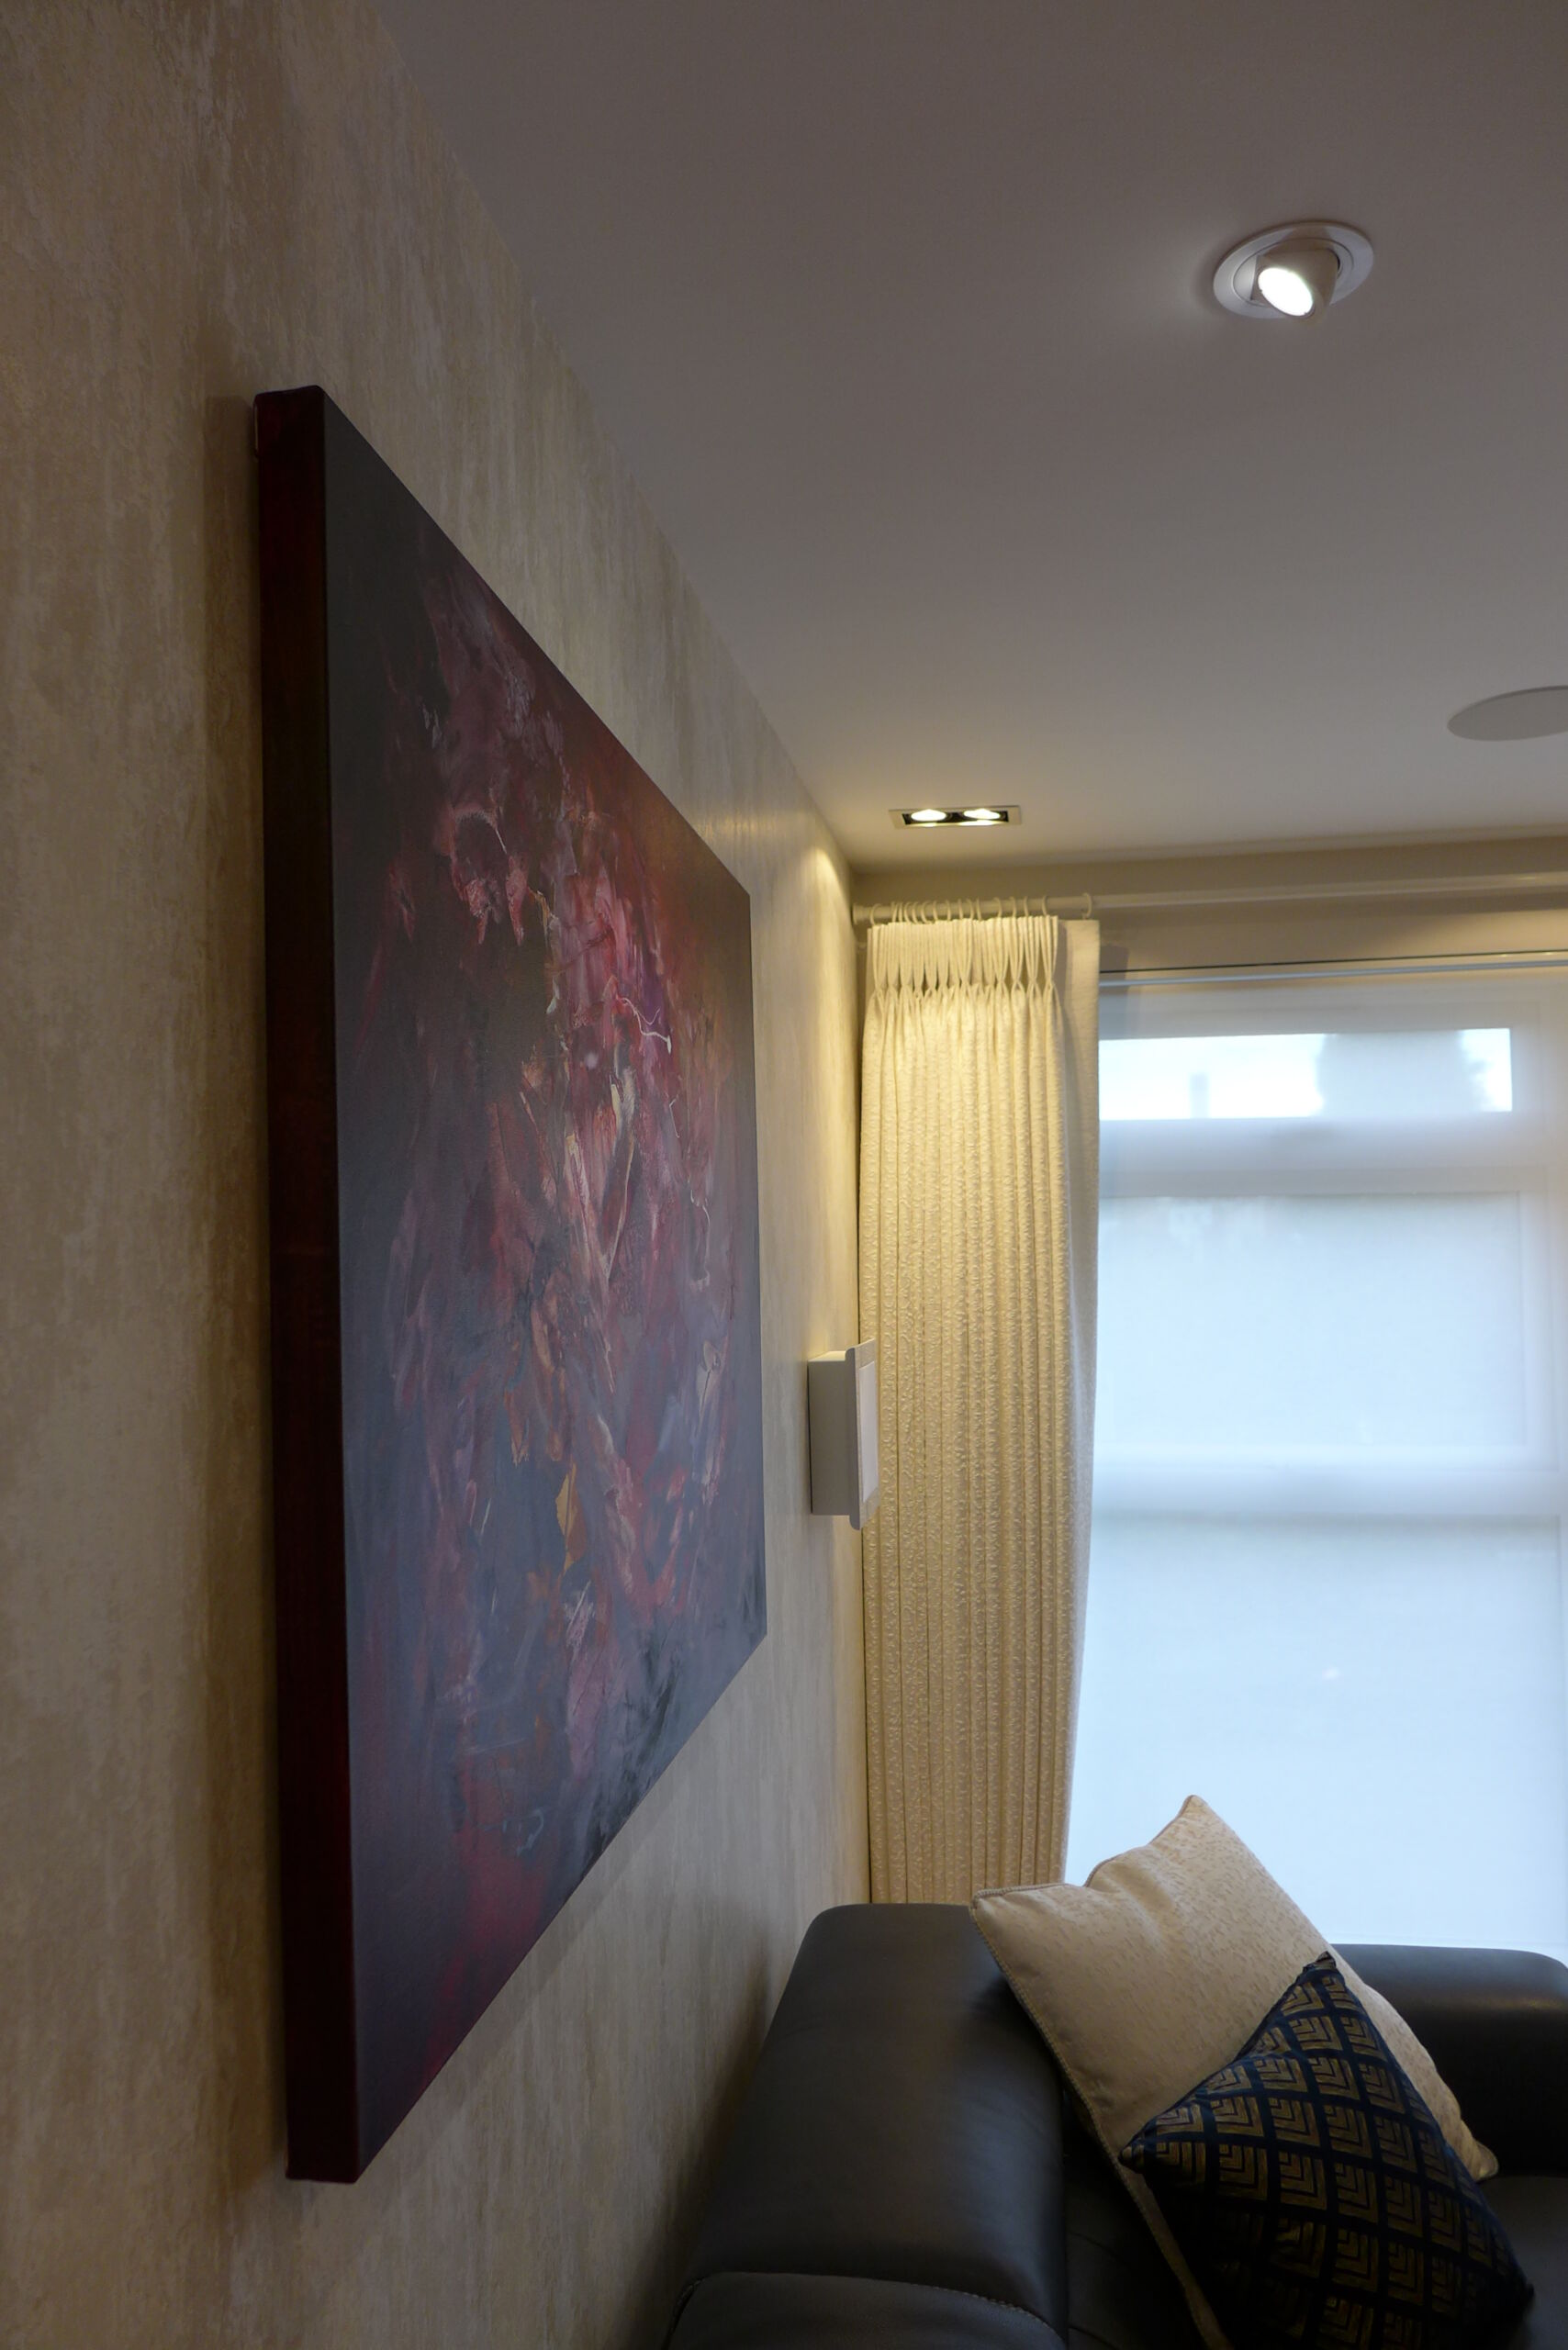

Some of the other lighting features include the shower niche light, and discrete ceiling picture light. The double grid recessed fittings give an excellent, atmospheric effect. And we took advantage of every useful shelf, plinth or cupboard to recess an LED strip underneath, whether for task lighting or just for effect.
An apartment transformed
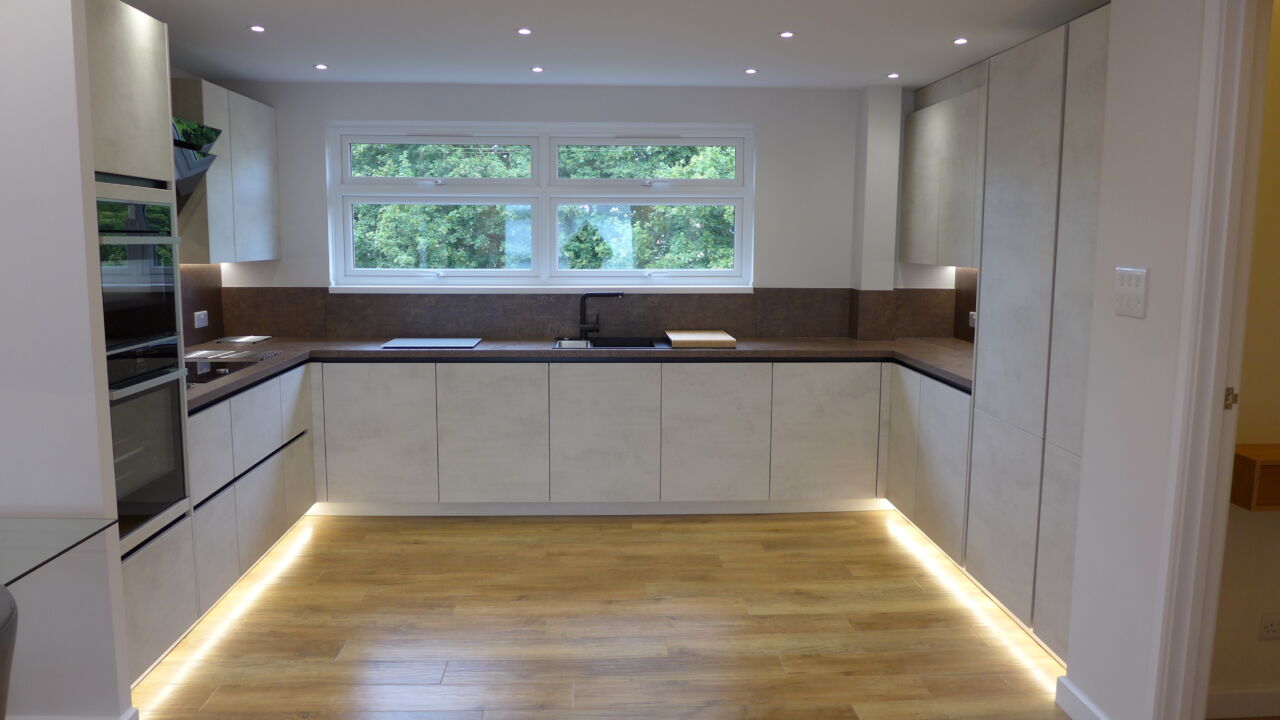
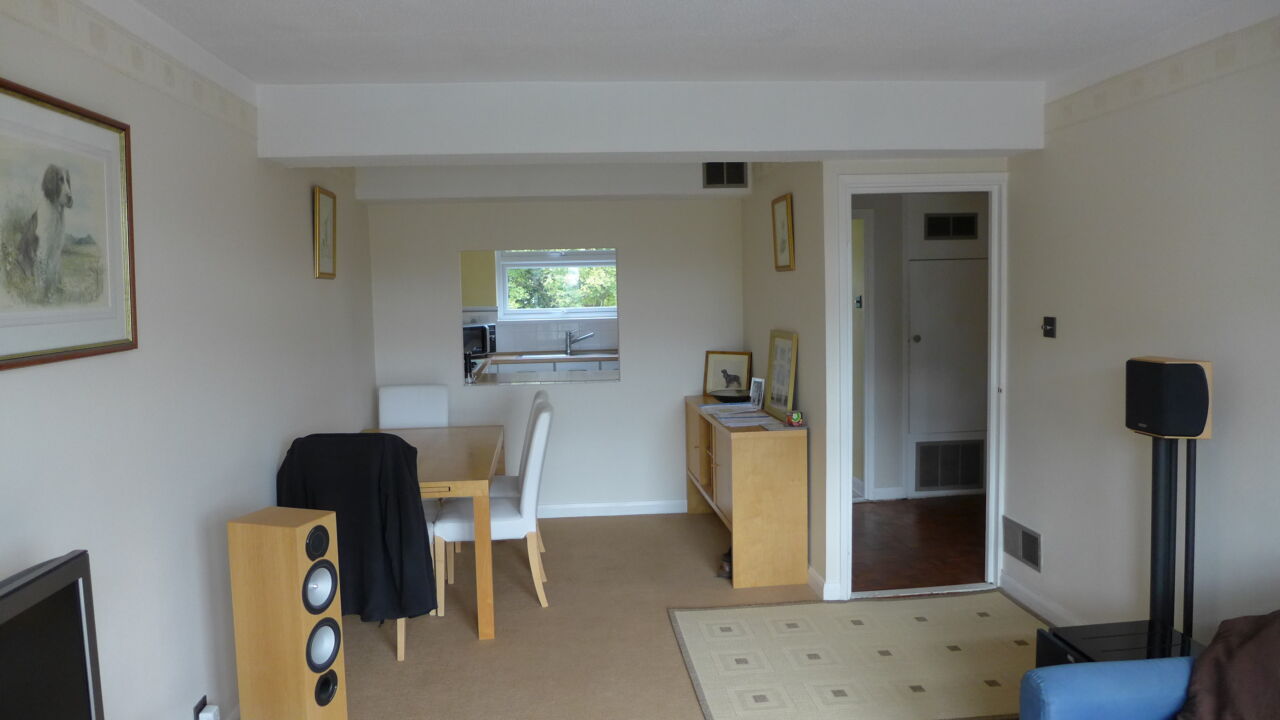
Our client now has a completely new apartment. He tells me he really can’t remember what it used to look like. I’ve sent him some photos …
